When Your Hot Water Isn't Hot Enough: What's Really Going On
Replacing the mixing valve on a hot water tank is a straightforward repair that most handy homeowners can tackle in a few hours — but only if you know exactly what you're dealing with.
Here's the quick answer on how to replace a mixing valve on a hot water tank:
- Shut off the cold water supply and turn off your water heater (gas to pilot, or electricity off at the breaker)
- Run a hot tap until flow stops, then briefly open the drain valve to release pressure
- Photograph your existing connections before disconnecting anything
- Unscrew the old mixing valve using an adjustable wrench
- Clean the pipe threads and wrap new threads with Teflon tape
- Install the new mixing valve hand-tight, then snug with a wrench — don't overtighten
- Restore water supply, check for leaks, then restore power or relight the pilot
- Test and adjust the temperature output to your desired setting (typically 120°F)
Now, here's why this repair matters more than most people realize.
That frustrating lukewarm shower you've been putting up with all winter? It might not be your water heater failing at all. It could be a worn-out mixing valve quietly throttling your hot water — a small part with a big impact. In fact, forum discussions show homeowners calling in four different plumbers before anyone correctly identified the mixing valve as the culprit.
If you're in the South Sound — whether you're in Covington, Kent, or Renton — the Pacific Northwest's cold winters put extra strain on your water heater system. When temperatures drop and demand spikes, a failing mixing valve becomes a real problem fast.
I'm Josh Klimp, and with over 20 years of plumbing experience running Retrofit Plumbing, I've handled replacing mixing valves on hot water tanks across hundreds of residential and commercial properties throughout King County. In this guide, I'll walk you through everything you need to know to get it done right the first time.

What is a Water Heater Mixing Valve and Why Do You Need It?
A thermostatic mixing valve (TMV) is a safety device installed directly at the hot water tank’s outlet. Its primary job is to blend cold water with the superheated water coming out of your tank. This ensures that the water traveling to your showers, bathroom sinks, and washing machines is delivered at a safe, consistent temperature.
But why store water at a scalding temperature only to cool it down right before it reaches your tap? The answer comes down to two critical factors: bacterial control and scalding protection.
The Legionella Battle
Legionella bacteria, which causes Legionnaires' disease, thrives and multiplies rapidly in stagnant water between 68°F and 122°F. To completely eliminate this risk, modern plumbing standards require water heaters to store water at 140°F (60°C). At this high temperature, bacteria cannot survive.
The Scalding Risk
While 140°F is great for killing bacteria, it is incredibly dangerous for human skin. Water at 140°F can cause severe, third-degree burns in less than five seconds. This is where the mixing valve becomes a lifesaver. By mixing a stream of cold water into the hot water as it leaves the tank, the valve lowers the distribution temperature to a safe 120°F. Water at 120°F takes more than five minutes of continuous contact to cause a serious burn, providing a crucial safety buffer for children, elderly family members, and pets.
In King County, local building codes heavily emphasize these safety standards to prevent accidental scald injuries while keeping domestic water systems sanitary. If you are running a modern tankless system or a traditional tank, maintaining this thermal balance is essential. For homes utilizing tankless technology, you can find More info about tankless systems to see how temperature regulation differs.
Here is a quick look at how water temperature directly correlates to skin burn times:
| Water Temperature | Time to Cause a Serious Burn (Scald) |
|---|---|
| 120°F (49°C) | More than 5 minutes |
| 125°F (52°C) | 1.5 to 2 minutes |
| 130°F (54°C) | About 30 seconds |
| 140°F (60°C) | Less than 5 seconds |
| 150°F (66°C) | About 1.5 seconds |
| 160°F (71°C) | About 0.5 seconds |
Step-by-Step Guide: Replacing Mixing Valve on Hot Water Tank

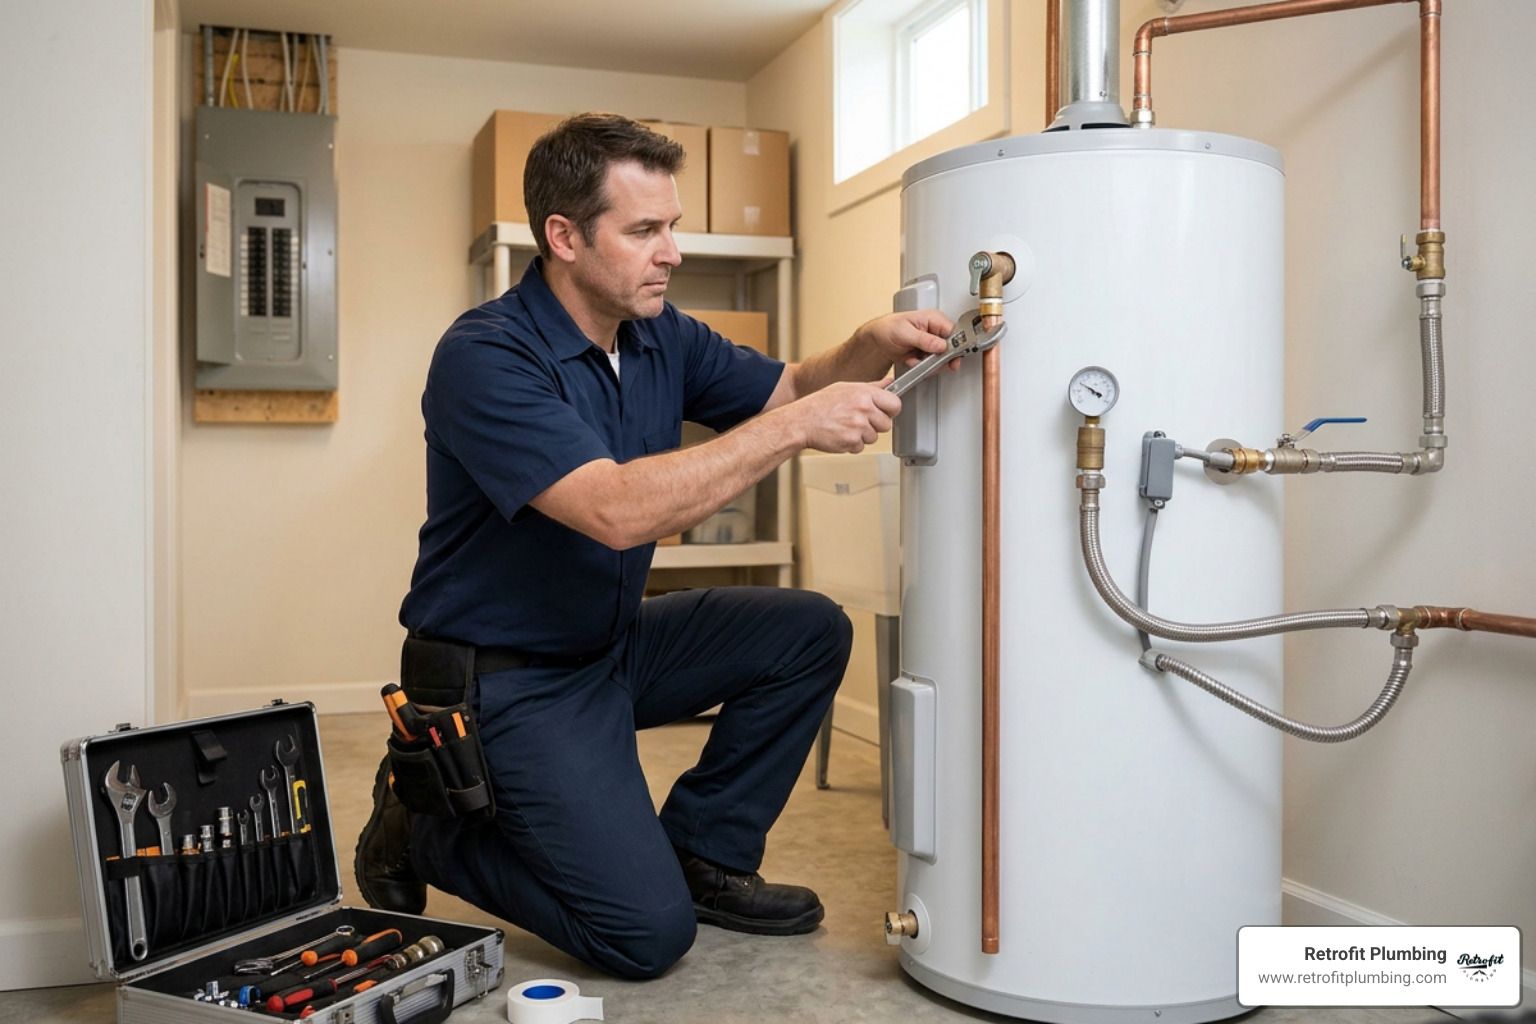
If you have determined that your valve is failing, tackling this job yourself is entirely possible with the right preparation. Before starting, you are dealing with pressurized, scalding-hot water. Safety must be your top priority.
Pre-Replacement Safety Steps
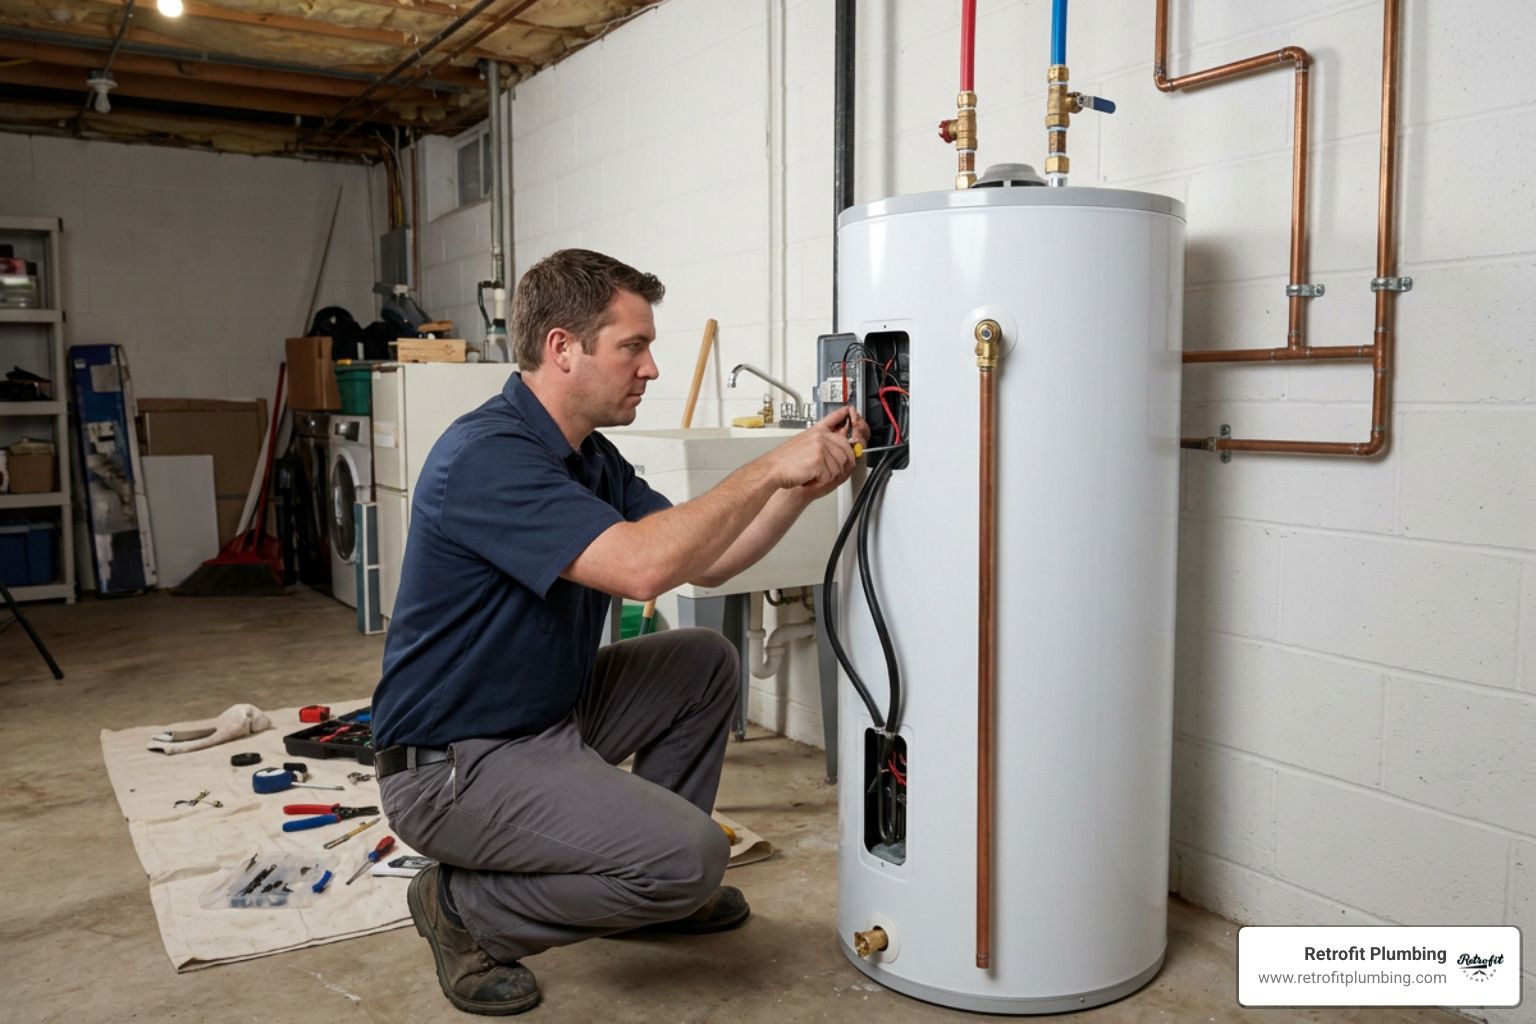
- Turn off the Power: For electric water heaters, switch off the dedicated breaker in your main electrical panel. For gas water heaters, turn the gas control valve to the "Pilot" or "Off" position.
- Shut Off the Water: Locate the cold water shut-off valve leading into your hot water tank and close it completely.
- Relieve System Pressure: Open a hot water faucet inside your home (such as a bathtub faucet) and leave it open. This allows air into the system and relieves built-up pressure.
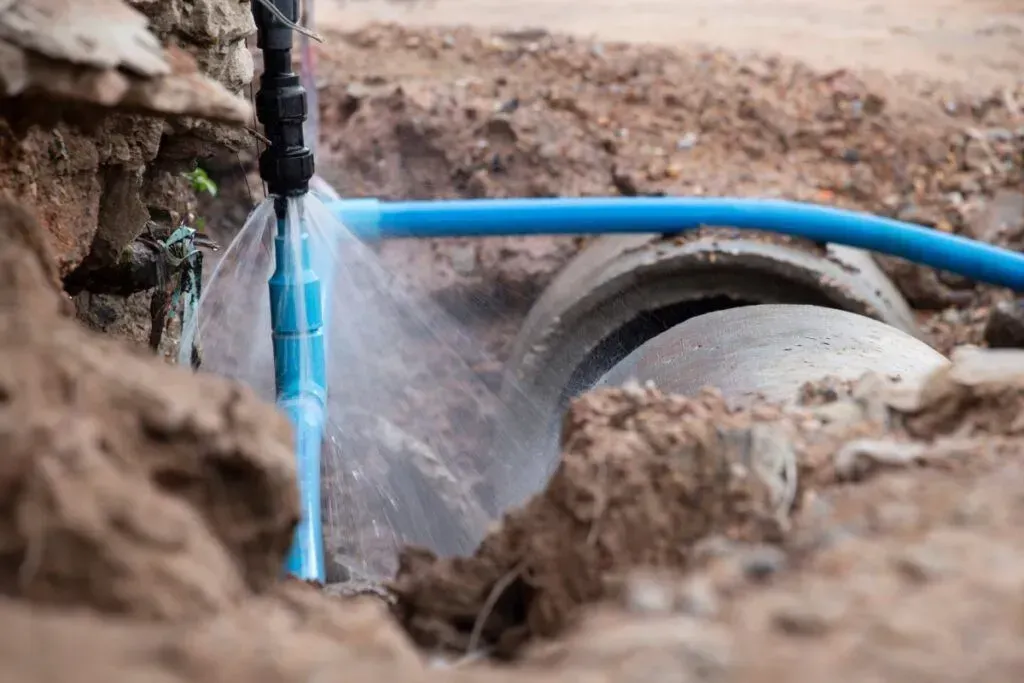
- Drain the Tank Partially: Connect a garden hose to the drain valve at the bottom of your water heater. Run the other end of the hose to a floor drain or outside. Open the drain valve and let a few gallons of water escape. You do not need to empty the entire tank; you only need to lower the water level below the mixing valve at the top of the tank.
- Let It Cool: Hot water and metal pipes retain heat. Let the system sit for a couple of hours to cool down, or use extreme caution and heavy-duty gloves to avoid thermal burns.
For a detailed visual overview of this process, you can consult this external Step-by-step mixing valve replacement guide.
Tools Required for Replacing Mixing Valve on Hot Water Tank
Before you begin disconnecting pipes, gather your tools. Having everything on hand prevents mid-project trips to the local hardware store in Covington or Kent.
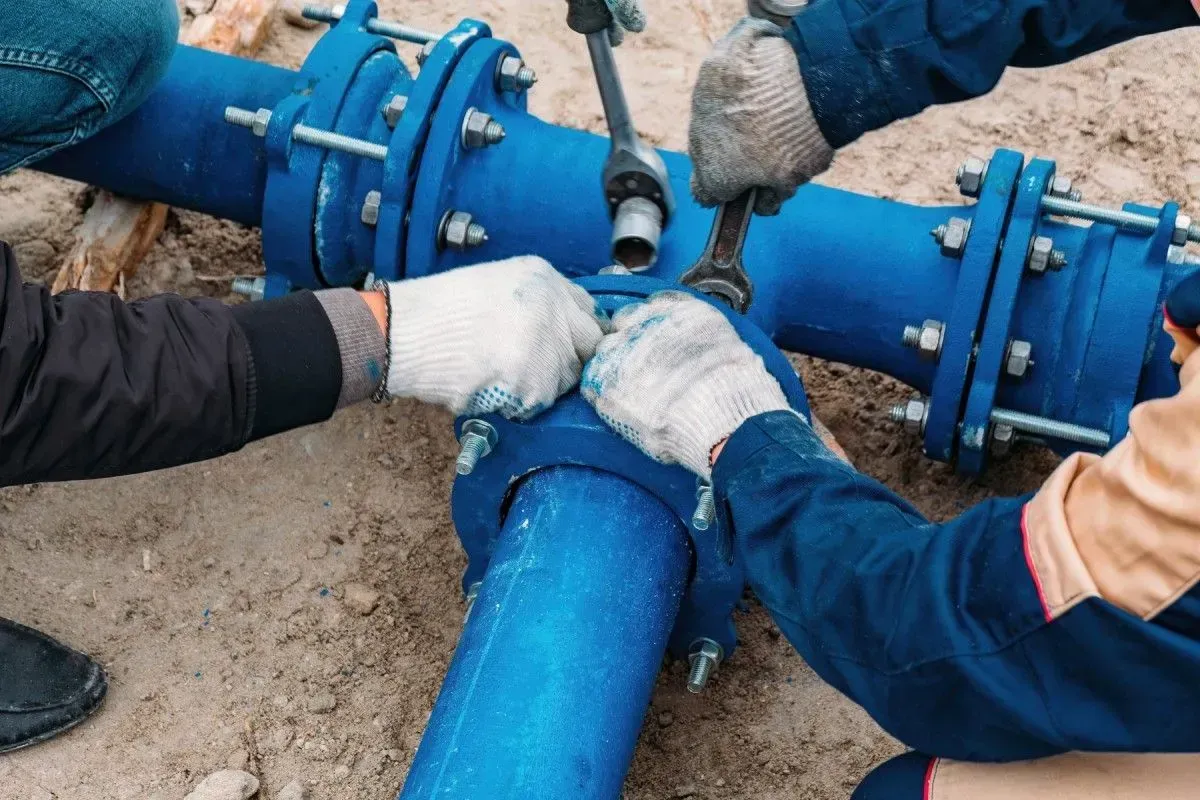
- Adjustable Wrenches (2): Using two wrenches is critical. One wrench holds the pipe steady to prevent twisting, while the other turns the union nut.
- Teflon Tape (PTFE Tape): Use high-quality pink or yellow tape, which is thicker and rated for hot water plumbing lines.
- Pipe Cutter: Needed only if you are dealing with rigid copper pipes that require cutting and re-soldering.
- Plumber's Putty or Silicone Sealant: Useful for securing external trim or specific gaskets.
- Safety Goggles and Heavy-Duty Gloves: To protect your eyes and hands from sudden hot water sprays or sharp pipe threads.
- Bucket and Rags: To catch the inevitable spills and drips when you break open the pipe connections.
If you notice any signs of moisture around the base of your tank while gathering your tools, take a look at our More info about water heater leaks to rule out larger tank failures before proceeding.
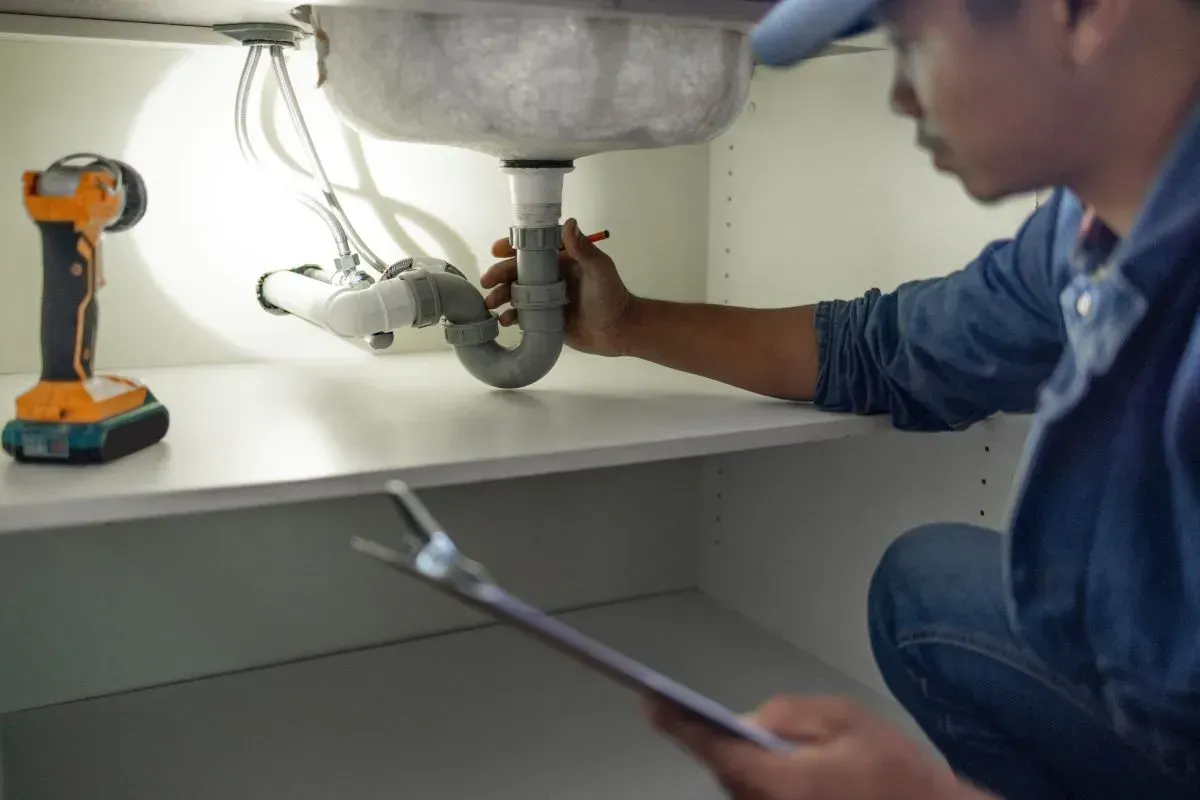
Removing the Old Valve and Installing the New One
With your tools ready and the water heater safely isolated, it is time to perform the physical swap.
- Document the Setup: Take a clear picture of the old valve on your smartphone. Mixing valves have three ports: Hot (H) from the tank, Cold (C) from the main supply line, and Mixed/Tempered (M or Mix) out to the house. You must connect the new valve exactly the same way.
- Disconnect the Union Nuts: Using your two adjustable wrenches, loosen the union nuts connecting the cold, hot, and mixed water lines to the valve. If your valve is soldered directly to copper pipes, you will need to cut the pipes close to the valve using a pipe cutter.
- Remove the Old Valve: Carefully slide the old valve out of place. Be prepared for a small amount of residual hot water to drain into your bucket.
- Clean the Pipe Threads: Inspect the existing pipe connections. Use an emery cloth or a stiff wire brush to clean away old thread sealant, tape, or mineral crust. A clean thread ensures a watertight seal.
- Apply Thread Sealant: Wrap the male threads of your connections with Teflon tape, winding clockwise 3 to 4 times.
- Mount the New Valve: Align the new valve according to your reference photo (matching Hot, Cold, and Mixed ports). Thread the union nuts on by hand to ensure they are not cross-threading.
- Tighten the Connections: Use your wrenches to snug up the connections. Be careful not to overtighten, as this can crack the internal rubber gaskets or damage the brass threads.
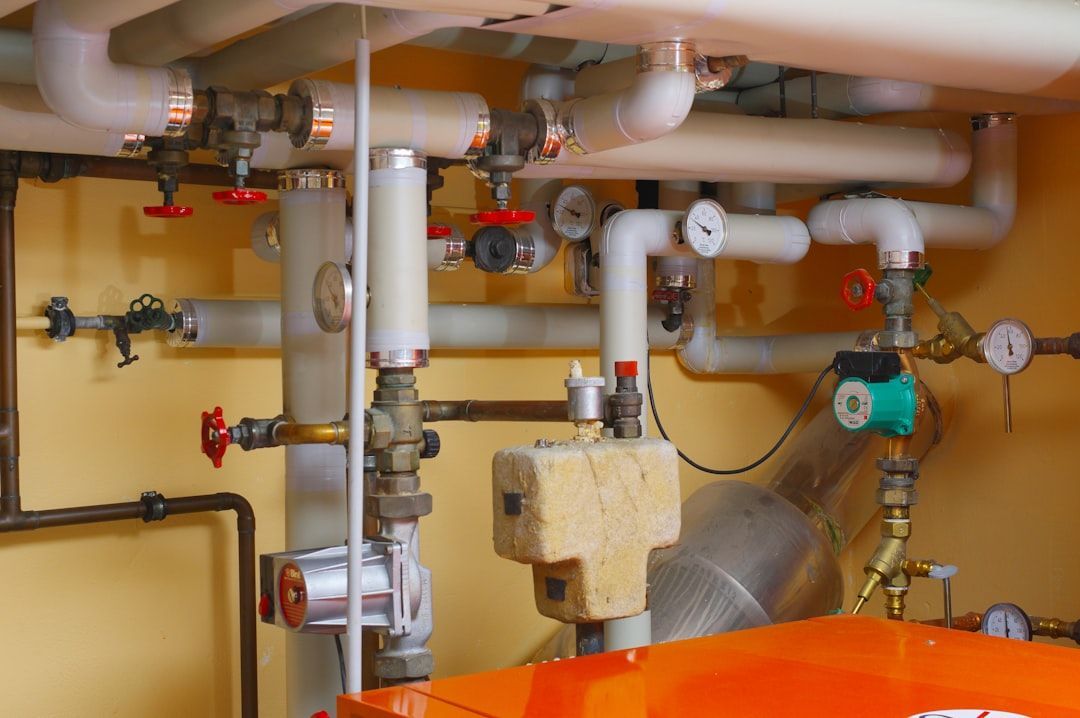
For specialized installations, such as boiler-integrated systems or tankless units, you can review the Technical specifications for thermostatic valves to ensure your flow rates and pressure settings match factory recommendations.
Risks of Bypassing or Removing the Mixing Valve

When a mixing valve fails, some homeowners are tempted to simply bypass or remove the valve altogether, connecting the hot water tank outlet directly to the home's hot water lines. While this might temporarily restore hot water, it introduces severe safety and efficiency risks.
- Severe Scalding Hazards: If you bypass the valve and keep your water heater set at 140°F, you risk instantaneous scald burns at your sinks and showers. This is incredibly dangerous for young children, who have thinner skin and slower reaction times.
- Legionella Proliferation: If you bypass the valve and decide to lower your water heater's thermostat to 120°F to prevent scalding, you create an ideal breeding ground inside your tank for Legionella bacteria.
- Plumbing Code Violations: Washington State and King County plumbing codes strictly mandate anti-scald protection for residential properties. Bypassing a safety device can result in failed inspections, home sale complications, or even voided homeowner's insurance policies if a water damage or injury claim occurs.
- Reduced System Capacity: Storing water at 140°F and mixing it down to 120°F effectively increases your home's usable hot water capacity. Bypassing the valve and lowering the tank to 120°F means you will run out of hot water much faster during morning showers.
If you have attempted a quick fix or find yourself in a plumbing bind, check out our More info about emergency repairs to get your system back to safe, code-compliant operation.
Troubleshooting and Testing Your New Valve
Once your new mixing valve is installed, you must test and calibrate it before calling the job complete.
- Check for Leaks: Slowly open the cold water inlet valve to repressurize the water heater. Watch the new connections closely. Wipe them down with a dry paper towel; if the towel picks up any moisture, tighten the union nuts slightly.
- Restore Power or Gas: Turn your electric breaker back on, or relight the pilot light on your gas water heater. Let the tank heat up fully (this usually takes about 45 to 60 minutes).
- Calibrate the Temperature: Go to the hot water faucet closest to the water heater. Turn it on fully and let it run for two minutes. Hold a digital thermometer under the stream.
- Adjust the Dial: If the water is above or below 120°F, return to the mixing valve. Most valves have a lockable dial or cap. Loosen the locking screw and turn the dial:
- Counter-clockwise usually increases the temperature (adds more hot water).
- Clockwise decreases the temperature (adds more cold water).
- Re-test: Make minor adjustments, wait a minute, and test the faucet temperature again until it reads consistently between 115°F and 120°F.
Hard Water and Pacific Northwest Water Quality
While our mountain-sourced water from the Cedar River watershed is relatively soft, homes in rural King County relying on private wells often face hard water. Over 5 to 6 years, calcium and mineral deposits can accumulate inside the mixing valve, causing the internal spring mechanism to seize. If you experience rapid calcification, you may also want to explore our More info about expansion tanks to see how thermal expansion and pressure fluctuations affect your overall system health.
Signs You Need to Consider Replacing Mixing Valve on Hot Water Tank
How do you know if your mixing valve is actually the problem, rather than a broken heating element or thermostat? Watch for these common warning signs:
- The "Thermal Rollercoaster": Your shower water shifts rapidly from freezing cold to scalding hot without anyone touching the handle.
- Lukewarm Water Only: Even when your water heater tank is hot to the touch, the water coming out of your taps is barely warm.
- Dripping and Corrosion: You notice green corrosion (patina) or active water droplets forming around the brass body of the mixing valve.
- Decreased Water Pressure: Mineral scale can choke the cold or hot inlets of the valve, drastically reducing hot water pressure throughout the house while cold pressure remains normal.
If you suspect your system's pressure and temperature balance is failing, you might also need to inspect your temperature and pressure relief valve. Read More info about relief valves to understand how these safety devices work together.
Frequently Asked Questions about Water Heater Valves
How long do thermostatic mixing valves last?
On average, a residential thermostatic mixing valve lasts between 5 and 10 years. In areas with high mineral content or hard water, they typically need to be replaced every 5 to 6 years due to mineral scaling and internal wear.
Can I replace a mixing valve without draining the entire tank?
Yes! You do not need to drain the entire tank. You only need to shut off the cold water supply and drain enough water to bring the water level below the hot water outlet pipe (usually 2 to 3 gallons). This saves time and conserves water.
Is a mixing valve required by plumbing code in Washington State?
Yes. Under the Washington State Plumbing Code, mixing valves or tempering valves are required on new water heater installations and replacements to prevent accidental scalding and ensure domestic hot water safety.
Conclusion
Replacing the mixing valve on a hot water tank is one of the most cost-effective ways to restore safe, comfortable hot water to your home without the massive expense of buying a new water heater.
While many homeowners in Covington, Bellevue, Renton, and Kent can tackle this as a weekend DIY project, working with pressurized plumbing and electrical systems carries real risks. If you run into stubborn, corroded copper pipes, or if you simply want the peace of mind that comes with a professional installation, we are here to help.
At Retrofit Plumbing, we serve communities across King County—from families enjoying Lake Meridian to our neighbors at the annual Covington Days festival. We back our residential plumbing services with honest pricing, fully stocked trucks for same-day service, and our 100% satisfaction guarantee.
Don't spend another day dealing with lukewarm showers or unpredictable water temperatures. Schedule professional water heater repair with our licensed plumbing team today, and we'll get your hot water system running safely and efficiently.