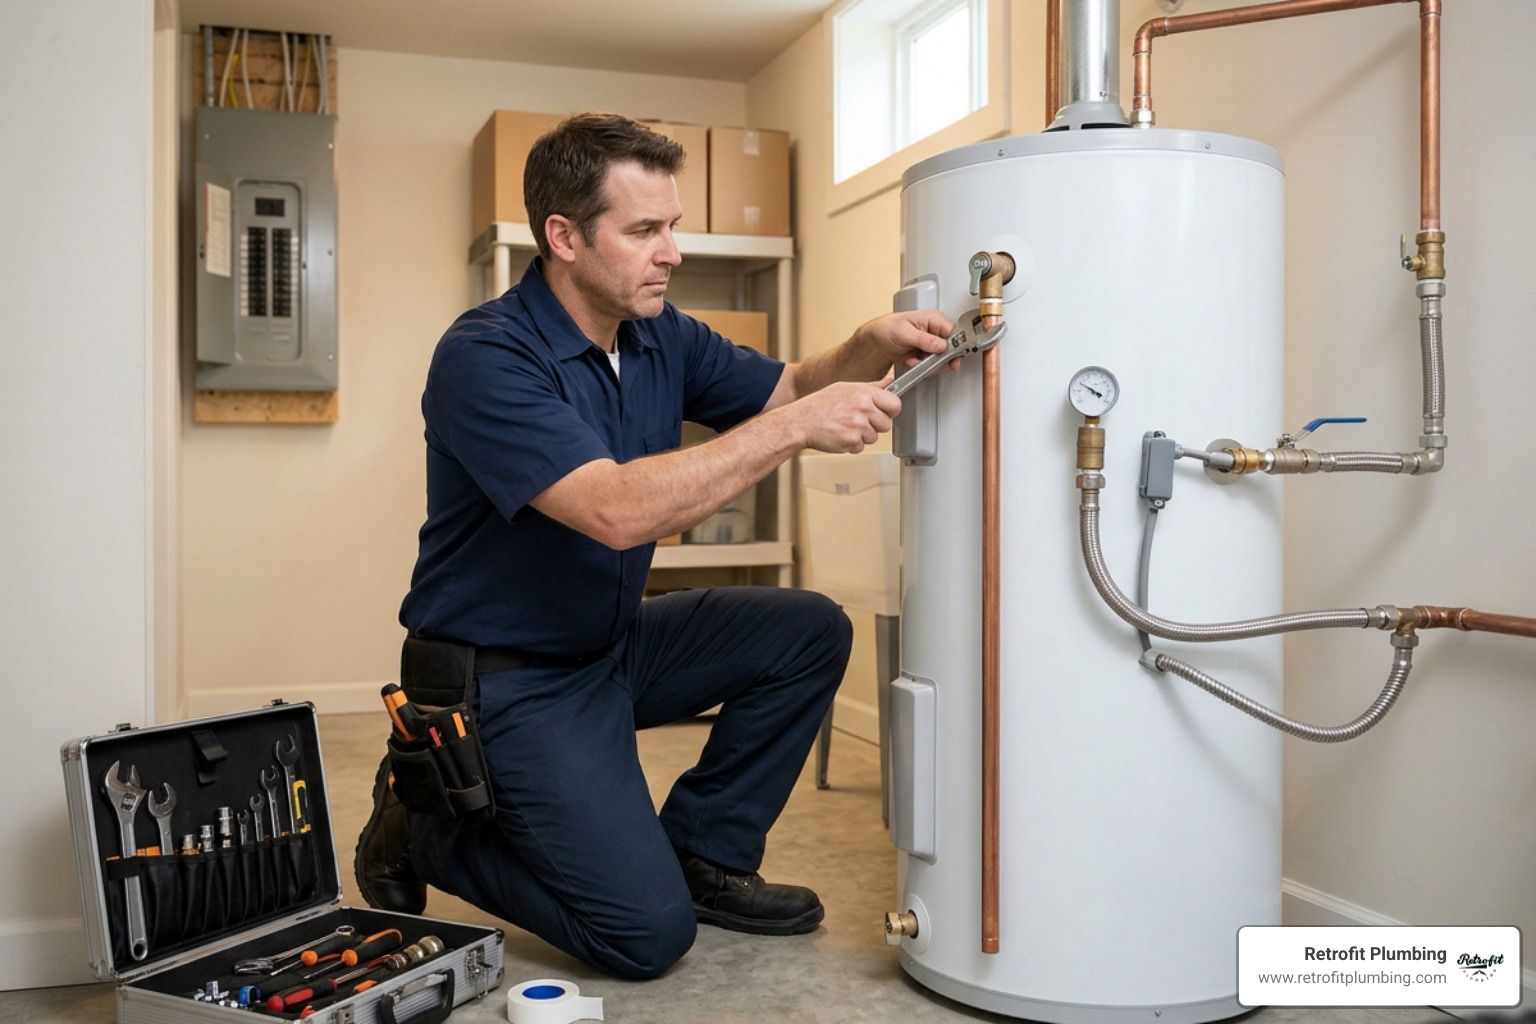
A Small Pipe Leak Can Cause Big Damage Fast
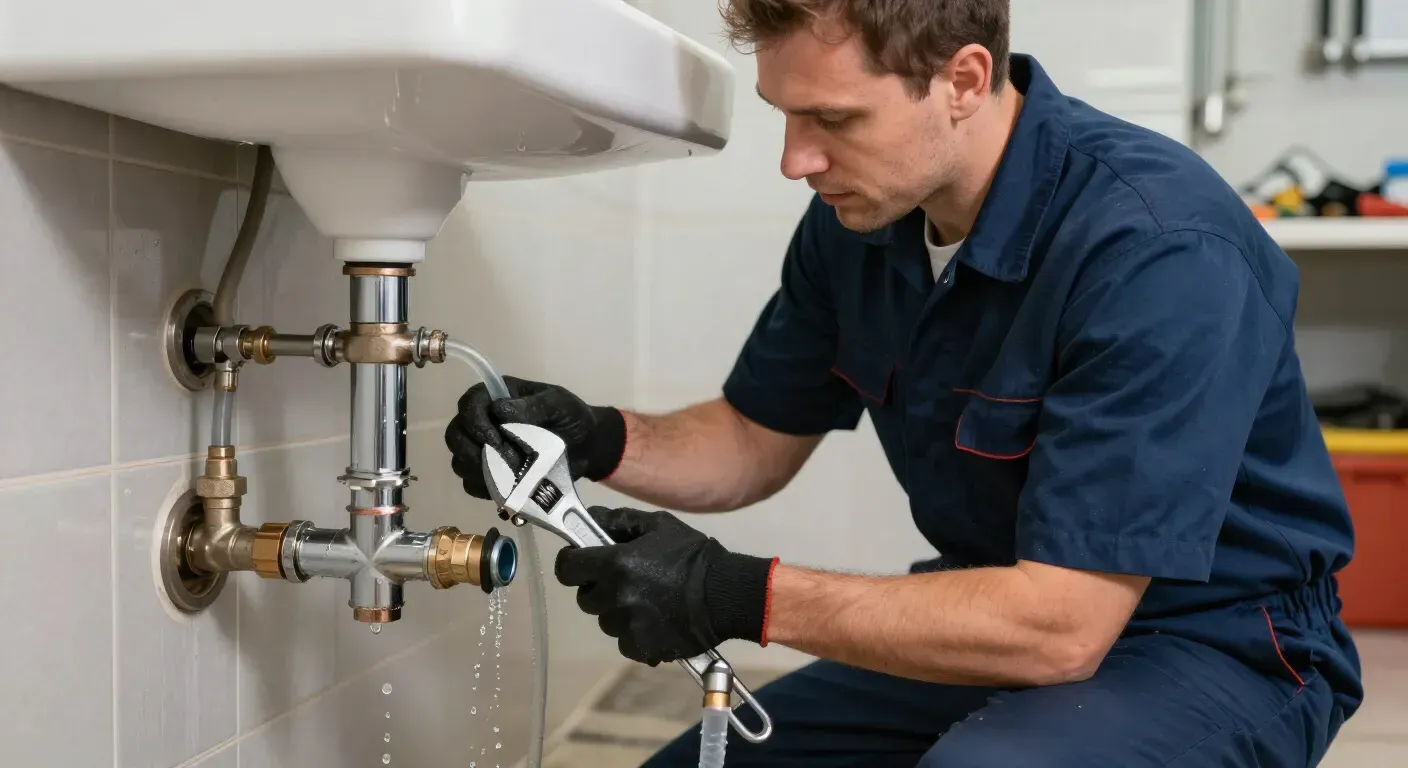
Fixing small leaks in pipes is something most South Sound homeowners will face at least once — and acting fast is what separates a $20 repair from a $5,000 water damage bill.
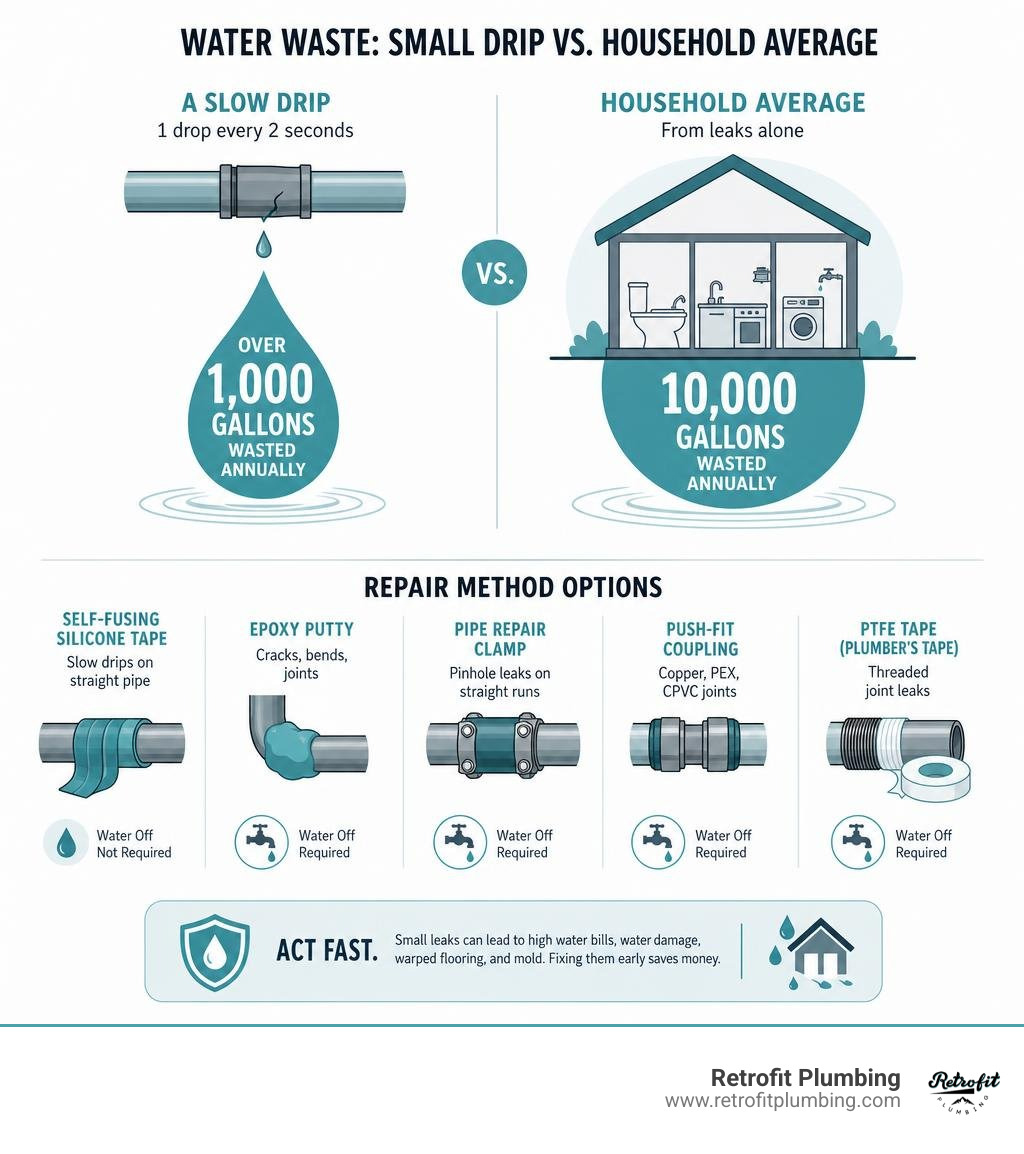
Here are the most effective methods, at a glance:
| Method | Best For | Tools Needed | Water Off Required? |
|---|---|---|---|
| Self-fusing silicone tape | Slow drips on straight pipe | None | No (slow drips only) |
| Epoxy putty | Cracks, bends, joints | Gloves, sandpaper | Yes |
| Pipe repair clamp | Pinhole leaks on straight runs | Wrench | Yes |
| Push-fit coupling (SharkBite) | Copper, PEX, CPVC joints | Pipe cutter | Yes |
| PTFE tape (plumber's tape) | Threaded joint leaks | Wrench | Yes |
The stakes are real. The average U.S. household wastes 10,000 gallons of water per year from leaks alone — and even a tiny drip at one drop every two seconds adds up to more than 1,000 gallons wasted annually. A leak left unattended doesn't just run up your water bill. It soaks into drywall, warps flooring, and creates the damp conditions that mold loves.
The good news? Most small leaks are fixable with basic tools and materials you can grab at a hardware store — if you know what you're dealing with and which repair method matches your pipe type.
I'm Josh Klimp, and with over 20 years of hands-on plumbing experience across residential and commercial properties in the Pacific Northwest, I've seen how the right approach to fixing small leaks in pipes can save homeowners thousands in damage. In the sections below, I'll walk you through exactly what to do — from identifying the leak to choosing the right permanent fix.
Common Causes and Detection of Small Pipe Leaks
Before we grab our wrenches, we need to understand why pipes start leaking in the first place. In Western Washington, we experience unique environmental factors that put extra stress on residential plumbing.
From the damp, evergreen-rich soils of Covington to the hillside properties of Bellevue, our local environment plays a surprisingly large role in how our home plumbing ages.
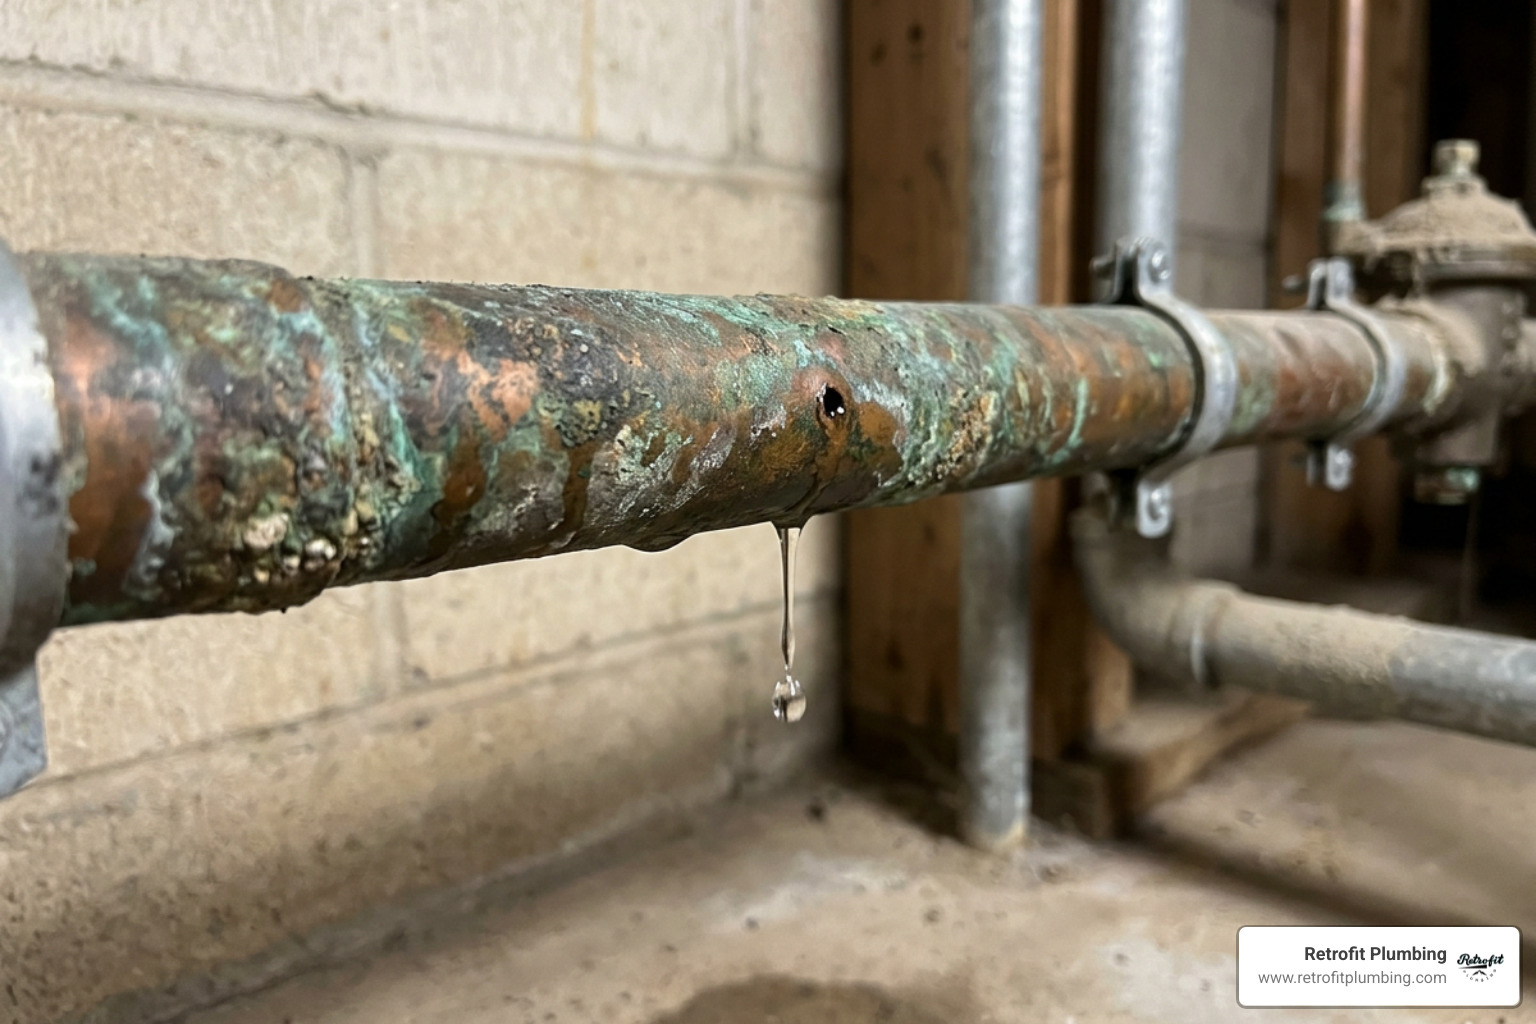
Here are the most common culprits behind small pipe leaks:
- Internal Corrosion and Mineral Buildup: Over time, calcium and heavy metals present in the water supply settle inside metal pipes. This is especially true for older homes in Tacoma and Seattle with aging copper or galvanized steel lines. This buildup triggers chemical reactions that slowly eat away at the metal, eventually causing tiny, pinhole-sized leaks.
- High Water Pressure: Many homeowners love a high-pressure shower, but anything over 80 PSI (pounds per square inch) puts extreme stress on your pipe joints, water heater, and fixtures. If your home lacks a properly functioning pressure reducing valve (PRV), small leaks will inevitably develop at the weakest points in your system.
- Freeze-Thaw Cycles: Pacific Northwest winters are famous for sudden cold snaps. When water freezes inside an uninsulated pipe in your crawlspace or attic, it expands. Even if the pipe doesn't completely burst, the pressure can create microscopic fractures or loosen joint connections, which start dripping as soon as the weather warms up.
- Tree Root Intrusion: Out in the yard, the roots of towering Douglas firs and Western red cedars are constantly seeking moisture. These powerful roots can easily find microscopic cracks in underground water or sewer lines, wrapping around the pipes and widening the gaps to cause persistent outdoor leaks.
To help local residents manage these issues, the city utilities provide helpful resources like the Bellevue Water Leaks Guide. If you suspect a leak but cannot find the source, seeking professional assistance is highly recommended. You can read our Leak Detection Service Complete Guide or visit our dedicated Services Leak Detection page to learn how we locate hidden water issues without tearing your walls apart.
How to Safely Locate a Hidden Leak
Not all leaks announce themselves with a dramatic puddle. In fact, some of the most destructive leaks are silent, slow drips hidden behind drywall, under subfloors, or deep within crawlspaces.
If you suspect you have a leak but don't see water, the best place to start is with a whole-house water meter check:
- Turn off every single water fixture inside and outside your home (washing machine, dishwasher, faucets, and ice makers).
- Locate your water meter box (usually near the street curb) and open the lid.
- Note the position of the sweep hand or the digital reading. Many meters also have a small, triangular "low flow" indicator dial that spins if even a tiny amount of water is moving through the system.
- Wait 15 to 20 minutes without using any water.
- Check the meter again. If the dial has moved or the low-flow indicator is spinning, you have a leak somewhere in your plumbing system.
Once you know a leak exists, perform a thorough visual inspection. Check under your kitchen and bathroom sinks for damp cabinet bases, warped particle board, or mineral staining around joint connections. Keep an eye out for bubbling drywall, peeling wallpaper, or unexplained mold growth along baseboards.
In communities near Jenkins Creek in Covington or around the wet slopes of Cougar Mountain in Bellevue, natural humidity can sometimes mask early signs of moisture. To catch these issues before they rot your subfloors, installing a specialized Bathroom Leakage Detector can provide 24/7 peace of mind.
If the leak remains hidden, specialized local leak detection services are available across our service areas. For professional assistance in your specific neighborhood, our team at Retrofit Plumbing offers expert leak detection services throughout Kent, Tacoma, Seattle, Kirkland, and the surrounding Puget Sound communities to find and resolve hidden water issues quickly.
Temporary Methods for Fixing Small Leaks in Pipes Without Shutting Off Water
We have all been there: it is late at night, you discover a small drip, and you don't want to shut off the water to the entire house and leave your family without working bathrooms until morning. While we always recommend shutting off the water supply for a permanent repair, there are a few clever tricks to manage a minor, low-pressure drip while the system is still live.
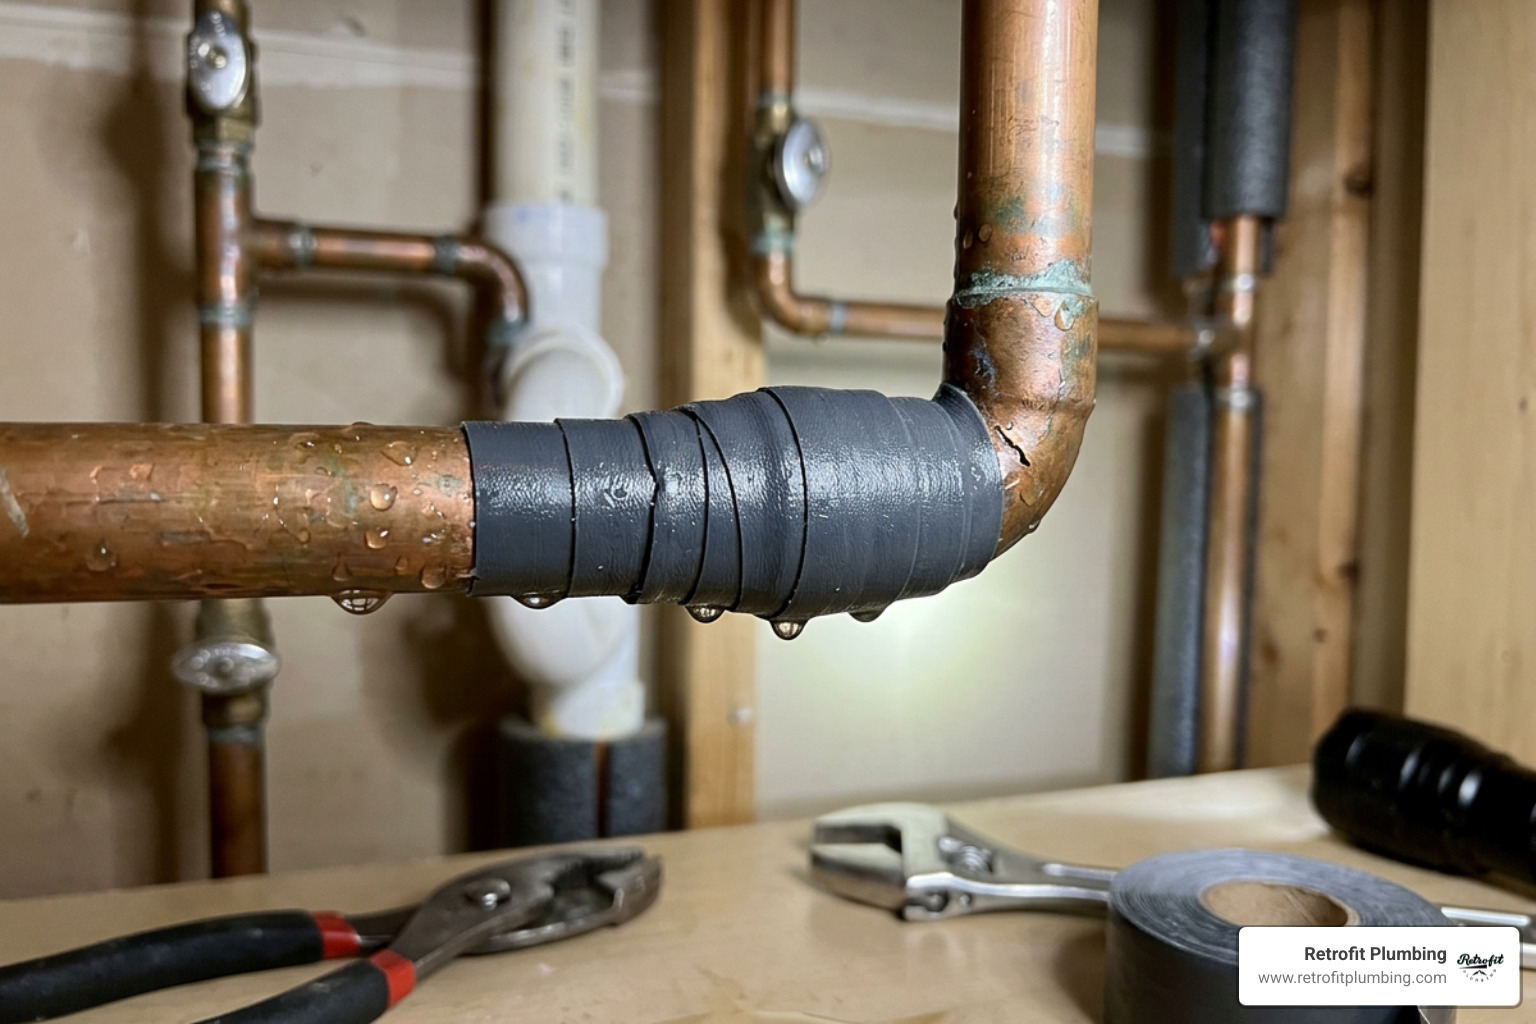
- Self-Fusing Silicone Tape: This is the absolute king of no-shutoff emergency repairs. Unlike duct tape, which relies on adhesive that quickly degrades in wet conditions, self-fusing silicone tape bonds to itself when stretched. To apply it, start an inch or two before the leak. Pull the tape tight, stretching it to about double its length, and wrap it around the pipe, overlapping each pass by 50%. The tension creates a seamless, watertight compression barrier.
- Specially Formulated Pipe Wraps: Products like Quick Seal Pipe Repair Nu-Calgon feature knitted fiberglass tape impregnated with water-activated polyurethane resin. While best applied with the water off, some heavy-duty composite wraps can seal very slow, low-pressure drips on contact.
- Emergency Compound Sticks: These are wax-like sticks that you rub directly over a small pinhole leak. The compound fills the tiny hole and hardens slightly to stop the dripping.
- The Garden Hose Patch: If you are in a pinch and have no plumbing supplies, you can cut a 3-inch section of an old rubber garden hose, slit it down the middle, wrap it tightly around the leaking pipe section, and secure it firmly on both sides using adjustable hose clamps.
For a deeper dive into these fast emergency fixes, check out the guide on DIY Small Pipe Leak Repair | DoItYourself.com. These methods are strictly temporary. They buy you time to plan a proper fix, but they should not be relied on for more than a day or two.
Step-by-Step Guide to Permanent DIY Pipe Repairs
When you are ready to transition from a quick band-aid to a permanent fix, you must prepare the work area properly. A permanent repair requires a clean, dry pipe surface so that the replacement fittings, cements, or epoxies can bond successfully.
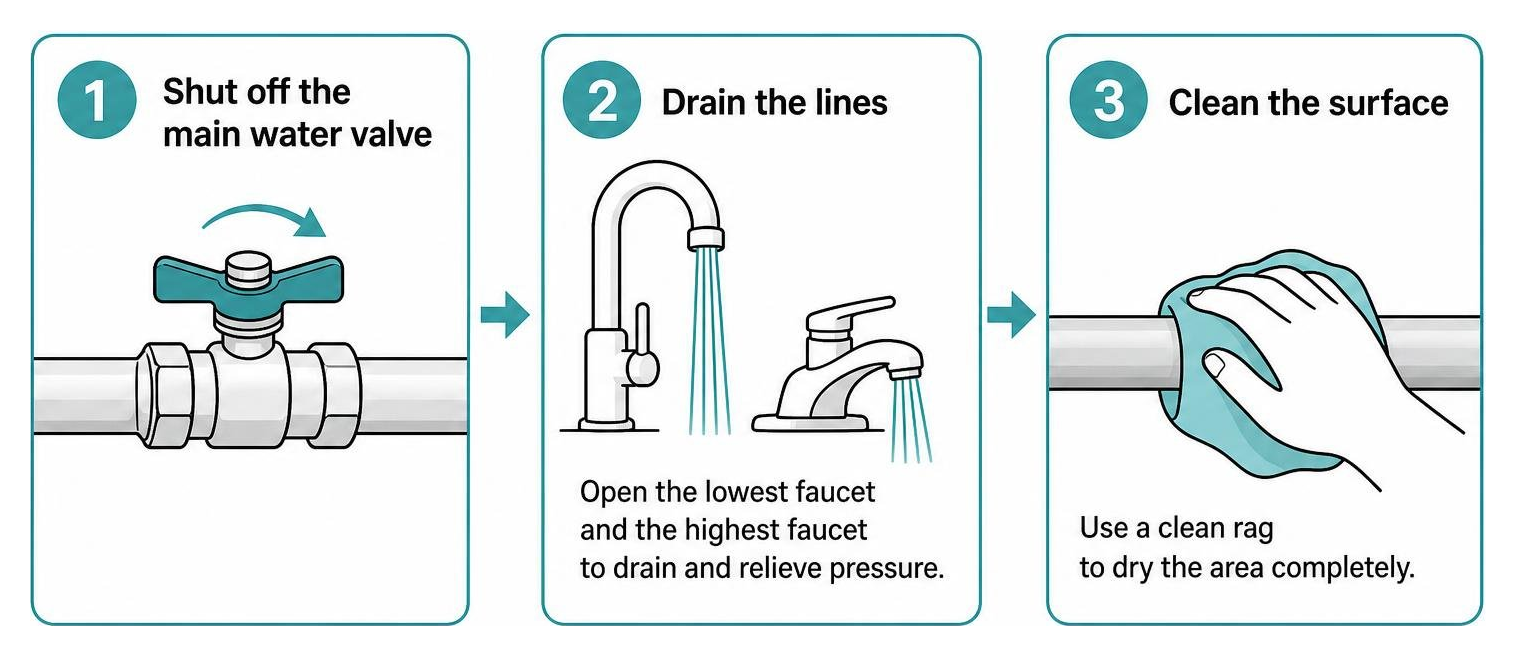
Follow this universal preparation sequence before attempting any permanent repair:
- Shut off the main water valve: Locate your main shutoff valve (usually in the garage, basement, or near the street) and close it fully.
- Drain the lines: Open the lowest faucet in your home (such as an outdoor hose bib or laundry sink) and the highest faucet to relieve system pressure and drain remaining water out of the pipes.
- Clean the surface: Use a clean rag to dry the area completely.
- Roughen the pipe: Use 200-grit sandpaper or a metal file to lightly scuff the pipe surface around the leak. This gives epoxies and clamps a textured surface to grip onto.
Depending on your comfort level and the pipe material, you will generally choose between three primary permanent repair methods.
Here is how they compare:
| Repair Option | Best Material Compatibility | Cure Time | Skill Level | Tools Needed |
|---|---|---|---|---|
| Epoxy Putty | PVC, CPVC, Copper, Steel | 30–60 minutes | Beginner | Sandpaper, gloves |
| Pipe Repair Clamp | Copper, Galvanized Steel | Immediate | Beginner | Wrench, screwdriver |
| Push-Fit Coupling | Copper, PEX, CPVC | Immediate | Intermediate | Pipe cutter, deburring tool |
For more details on selecting the right tools, refer to the How to Fix a Leaking Pipe (Step-by-Step Guide) - PlumbingToolsReview. If the leak is located directly at a joint, you can also explore techniques on How to Fix a Leaking Pipe Joint in 5 Minutes Without Cutting Pipe.
Fixing Small Leaks in Pipes Made of Copper or PEX
Copper and PEX (cross-linked polyethylene) are the two most common materials used for water supply lines. While copper is durable, it is susceptible to pinhole leaks from corrosion. PEX is flexible and freeze-resistant, but leaks can occasionally occur at joint connections if crimp rings are not properly calibrated.
If you have a pinhole leak in a copper line, you can easily replace the damaged section with flexible PEX tubing using push-to-connect fittings. This eliminates the need for dangerous soldering torches in tight joist spaces. For a detailed walkthrough of this process, read our guide on Fixing Copper Pipe Leak with PEX.
For a quick, reliable copper repair without soldering, push-fit fittings are incredibly effective. Here is how to use them:
- Turn off the water and drain the system.
- Use a pipe cutter to remove the damaged section of copper pipe containing the leak (keep the cut as small as possible, usually about 1 inch).
- Use a deburring tool to clean the inside and outside edges of the cut copper pipe. Any copper burrs left behind can slice the rubber O-ring inside the push-fit coupling, causing it to leak.
- Mark the correct depth on the pipe ends using a depth gauge tool.
- Push the slip coupling onto one end of the copper pipe, then use a disconnect clip to slide it back over the gap onto the joining pipe until it hits your depth mark.
Using these advanced push-fit fittings makes repairing pinhole leaks simple and permanent. You can read more about this technology on Fixing Pinhole Leaks: How SharkBite Makes it Easy |SharkBite.
If you are dealing with a PEX line leak, the issue is almost always a loose crimp ring at a joint. To learn how to test, calibrate, and re-crimp these lines, check out our guide on Fixing PEX Water Line.
Fixing Small Leaks in Pipes Made of PVC or CPVC
PVC (white plastic) is typically used for cold water supply and drain lines, while CPVC (cream-colored plastic) is rated for both hot and cold water. Because plastic pipes are joined using solvent welding, repairing a leak at a joint usually requires cutting out the bad fitting and gluing in a new one.
To perform a permanent PVC or CPVC repair:
- Cut out the leak: Use a plastic pipe cutter to slice through the pipe on both sides of the leaking joint or crack.
- Dry and prep: Wipe the pipe ends completely dry. Use sandpaper to deburr the edges and lightly scuff the exterior of the pipe where the new fittings will sit.
- Apply primer and cement: Apply a layer of purple primer to the outside of the pipe and the inside of the new coupling. While the primer is still wet, apply PVC or CPVC solvent cement to both surfaces.
- Insert and twist: Push the new coupling onto the pipe with a quarter-turn twist to distribute the glue evenly. Hold it firmly in place for 10 to 15 seconds to prevent the pipe from pushing out.
- Let it cure: Standard PVC cement requires at least one hour to cure before you can repressurize the system. However, if you are working on a main water line and need to minimize household downtime, you can use fast-curing specialty cements (often called "hot glue") which can be safely pressurized in as little as 10 to 20 minutes for small-diameter residential pipes.
When to Call a Professional Plumber in Covington
While we love empowering homeowners to handle basic DIY projects, some plumbing issues require specialized tools, heavy equipment, and licensed expertise. Attempting a complex repair on your own can sometimes turn a minor issue into a major structural emergency.
We highly recommend calling us at Retrofit Plumbing if you experience any of the following:
- Leaks Inside Walls or Ceilings: If water is dripping behind drywall or pooling in a ceiling, locating the exact source without causing unnecessary structural damage requires specialized acoustic and thermal leak detection equipment.
- Galvanized Steel Pipe Failures: Older galvanized pipes corrode from the inside out. When you try to tighten a clamp or cut into a rusted galvanized line, the brittle metal can easily crumble, turning a tiny drip into a major burst pipe.
- Leaks Near Electrical Fixtures: If a pipe is dripping near electrical outlets, breaker boxes, or light fixtures, do not touch the pipe! Shut off the power at your main breaker panel immediately and call a professional.
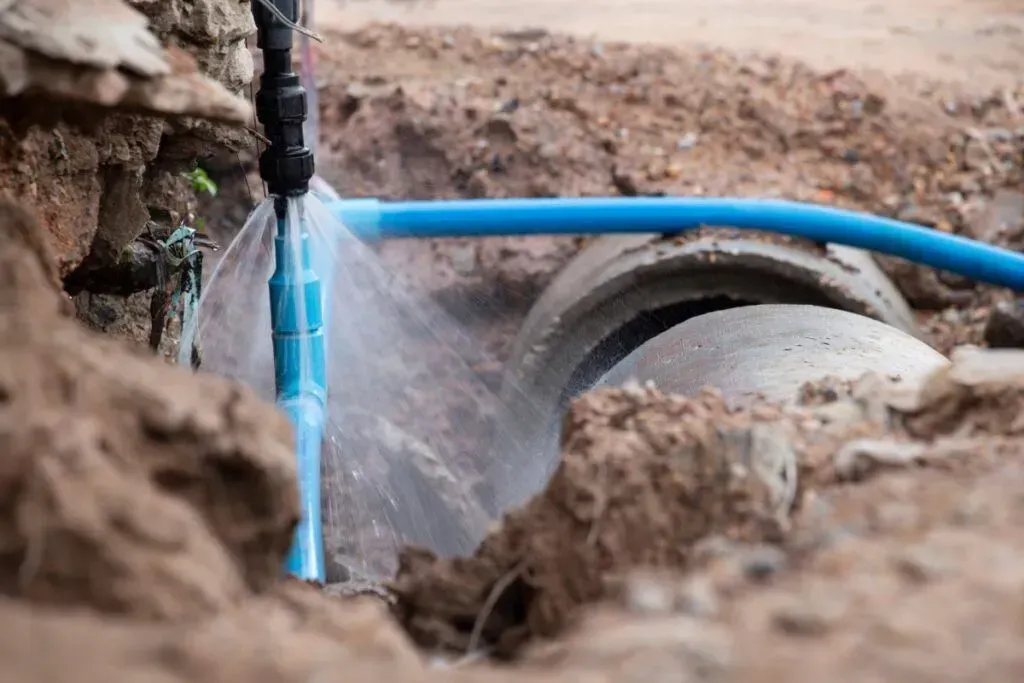
- Main Water Line Leaks: If you have a leak in the underground supply line between your water meter and your home, the repair requires excavation, trenching, and compliance with local Washington state building codes.
If you are dealing with a severe pipe failure, read our Burst Pipe Repair Complete Guide or visit our Services Broken Pipes Repair page to see how we handle emergency situations. For underground issues, our guide on Fixing Underground Water Pipe explains how we locate and repair buried water lines.
We proudly serve communities throughout King and Pierce counties. If you live in Renton, Kent, Bellevue, or the Auburn area, our team at Retrofit Plumbing is ready to provide fast, reliable assistance to get your system back in perfect working order.
Frequently Asked Questions About Pipe Leak Repair
How long do temporary pipe repairs last?
A high-quality temporary repair, such as a stainless steel pipe clamp or self-fusing silicone tape, can easily stop a leak for several weeks or even months. However, they should never be treated as permanent solutions.
Plumbing systems experience constant temperature fluctuations as hot and cold water run through them. This causes metal and plastic pipes to expand and contract. Over time, these subtle movements will loosen temporary clamps, crack hardened epoxies, and cause the leak to return — often when you are away from home. We highly recommend scheduling a permanent repair within 24 to 48 hours of applying any temporary fix.
Can I use duct tape or Flex Seal to fix a leaking pipe?
No. Duct tape is designed for air ducts and general household binding; its adhesive breaks down quickly when exposed to moisture and pressure.
While liquid rubber sealants and sprays like Flex Seal are great for non-pressurized applications (like rain gutters or roof leaks), they are not rated to withstand the active 50+ PSI pressure inside a residential water supply line. Using them on a pressurized pipe will result in a rapid, messy failure.
What is the ideal water pressure for home plumbing?
Most residential plumbing systems in Western Washington are designed to operate safely between 50 and 70 PSI. If your water pressure exceeds 80 PSI, it puts extreme stress on your pipe joints, water heater, and appliances, drastically increasing the likelihood of sudden pinhole leaks and burst lines.
You can easily test your home's water pressure by screwing a simple $10 pressure gauge onto your outdoor hose bib. If the reading is consistently above 80 PSI, you likely need to have your pressure reducing valve (PRV) adjusted or replaced by a professional.
Conclusion
Fixing small leaks in pipes is a highly manageable DIY task if you catch the issue early, prepare the surface properly, and match the repair method to your specific pipe material. Whether you are wrapping a temporary layer of self-fusing silicone tape around a copper line or solvent-welding a new CPVC joint, taking immediate action is the key to protecting your home from water damage.
At Retrofit Plumbing, we are dedicated to helping our neighbors keep their homes safe, dry, and efficient. From our home base in Covington, WA, to the surrounding communities of Bellevue, Renton, Kent, Tacoma, Seattle, Auburn, and Kirkland, we provide honest pricing, fully stocked trucks, same-day service, and a 100% satisfaction guarantee.
If you suspect a hidden leak, need help with a complex copper-to-PEX transition, or require a complete water line replacement, don't wait for a small drip to become a major disaster. Contact us today or visit our Main Water Line Install & Repair Services page to schedule a professional inspection with our expert team!