When a Copper Pipe Leaks, PEX Is Your Fastest Fix
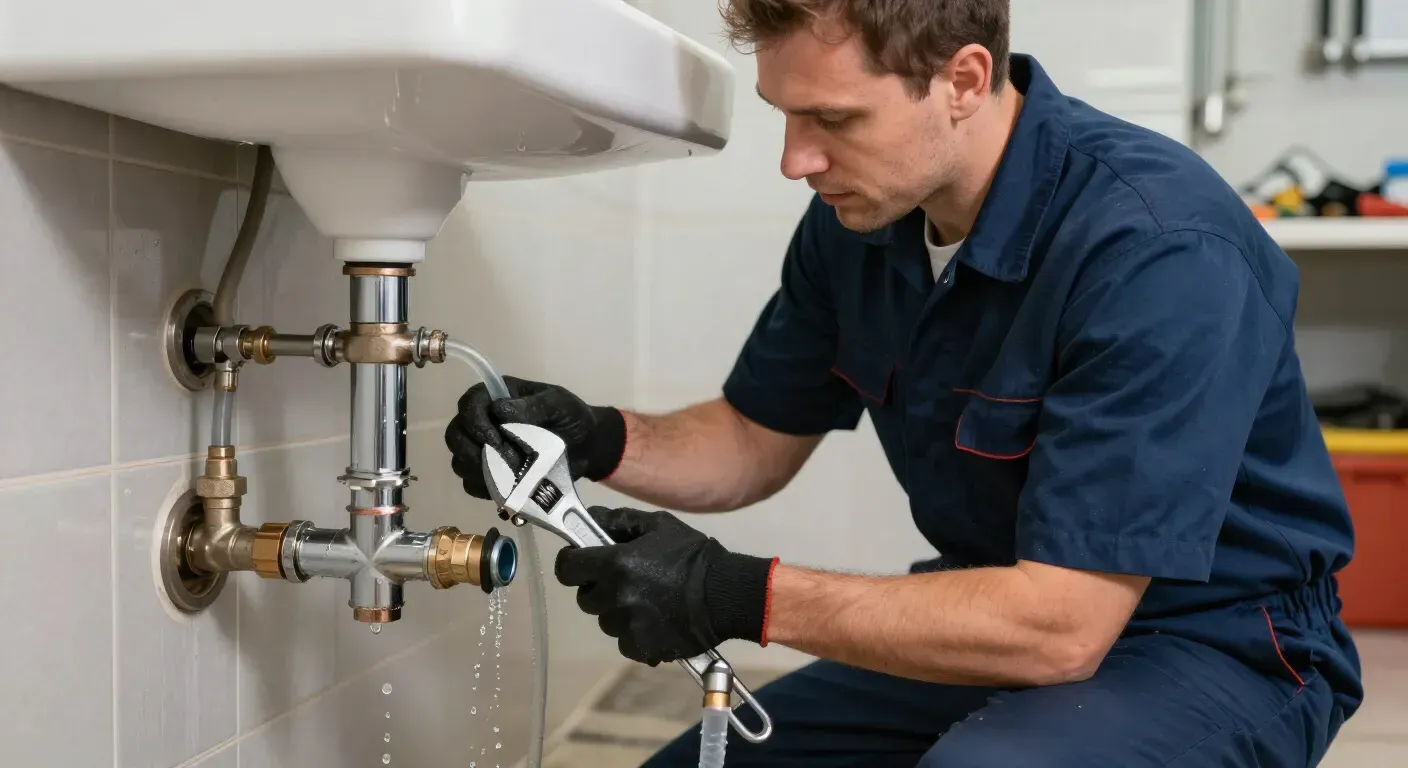
Fixing copper pipe leak with pex is one of the most practical repairs a South Sound homeowner can make — no torch, no solder, no contractor waiting three weeks out.
Here's the quick answer:
- Shut off the water at the main or branch shutoff valve
- Cut out the damaged copper section using a wheel-type pipe cutter
- Deburr both copper ends with a deburring tool or emery cloth
- Mark the insertion depth on both the copper and PEX tubing
- Push a SharkBite (or similar) push-fit fitting onto the copper end until it seats
- Insert the PEX tubing into the other end of the fitting to the marked depth
- Restore water pressure slowly and check for drips
That's the core process. It works for pinhole leaks, corroded sections, and burst spots — and it takes most homeowners one to three hours with basic tools.
If your home was built around 1986 — like many in Covington, Maple Valley, and the surrounding South Sound area — your copper pipes are pushing 40 years old. That's right in the window when pinhole leaks start showing up. Corrosion, mineral buildup, and years of Pacific Northwest water chemistry take their toll, and one small drip in a crawlspace or behind a shower wall can quietly ruin drywall, subfloor, and insulation before you ever notice it.
The good news? You don't need a full repipe to get ahead of it. A solder-free PEX repair is fast, affordable, and built to last.
I'm Josh Klimp, and over my 20+ years running a plumbing company focused on residential and commercial remodel work across the South Sound, I've repaired and replaced hundreds of corroded copper lines — fixing copper pipe leak with pex is one of the most common and cost-effective solutions I reach for. Let me walk you through exactly how it's done.
Why Fixing Copper Pipe Leak with PEX is the Best Choice for NW Homes
When we get called out to a home in Bellevue or Renton for Leak Detection, the culprit is often a tiny, "green" crusty spot on a copper line. These pinhole leaks are deceptive; they look small, but they indicate the pipe is thinning from the inside out.
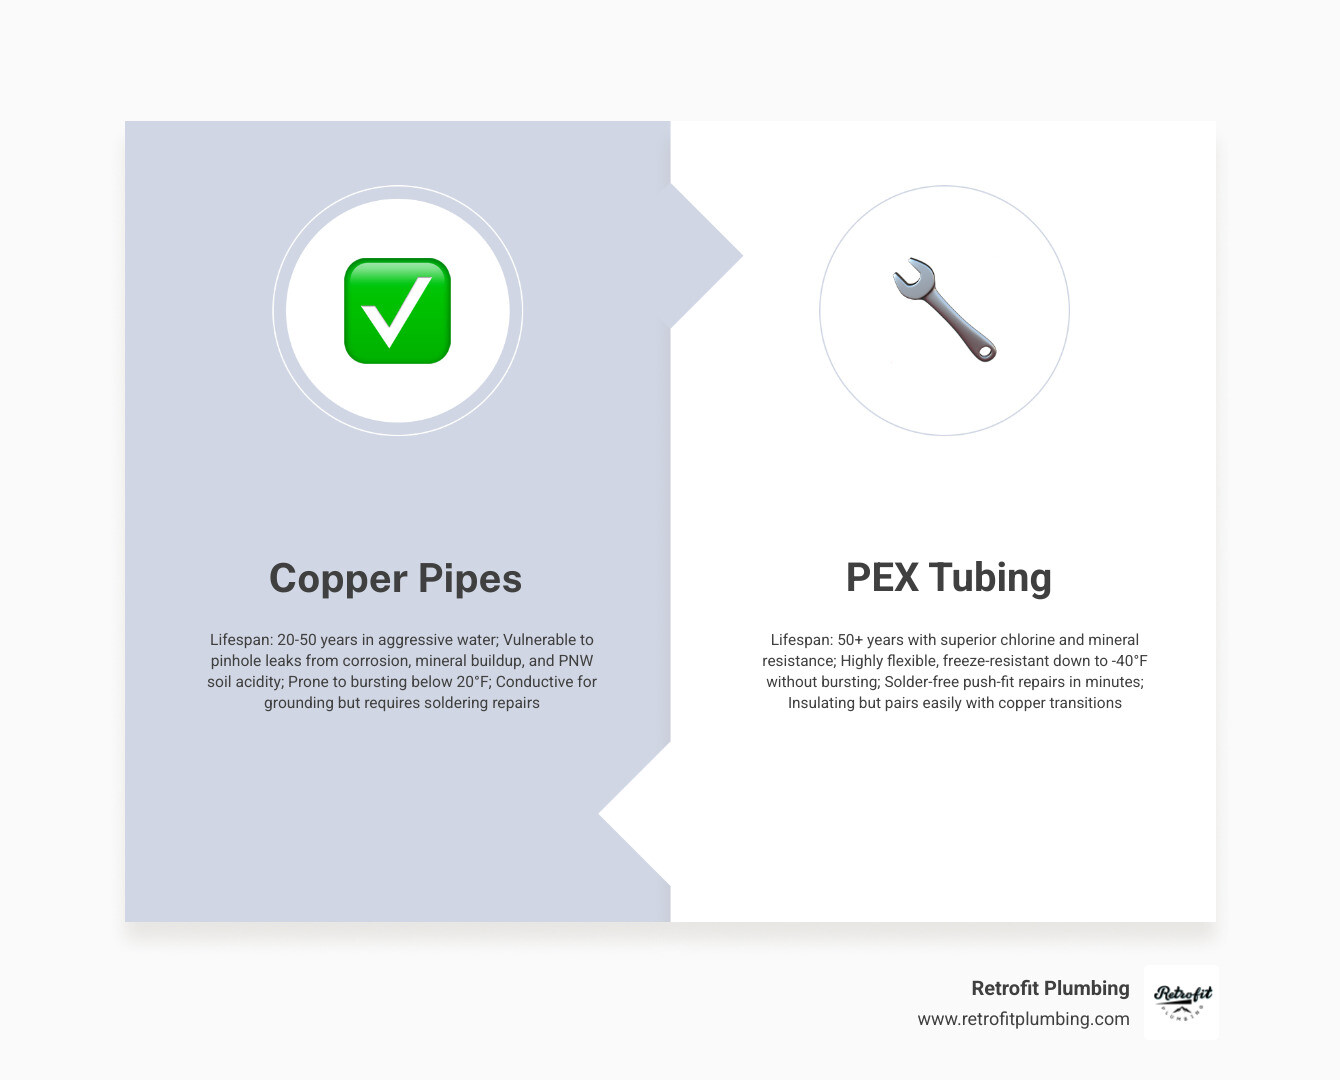
In our corner of the world, we deal with specific environmental factors that make copper vulnerable. While copper pipes are often rated for 50 years or more, the reality in 1980s-era developments is that they are nearing the end of their useful life. Switching to PEX (cross-linked polyethylene) during a repair isn't just a "band-aid"—it's an upgrade.
One of the biggest advantages is freeze resistance. In Western Washington, we don't get the sustained sub-zero temperatures of the Midwest, but we do get "Arctic Blasts" where temperatures dip below 20°F. Rigid copper pipes are unforgiving; when the water inside freezes, it expands and splits the metal. PEX, however, is flexible. It can expand up to three times its diameter and then shrink back down, making it far less likely to burst during a cold snap.
Furthermore, PEX is immune to the corrosion and mineral build-up that plagues older metal systems. According to experts at How to Replace Copper Pipe With PEX, PEX is more reliable and durable in the long term for these specific reasons. It’s also significantly cheaper; 1/2-inch PEX tubing often costs about one-quarter the price of rigid copper.
The Benefits of PEX in Western Washington
Living in the Northwest means living among giants—specifically our Douglas firs and Western Red Cedars. While tree roots are usually a Sewer Line Replacement issue, the soil acidity around these trees can actually accelerate the external corrosion of copper pipes in crawlspaces.
We love our greenery, but that damp, acidic environment is tough on metal. PEX doesn't care about soil pH or humidity. It’s also much easier to snake through the tight, awkward framing found in older homes in Tacoma or Seattle. If you’re trying to get a repair done before the Seahawks kickoff on Sunday, PEX is your best friend because it eliminates the "torch time" and fire hazards associated with soldering in tight, dry crawlspaces.
For many homeowners, PEX Repiping Plumber Service in Covington, WA - About Plumbing is the ultimate goal, but starting with a localized repair is a great way to stabilize your system.
Comparing Repair Methods: Push-Fit vs. Crimp
When you decide on fixing copper pipe leak with pex, you have to choose how you'll join the two materials. At Retrofit Plumbing, we carry all the tools for every method, but for the DIYer or a quick service call, the choices usually boil down to three main types.
| Feature | Push-Fit (SharkBite) | Crimp (Copper Ring) | Expansion (PEX-A) |
|---|---|---|---|
| Installation Speed | Fastest (3 seconds) | Moderate | Slow (requires "shrink" time) |
| Tool Cost | $0 (No special tools) | $50 - $120 | $400+ |
| Removability | Easy with a disconnect clip | Must be cut off | Must be cut off |
| Best For | Quick repairs, DIY | Budget-friendly repipes | New construction, Pro-grade |
| Warranty | 25 Years | Varies by manufacturer | 25+ Years |
For most Broken Pipes Repair scenarios, push-fit connectors are the gold standard for speed and reliability without needing a massive tool investment.
Essential Tools and Materials for a Solder-Free Repair
Before you crawl under the house or open up that bathroom wall, you need a "battle plan." Our Retrofit Plumbing trucks are always fully stocked because there’s nothing worse than being halfway through a job and realizing you’re missing a $2 fitting.
To handle fixing copper pipe leak with pex, you'll need:
- PEX Tubing: Usually 1/2" or 3/4" depending on your main line size.
- Push-to-Connect Fittings: We recommend SharkBite Max for its higher pressure rating and easier insertion.
- Copper Tube Cutter: A wheel-type cutter ensures a square, clean cut.
- PEX Cutter: A sharp, scissor-like tool for the plastic tubing.
- Deburring and Gauge Tool: This is the most skipped step, but it’s the most important for preventing leaks.
- Emery Cloth or Sandpaper: To clean the old copper.
- A Sharpie: To mark your insertion depth.
According to the team at Quickly Transition from Copper to PEX with SharkBite, using a dedicated deburring tool is non-negotiable. If you leave a sharp burr on the copper, it can slice the O-ring inside the fitting, leading to a slow drip that you might not notice until the drywall is back up.

The Step-by-Step Process for Fixing Copper Pipe Leak with PEX
Ready to get your hands dirty? Follow these steps to ensure a leak-free transition.
1. Shut Off and Drain
Locate your main water shut-off valve. In many Covington homes, this is near the water meter or where the Main Water Lines enter the house. Open the lowest faucet in the house (usually an outdoor hose bib or a basement sink) to drain the pressure.
2. Cut the Copper
Using your wheel cutter, cut out the leaking or corroded section of copper. Make sure you cut back far enough to reach "clean" copper—if the pipe is green and crusty, the fitting might not seal properly. Support the pipe so it doesn't sag or bend while you're cutting.
3. Prepare the Copper End
This is where the magic happens. Use your deburring tool to smooth the inside and outside of the copper pipe. Then, use emery cloth to buff the outside until it shines like a new penny. It needs to be perfectly smooth for the push-fit O-ring to do its job.
4. Mark the Depth
Use your gauge tool to mark how far the fitting needs to slide onto the pipe. If you don't push it in all the way, it will fail eventually.
5. Connect the PEX
Cut your PEX tubing to length. PEX expands and contracts with temperature, so leave a little "slack"—don't pull it tight like a guitar string. Slide the PEX into the other side of the SharkBite fitting until it hits the mark.
Preparing the Line: Fixing Copper Pipe Leak with PEX Safely
If you’re working in a tight spot, like under a kitchen sink in an older Kent rambler, you might be tempted to rush the cleaning process. Don't. A Leak Finder Plumber will tell you that 90% of push-fit failures are caused by poor pipe preparation.
Ensure the copper is round and not "egged" out from old repairs. If the copper is severely deformed, you may need to cut further back. Also, check for any old solder drips on the pipe surface. Even a tiny bump of solder can prevent the fitting from seating.
Making the Connection: Fixing Copper Pipe Leak with PEX Using SharkBite
When using SharkBite fittings, you’ll notice a small plastic sleeve inside the fitting—that’s the PEX stiffener. When you’re connecting copper to PEX, you keep that stiffener in place. It helps the PEX maintain its shape against the pressure of the grab ring.
The "click" or "thud" you feel when the pipe seats is your sign of success. These fittings are rated for 200 psi and 200°F, which is more than enough for any residential Bathroom Leakage Detector to handle. Once connected, you’ve created a permanent, code-approved seal that doesn't require any drying or curing time.
Critical Safety: Electrical Grounding and Code Compliance
Here is a detail that many DIY guides miss: Electrical Grounding. In older homes throughout Seattle and Auburn, the copper water pipes often serve as the grounding system for the home's electrical panel.
When you cut out a section of copper and replace it with PEX (which is plastic and non-conductive), you "break" that electrical path. This can lead to a dangerous situation where your electrical system is no longer grounded, or you might even get a small shock when touching your faucets.
If you replace more than a few inches of pipe, you must install a "jumper wire." This is a thick copper wire clamped to the copper pipe on one side of the PEX repair and clamped to the copper pipe on the other side. This maintains the electrical continuity. If you're unsure about this, it’s time to call in a pro for a Sewer Line Replacement or general plumbing inspection to ensure your home remains safe.
Protecting Your Home Before Closing the Walls
If you’re fixing copper pipe leak with pex as part of a shower renovation, you have one shot to get it right before the tile goes up. We often see homeowners in Bellevue installing high-end Delta R10000 valves and then rushing to put up cement board.
Before you close the walls:
- Pressure Test: Turn the water back on and let it sit under full pressure for at least 30 minutes. Some pros even use an air test kit to pump the lines up to 100 psi to ensure there are zero "weeping" leaks.
- Check Clearances: Ensure the PEX isn't rubbing against any sharp metal studs or brackets.
- Secure the Pipe: Use plastic "talon" clips to secure the PEX. Do not use metal staples, as they can pinch or cut the tubing over time.
If you’re doing a Main Water Replacement, these steps are even more critical because the pressure coming from the city main can be significantly higher than the pressure inside your home.
Frequently Asked Questions about Fixing Copper Pipe Leak with PEX
Is it safe to replace only a small section of copper with PEX?
Absolutely. This is called a "spot repair." It’s a very common way to handle a localized leak without the expense of a whole-house repipe. Just keep in mind that if one section of copper has failed, the rest of the pipes from that same era might not be far behind.
How does PEX handle the high water pressure in Bellevue and Renton?
PEX is rated for much higher pressures than what is standard for municipal water (usually 80 psi or less). However, if your home has very high pressure, we always recommend installing a Pressure Reducing Valve (PRV) to protect your PEX joints and your appliances.
Will switching to PEX affect my home's electrical grounding?
Yes, as mentioned above, PEX is an insulator. If your copper pipes were used for grounding, you must install a jumper wire to maintain the safety of your electrical system.
Conclusion
Fixing copper pipe leak with pex is a smart, modern solution for the aging plumbing systems we see every day in Covington and the surrounding South Sound. Whether you’re dealing with a pinhole leak in a Renton basement or upgrading a shower in Bellevue, PEX offers the flexibility and durability that our Northwest climate demands.
At Retrofit Plumbing, we take pride in serving our local community. From the rainy days spent cheering for the Hawks to the summer afternoons enjoying Lake Washington, we know how important a functional, leak-free home is to your family. We offer honest pricing, fully stocked trucks, and a 100% satisfaction guarantee to ensure your plumbing stays in top shape.
Don't let a small drip turn into a major flood. Schedule your professional water line repair with us today and experience the peace of mind that comes with expert service.