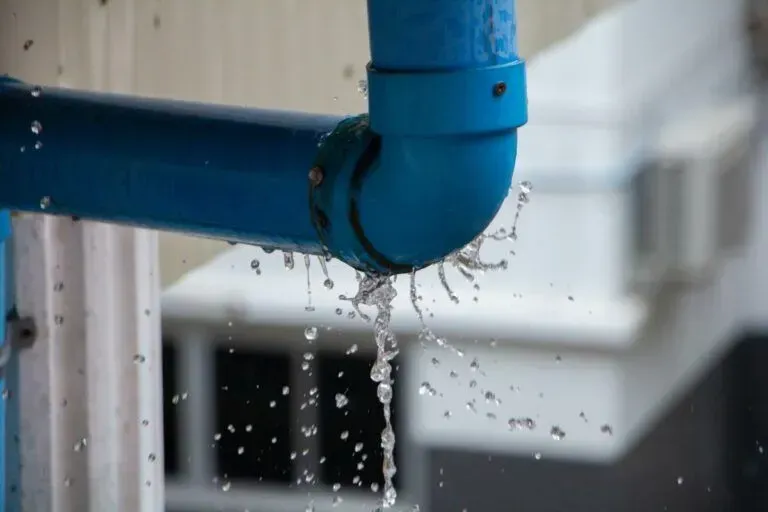
When a Pipe Bursts, Every Minute Counts
Burst pipe repair is a plumbing emergency that demands immediate action to prevent thousands of dollars in water damage, mold, and structural harm.
Here's what to do right now:
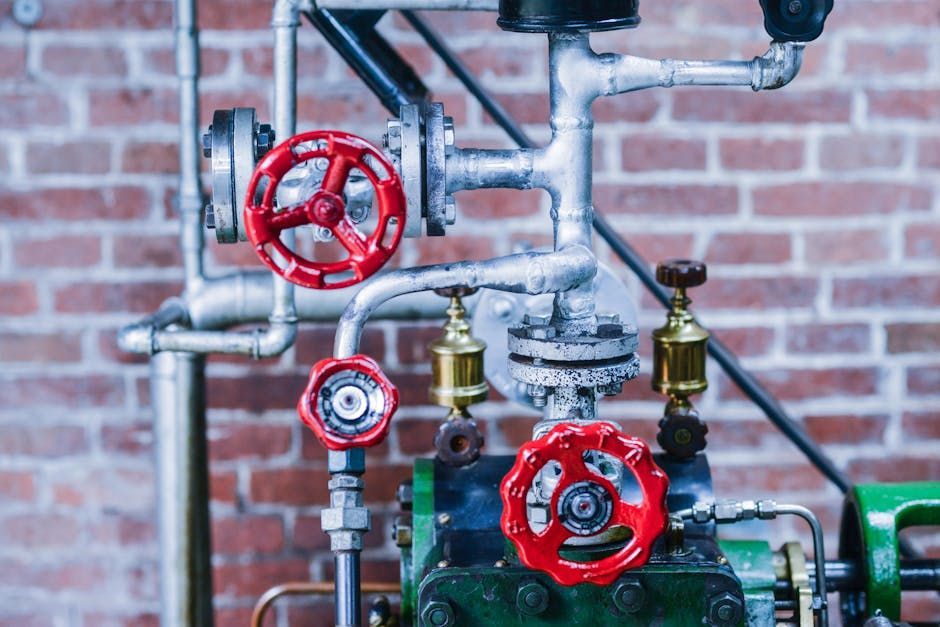
- Shut off the main water supply valve(turn clockwise)
- Turn off electricity in any water-affected areas
- Open all faucets to drain remaining pressure from the pipes
- Apply a temporary patch using silicone tape or a pipe clamp
- Document everything with photos and video for your insurance claim
- Call a licensed plumber for permanent repair
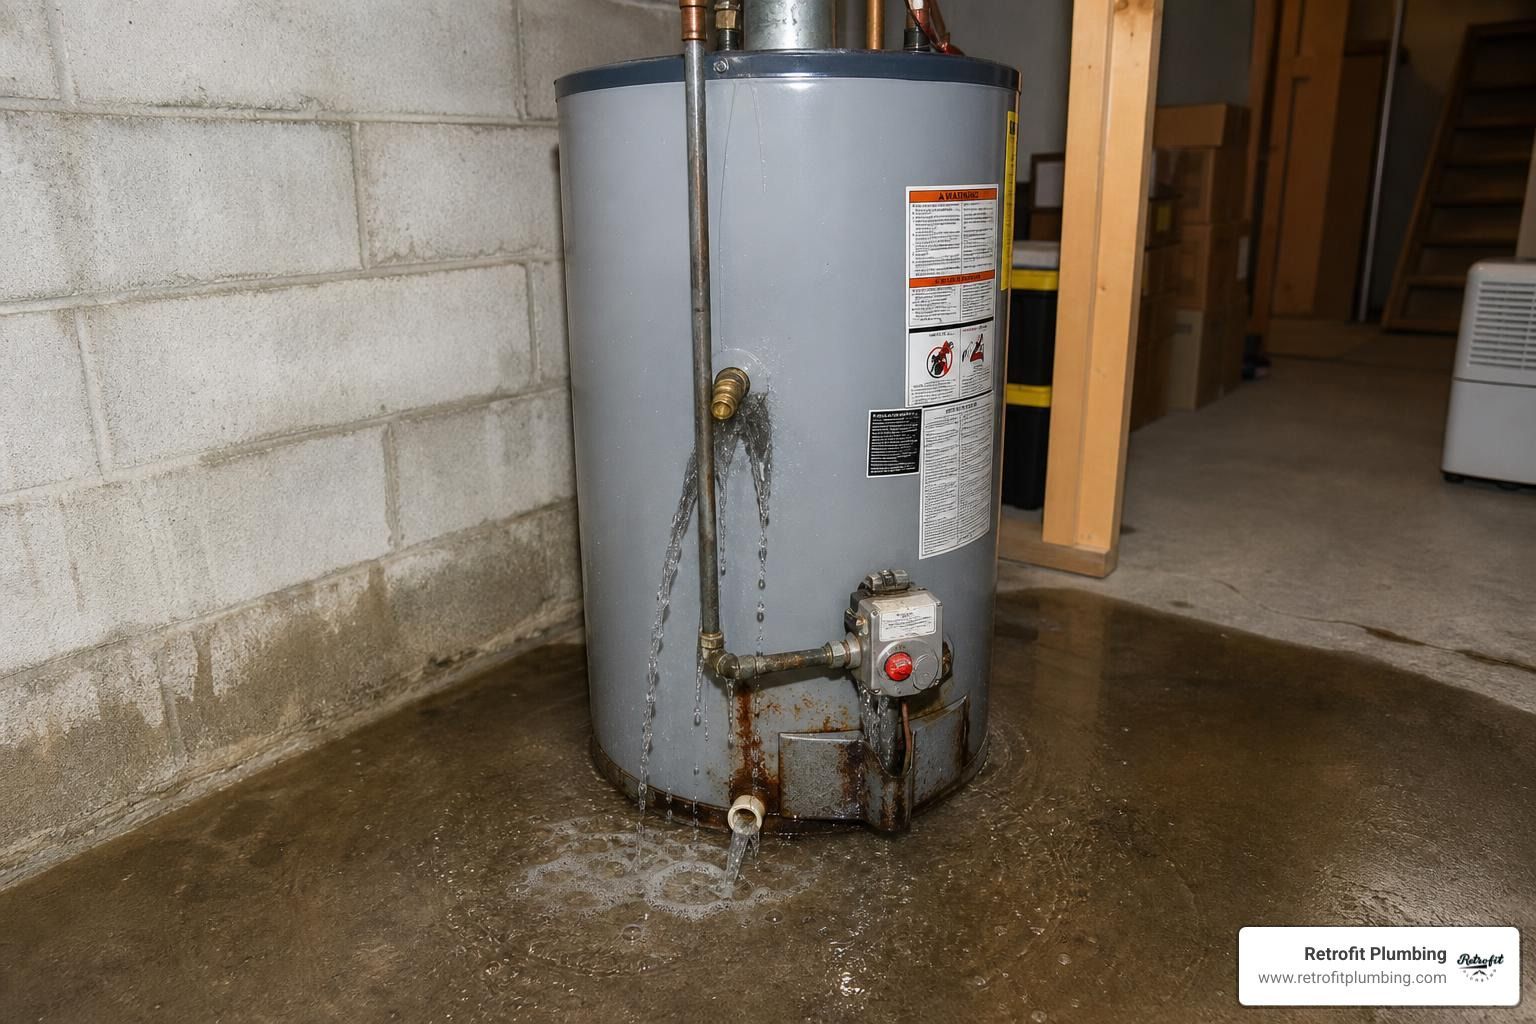
Water freezing inside a pipe can generate over 2,000 PSI of pressure — enough to split copper, PEX, or PVC. Once a pipe lets go, water spreads fast. Ceilings sag. Floors warp. And mold can begin growing within 24 to 48 hours of exposure.
The difference between a $500 repair and a $15,000+ restoration often comes down to how quickly you act.
This guide walks you through every step — from the moment you discover the leak, to patching the pipe yourself, to preventing it from ever happening again.
I'm Josh Klimp, and I've been in the plumbing trade for over 20 years, owning and operating a plumbing company that handles everything from emergency burst pipe repair to full commercial new construction. I've seen how fast a small pipe failure turns into a major disaster — and I'll show you exactly how to stop it.

Emergency Protocol: What to Do When a Pipe Bursts
When you hear the sound of rushing water or see a dark stain spreading across your ceiling, panic is a natural response. However, the first few minutes are critical. Your goal is to stop the flow and protect your home’s structural integrity.
Locating and Shutting Off the Main Water Supply

The most important tool in your house isn't a wrench—it's the knowledge of where your main water shut-off valve is located. In the Pacific Northwest, specifically in areas like Covington, Renton, and Kent, these valves are typically found in the garage, a utility closet, or near the front of the house where the main line enters.
Turn the valve clockwise until it stops. If it’s a lever-style ball valve, turn it perpendicular to the pipe. Once the water is off, you’ve successfully "starved" the leak.
Relieving Pressure and Electrical Safety
After the main valve is closed, you must relieve the remaining pressure in the system. Open every faucet in the house—starting with the lowest one (like a basement utility sink) and moving to the highest. Flush all toilets. This drains the "standing" water that would otherwise continue to leak out of the burst.
Safety Warning: If water is leaking near outlets, light fixtures, or your breaker panel, do not touch anything. Go to your electrical panel and shut off power to the affected zones immediately. Water and electricity are a lethal combination.
Temporary Patches and Leak Detection
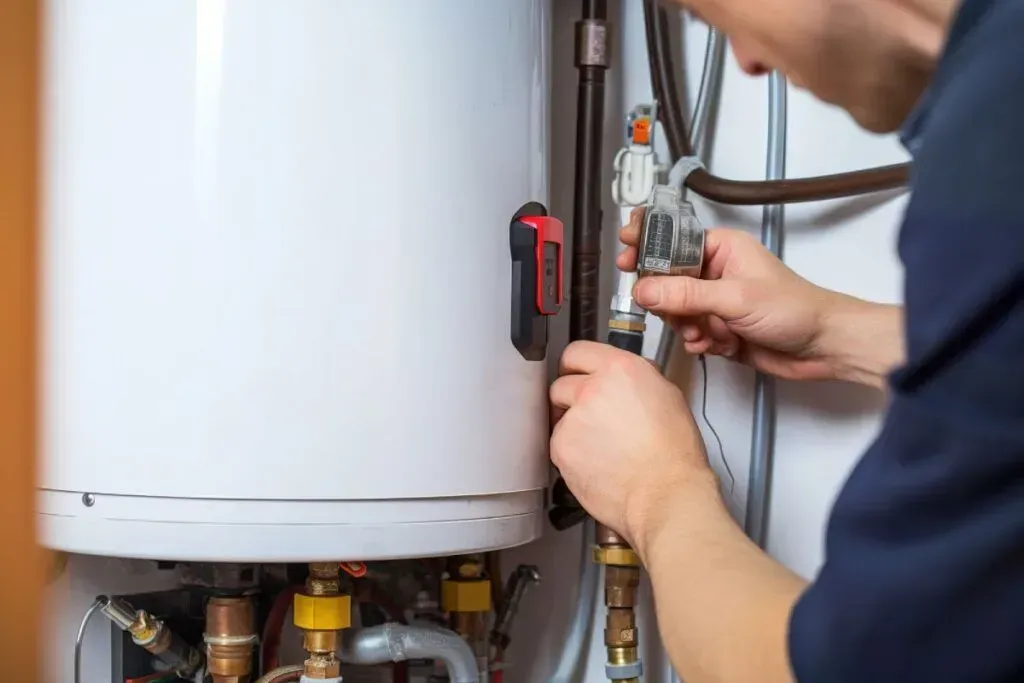
If you can see the pipe, you can often slow the bleeding. For small pinholes or cracks, a pipe repair clamp or a piece of heavy-duty rubber (like an old inner tube) secured with hose clamps can work wonders. Self-fusing silicone tape is another lifesaver; it stretches and bonds to itself, creating a watertight seal even on damp pipes.
If you suspect a leak but can't find it, you may need professional leak detection services to pinpoint the "silent killer" behind your drywall. For a comprehensive list of immediate actions, check out these 9 things you should do when you have a burst pipe in your home.
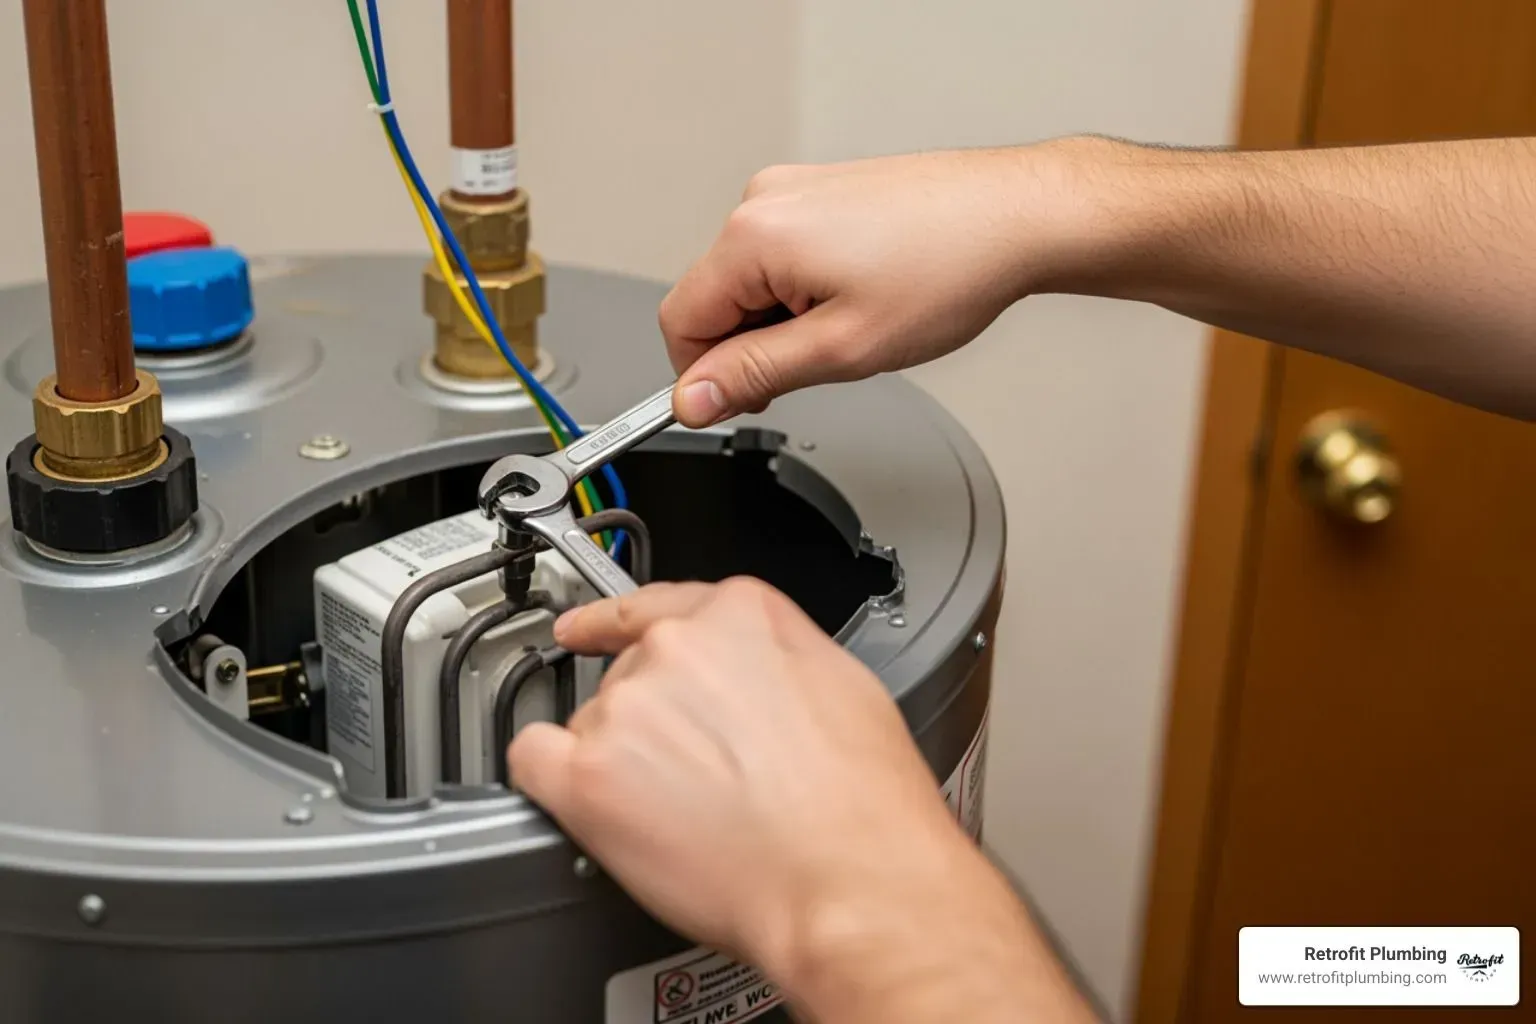
Step-by-Step Burst Pipe Repair for Homeowners
Once the emergency is stabilized, you have a choice: call us for burst pipe repair or roll up your sleeves. If the damage is accessible and you're feeling handy, a permanent fix is possible using modern "push-to-connect" technology.
The Repair Process
- Cut the Damaged Section: Use a pipe cutter to remove the burst section of the pipe. You should cut about 2 to 5 inches on either side of the break to ensure you’re attaching to healthy, un-stretched pipe.
- Deburr and Clean: This is the most skipped step, and it’s why DIY repairs fail. Use a deburring tool to smooth the inside and outside edges of the cut pipe. Clean the pipe ends with sandpaper or emery cloth until they shine.
- Measure and Mark: If using SharkBite or similar fittings, use a depth gauge to mark how far the fitting needs to slide onto the pipe. This ensures a secure, leak-proof seat.
- Install the Fitting: Push the fitting onto the pipe until it reaches your mark. You’ll feel a "click" or a firm stop.
- Slow Restoration: Don't just blast the water back on. Have someone watch the repair while you slowly crack open the main valve. This prevents a "water hammer" from stressing your new joints.
If the leak is in a crawlspace or a hard-to-reach wall, it’s often safer to call for emergency plumbing to avoid making the hole in your wall (or your wallet) any bigger.
Essential Tools for DIY Burst Pipe Repair
To handle a burst pipe repair like a pro, keep a small "emergency kit" under your sink or in the garage.
- Slip Couplings: These are designed to slide onto a pipe and then slide back over the gap—perfect for tight spots.
- Pipe Cutters: A small "autocut" tool is great for tight spaces behind walls.
- Emery Cloth: For cleaning copper or smoothing PEX.
- Replacement Pipe: A 2-foot section of PEX or copper matching your home’s plumbing.
- Safety Glasses: To protect against spraying water or metal shavings. For more technical details on the manual steps, see How to Fix a Burst Pipe | The Plumbing Directory.
Permanent Burst Pipe Repair by Material Type
Not all pipes are created equal. How you fix a burst depends entirely on what’s running through your walls.
| Pipe Material | Common Failure Cause | Best Repair Method | Pros/Cons |
|---|---|---|---|
| Copper | Freezing / Corrosion | Soldering or Push-Fit | Very durable; Soldering requires fire safety. |
| PEX | Improper Fittings | Crimp or Push-Fit | Flexible and freeze-resistant; Needs special tools. |
| PVC / CPVC | Impact / Freezing | Solvent Welding | Cheap and easy; Glue needs cure time. |
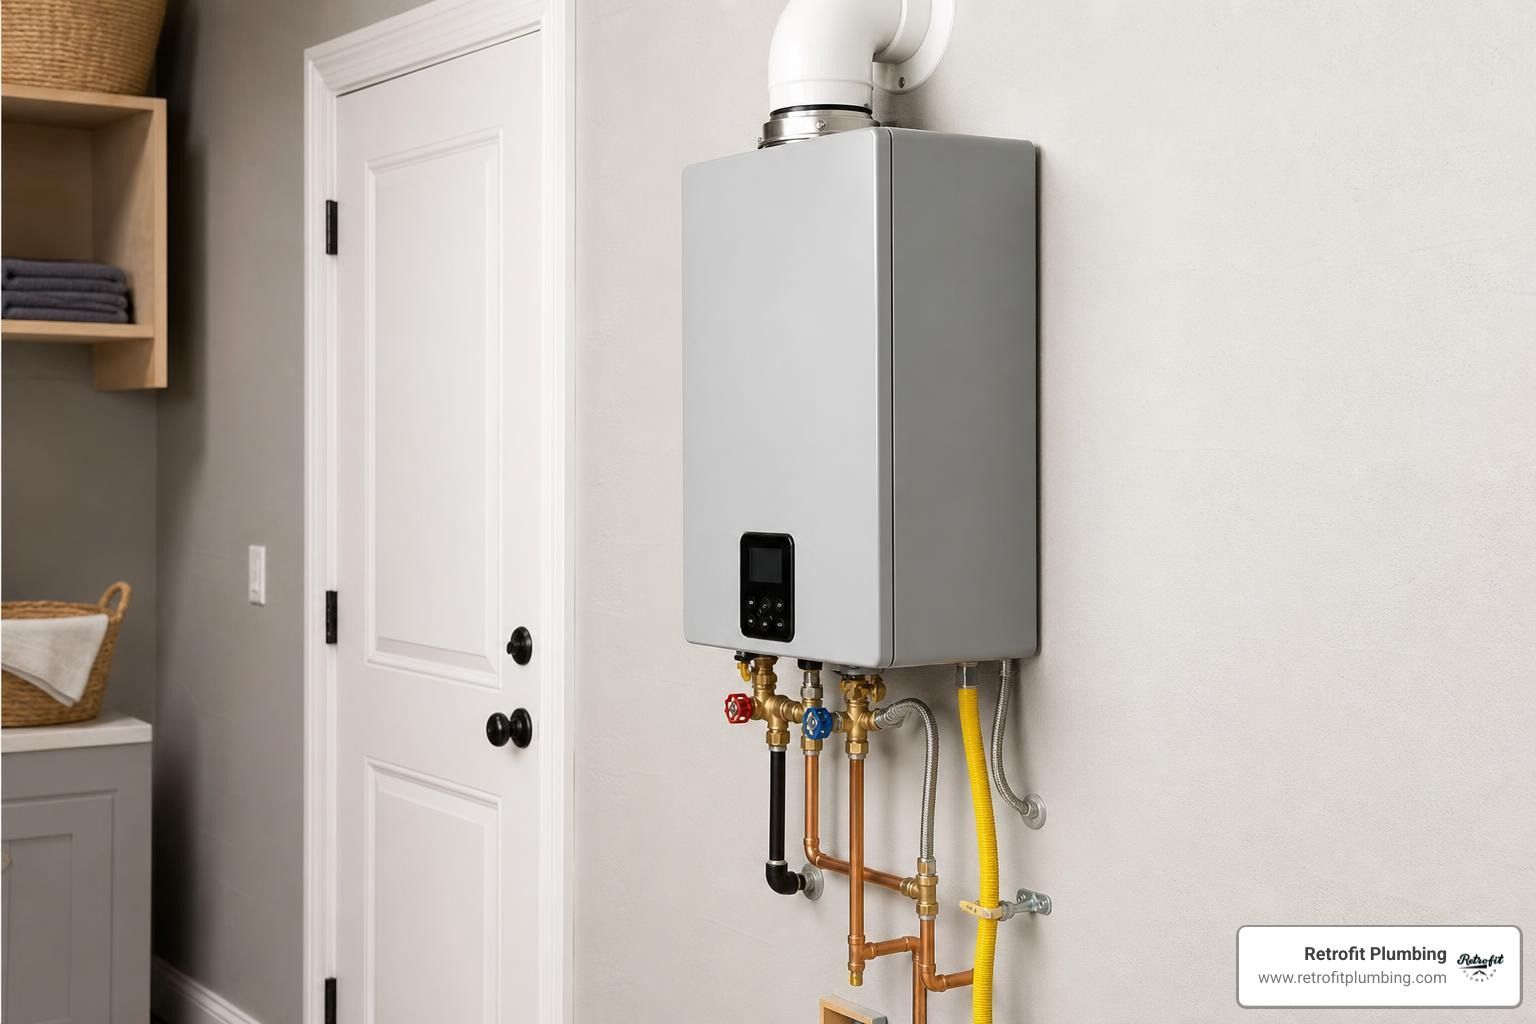
PEX is becoming the gold standard in Auburn and Renton because it can expand slightly during a freeze without shattering. If you have older copper or galvanized lines, you might want to learn more about main water lines and when it’s time to upgrade before the next cold snap.
Understanding Burst Pipe Repair Costs and Insurance Claims
Let’s talk numbers. The cost of a burst pipe repair varies wildly based on how much water escaped.
The Real Cost of a Burst
A simple plumbing fix for a burst pipe usually costs between $200 and $1,000 if you hire a pro. However, the restoration —the drying, the drywall, the flooring, and the mold remediation—typically ranges from $1,000 to $15,000. In extreme cases where a pipe bursts on a top floor and runs for hours, costs can exceed $50,000.
Navigating Insurance
Most homeowners insurance policies cover "sudden and accidental" water damage. This means if a pipe freezes and bursts while you're at work, you're likely covered. However, if a pipe has been dripping for six months and you ignored it, they may deny the claim due to "neglect."
Claim Tips:
- Document Everything: Take "before" photos of the burst and the standing water.
- Mitigate Damage: Insurance companies require you to take reasonable steps to stop further damage (like shutting off the water).
- Keep Receipts: Save every receipt from the plumber, the hardware store, and the restoration crew.
For a deeper dive into financial planning for these disasters, read Fix Burst Water Pipe: Emergency Steps, Costs & When to Call. If the damage is extensive, you’ll need a team that understands broken pipes repair and how to work with adjusters.
How to Prevent Future Pipe Bursts
In Western Washington, we don't get the "deep freeze" of the Midwest, but our damp, 20-degree nights are perfect for freezing poorly insulated pipes.
The 55-Degree Rule and Insulation
The most effective prevention is simple: never let your home’s internal temperature drop below 55°F. If you’re heading out of town for a winter vacation in Seattle or Bellevue, keep the heat on.
Additionally, insulate any pipes in unheated areas like crawlspaces, attics, or garages. Foam "pool noodle" style insulation is inexpensive and easy to install. For high-risk areas, electric heat tape can provide an active source of warmth to keep water moving.
Smart Tech and Maintenance
Consider installing a smart leak detector. These devices sit near your water heater or main line and can automatically shut off your water if they detect an unusual flow. Also, check your water pressure. Anything over 80 PSI puts unnecessary stress on your joints. If your pressure is high, you may need a main water replacement or a new pressure-reducing valve.
Proactive Strategies for Burst Pipe Repair Prevention
Don't wait for the first frost. Take these steps every October:
- Disconnect Hoses: A frozen garden hose can "back up" ice into the house, causing an interior burst.
- Outdoor Faucet Covers: These foam domes provide a crucial layer of protection for your exterior spigots.
- Open Cabinets: If a sink is on an exterior wall, leave the cabinet doors open during extreme cold to let room heat reach the pipes. For more preventative ideas, see 10 things to do when a pipe bursts in your home.
Frequently Asked Questions about Burst Pipe Repair
What are the common signs that indicate a pipe has burst?
You don't always see a geyser. Watch for:
- Hissing or Whistling: Sounding like air escaping from a tire behind your walls.
- Low Pressure: If your shower suddenly feels like a weak drizzle.
- Unexplained Bills: A $300 water bill when you haven't changed your habits.
- Discolored Water: Rust or dirt entering the line through a break.
When should you call a professional plumber instead of attempting a DIY repair?
DIY is great for a visible pipe under a sink. Call us if:
- The burst is on the main supply line(before the shut-off).
- The pipes are galvanized steel(they require specialized threading tools).
- The leak is behind a wall or under a concrete slab.
- You see water near electrical panels.
How long does it typically take to repair a burst pipe?
A straightforward DIY repair takes 1 to 3 hours. A professional plumber can usually swap out a section of pipe in under an hour. However, the drying process takes much longer—usually 24 to 72 hours of high-powered fans and dehumidifiers to ensure mold doesn't take root.
Conclusion
A burst pipe is a test of your home's defenses, but it doesn't have to be a catastrophe. By knowing your shut-off location, keeping a basic repair kit on hand, and acting fast to document damage, you can save your home from the worst-case scenarios.
At Retrofit Plumbing, we’ve built our reputation in Covington, Renton, Kent, and Auburn on being there when things go wrong. We offer honest pricing, same-day service, and a 100% satisfaction guarantee because we know that when your pipes fail, you need a partner you can trust.
Don't let a small leak turn into a structural nightmare. Schedule your professional broken pipes repair today and let us get your home back to normal.