Your Water Heater's Most Important Safety Valve — And What to Do When It Fails
Replacing water heater relief valve components is one of the most important repairs you can make to keep your home safe. Here's a quick overview of the process:
- Shut off power (or gas) and the cold water supply
- Drain 10–15 gallons from the tank to drop the water level below the valve
- Remove the discharge pipe, then unscrew the old T&P valve counterclockwise
- Wrap the new valve's threads with Teflon tape and install clockwise
- Reconnect the discharge pipe, refill the tank, restore power, and test
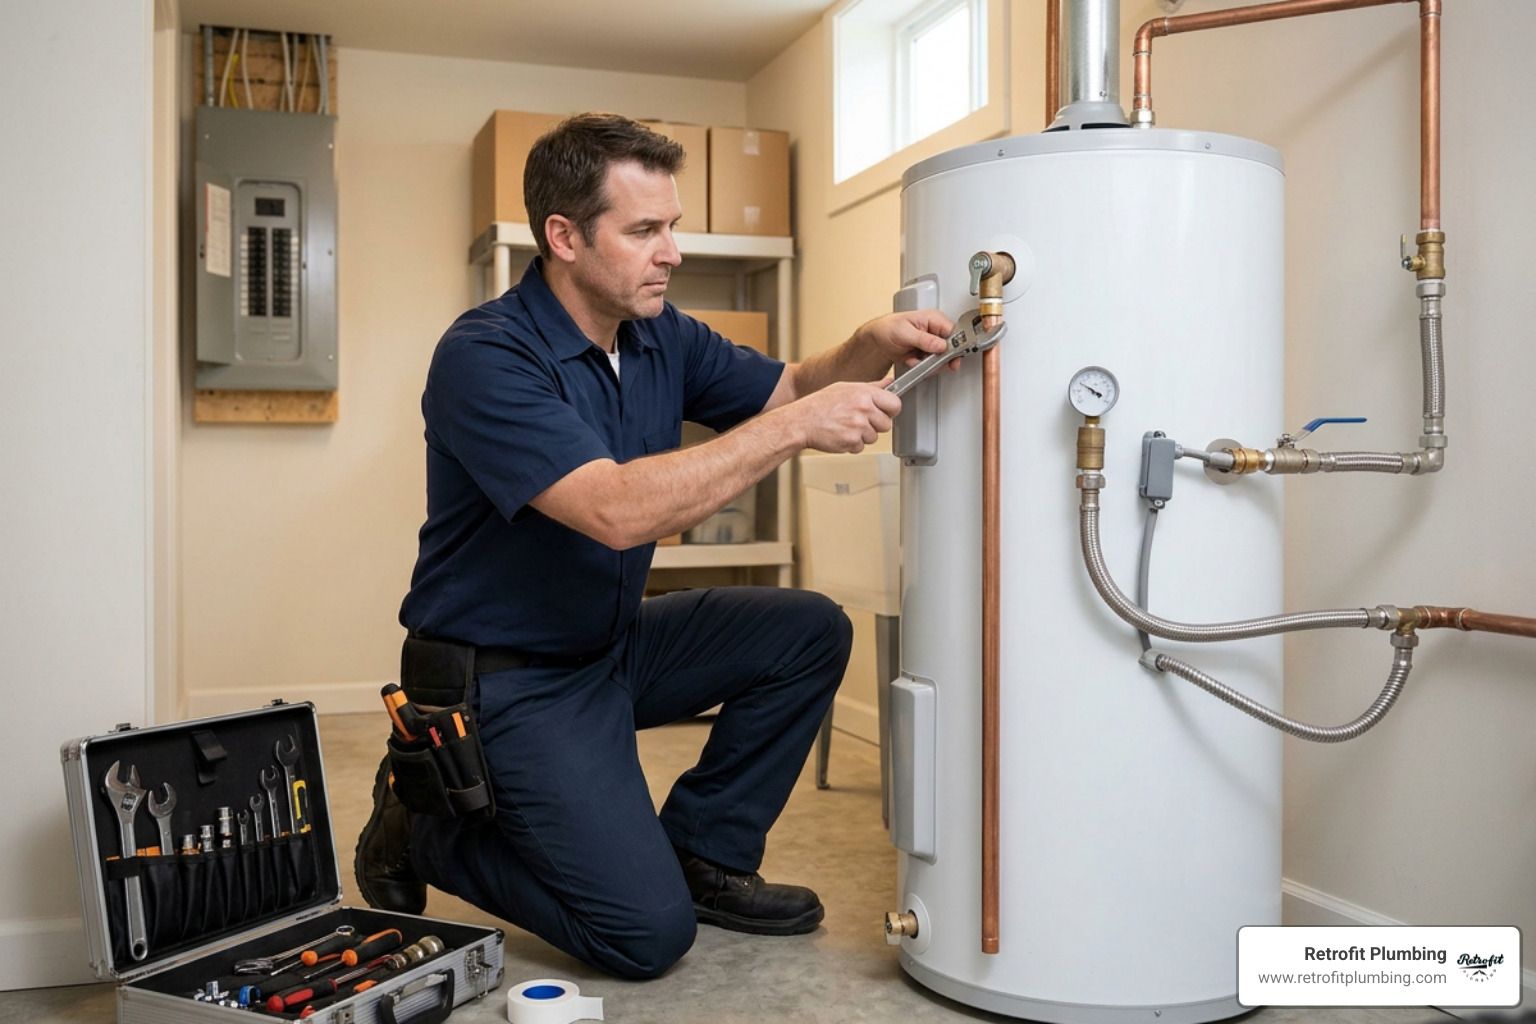
That small valve on the side of your water heater — the one with a little lever and a pipe pointing down — is called the T&P (temperature and pressure) relief valve. Most homeowners never think about it. But it's the one thing standing between a normal water heater and a catastrophic tank rupture.
When it starts dripping, it's easy to ignore. Don't.
A leaking T&P valve is either failing at its job — or warning you that something bigger is wrong with your water heater's pressure or temperature. Either way, it needs your attention now.
I'm Josh Klimp, a licensed plumber with over 20 years of hands-on experience, and I've replaced more T&P valves than I can count — including plenty in the South Sound area where hard water and aging tanks make replacing water heater relief valve components a common call. In this guide, I'll walk you through exactly how to do it safely and correctly.

Understanding the T&P Valve and Why It Fails
To understand why we spend so much time replacing water heater relief valve units, we first have to look at what they actually do. The T&P valve is a mechanical watchman. It monitors two critical variables: internal temperature and internal pressure.
In a standard residential water heater, water expands as it heats up. If the thermostat fails and the water keeps heating, or if the pressure in the tank spikes due to thermal expansion, the tank could literally explode. Water expands about 1,700 times in volume when it turns to steam; without a relief valve, your water heater becomes a rocket.
| Trigger | Activation Threshold | Result of Failure |
|---|---|---|
| Temperature | 210° Fahrenheit | Water turns to steam, causing rapid expansion |
| Pressure | 150 PSI | Tank welds can rupture or the tank can "launch" |
So, why do these valves fail?
- Mineral Buildup: Especially here in Covington and surrounding areas like Kent and Renton, hard water is common. Calcium and lime scale can coat the internal spring and seat of the valve, preventing it from closing tightly or—worse—preventing it from opening at all.
- Corrosion: Over time, the metal components inside the valve simply wear out.
- Spring Fatigue: The internal spring that holds the valve shut is under constant tension. After 5 to 7 years, it can lose its "oomph," leading to a persistent drip.
- Thermal Expansion: If your home doesn't have an expansion tank, the valve may be forced to open slightly every single time the heater runs, wearing out the seal prematurely.
To see the internal components in more detail, you can check out this guide on how a T&P valve works.
Signs You Need to Consider Replacing Water Heater Relief Valve
How do you know if the valve is just doing its job or if it has actually gone bad? Here are the "red flags" we look for during a service call at Retrofit Plumbing.

- The Constant Drip: If there is a steady "drip... drip... drip" from the discharge pipe even when the water heater isn't actively heating, the seat is likely fouled by sediment or the spring has failed.
- Crusty Residue: Look at the exit point of the valve or the end of the discharge tube. If you see white, salty-looking "calcification," it means the valve has been weeping for a long time.
- Age: Most manufacturers recommend replacing water heater relief valve units every 3 to 5 years, though many last 7. If your water heater is 10 years old and has the original valve, it’s a ticking clock.
- Failed Manual Test: If you lift the test lever and no water comes out, or if you lift it and it won't stop leaking afterward, the valve is toast.
- Hard Water Issues: If you know you have high mineral content in your water, your valves will fail sooner.
If you notice water pooling around the base of your tank, don't assume it's just the valve. It could be a tank fracture. You can find more info about water heater leaks here to help diagnose the source.
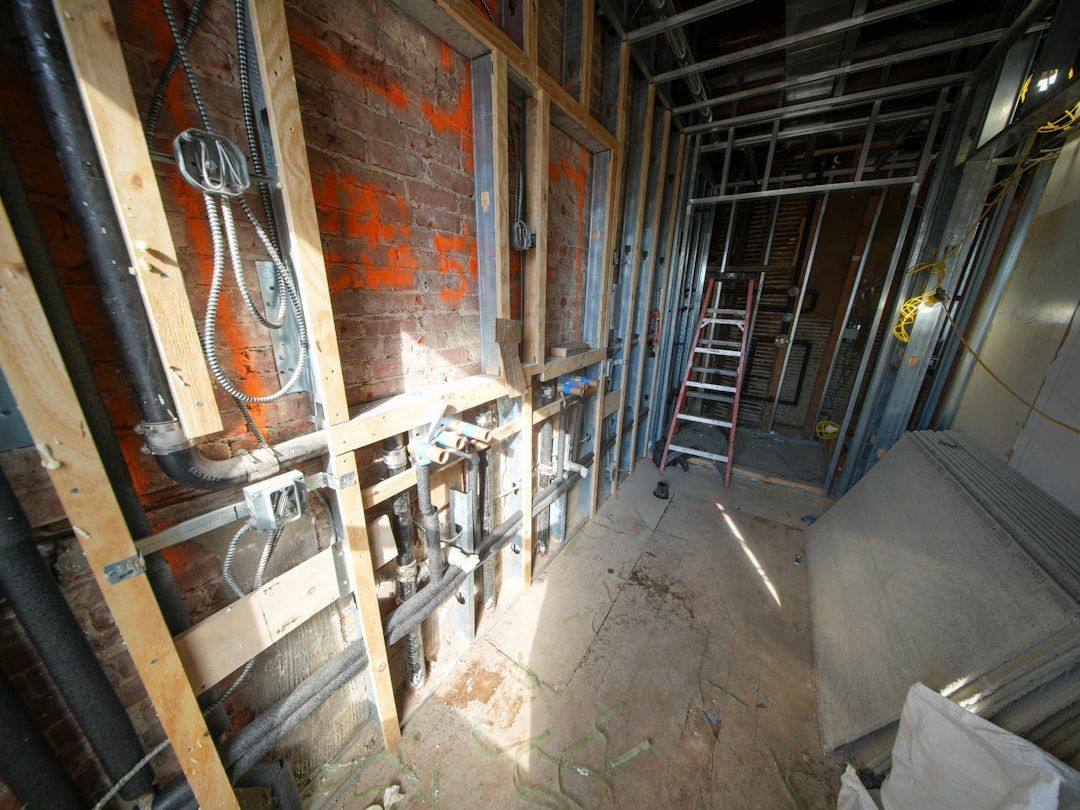
Tools and Preparation for a Successful DIY Fix
Before you start replacing water heater relief valve hardware, you need to gather your gear. There is nothing worse than having a drained tank and realizing you bought the wrong size valve or don't have enough Teflon tape.
The Shopping List:
- Replacement T&P Valve: Look at the tag on your current valve. It will list the BTU rating, the pressure (usually 150 psi), and the temperature (usually 210°F). Your new valve must match these specs exactly.
- Teflon Tape (Plumber's Tape): Essential for a water-tight seal on the threads.
- Pipe Wrench or Large Adjustable Wrench: You'll need two—one to hold the valve and one for the discharge pipe.
- Garden Hose: To drain the water safely to a floor drain or outside.
- Bucket: To catch the initial splash when you remove the valve.
- Work Gloves: The water and the tank can be very hot!
- Penetrating Oil (WD-40 or PB Blaster): If the old valve is rusted into the tank, a little spray can save your knuckles.
For a visual breakdown of the tools, you can refer to this step-by-step repair guide. If this list looks a bit daunting, we offer professional water heater repair throughout the Covington and Seattle areas.
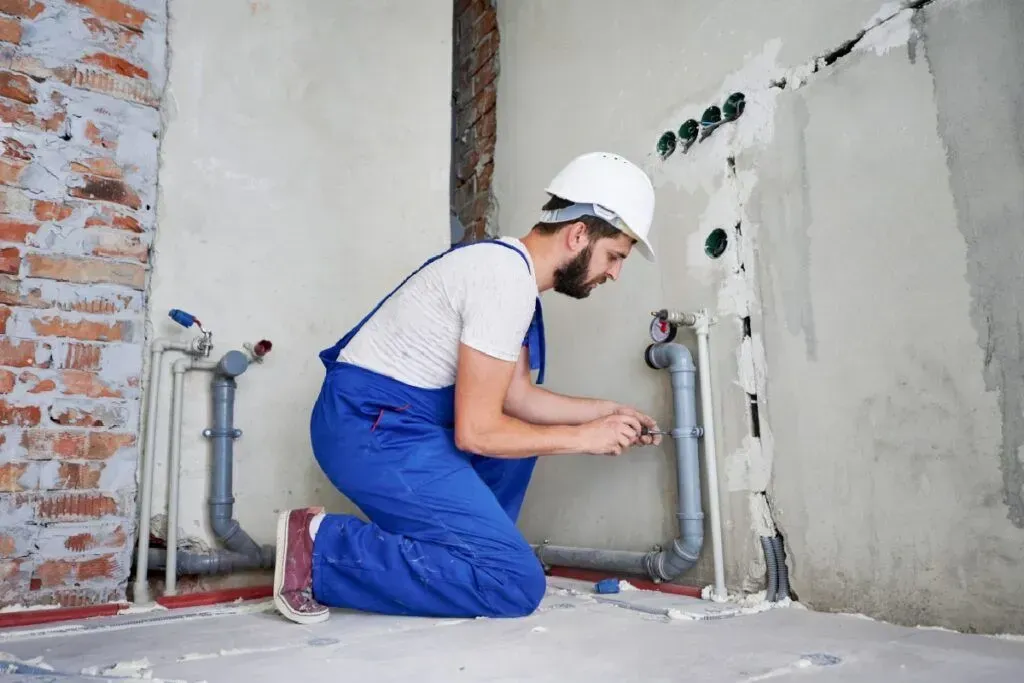
Step-by-Step Guide to the Replacement Process
Ready to get to work? Follow these steps closely. Safety is the priority here—we are dealing with scalding water and electricity (or gas).
1. Safety First: Shut It Down
Turn off the power at the circuit breaker for electric heaters. For gas heaters, turn the dial to the "Pilot" or "Off" position. Next, turn off the cold water supply valve located at the top of the tank.
2. The Partial Drain
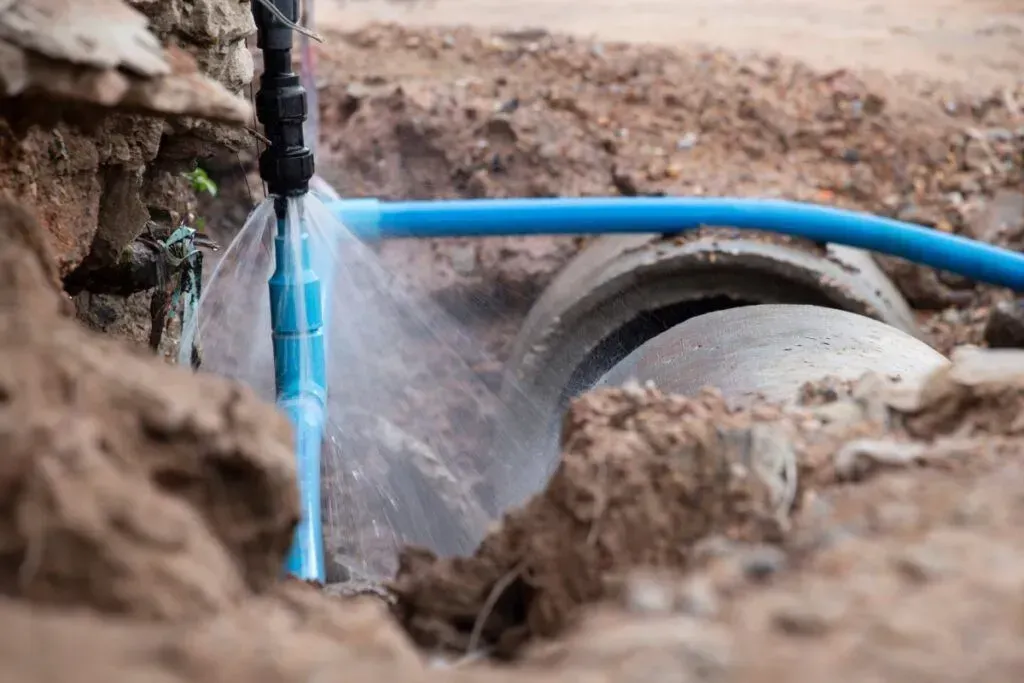
You do not need to drain the whole tank. You only need to get the water level below the valve.
- Attach your garden hose to the drain valve at the bottom of the tank.
- Open a hot water faucet somewhere in the house (this breaks the "vapor lock" and allows water to flow out).
- Drain about 10–15 gallons into your bucket or out the hose.
- Pro Tip: This is a great time to flush out some sediment from the bottom of the tank!
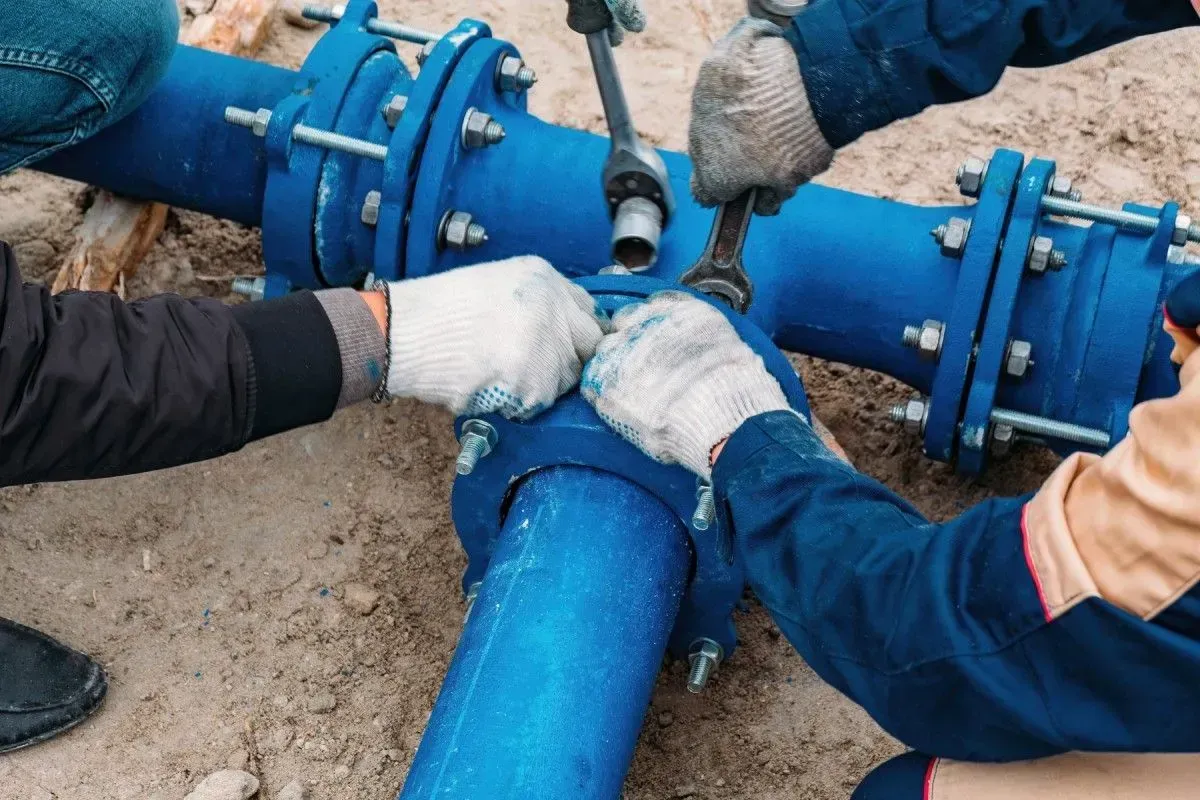
3. Removing the Old Unit and Replacing Water Heater Relief Valve
Once the water level is low enough, use your wrench to disconnect the discharge pipe (the long pipe that runs toward the floor). Once that is off, fit your wrench onto the flats of the T&P valve itself. Turn it counterclockwise to unscrew it.
If it’s stuck, don’t yank it so hard that you tip the heater. Use penetrating oil and steady pressure. Once it's out, use a rag to clean the threads inside the tank opening. You want them shiny and free of old tape or gunk.
4. Installing the New Valve
Apply 5–6 wraps of Teflon tape to the threads of the new valve in a clockwise direction. Screw the valve into the tank by hand first to ensure you don't cross-thread it. Then, use your wrench to snug it up. The discharge opening should point straight down. Don't overtighten! You can crack the tank's internal lining if you go "Hulk" on it.
5. Reinstalling the Discharge Pipe
Clean the threads of your discharge pipe and apply fresh Teflon tape. Screw it back into the new valve.
Code Requirements Alert: Local codes in Washington (from Tacoma to Bellevue) are strict about discharge pipes.
- The pipe must be made of a material rated for hot water (like copper or CPVC).
- It must end 6 to 24 inches above the floor or a drain.
- It cannot have any threads on the end (to prevent someone from capping it off—which would be dangerous!).
- It must slope downward so it doesn't trap water.
Testing and Maintenance After the Install
Now that the hardware is in place, you need to bring the system back online.
Refilling the Tank
Keep that hot water faucet in the house open. Turn the cold water supply back on at the tank. You’ll hear air hissing out of the faucet. When a steady stream of water (no air bubbles) comes out of the faucet, the tank is full. Only now should you turn the power or gas back on. If you turn on an electric heater before it's full, you'll burn out the upper heating element in seconds.
How to Test After Replacing Water Heater Relief Valve
Wait for the water to heat up, then check for leaks around the threads. To perform a true test:
- Place a bucket under the discharge pipe.
- Briefly lift the silver lever on the valve.
- Water should flow freely.
- Let go of the lever; it should "snap" shut and the water should stop immediately.
If it continues to drip after the test, try "snapping" it a few more times to clear any sediment. If it still leaks, you might have a pressure issue in your home. This is where our leak finder plumber services come in handy to diagnose hidden system issues.
The Role of Expansion Tanks
If you find yourself replacing water heater relief valve units every year or two, the valve isn't the problem—your plumbing is. In a "closed" plumbing system (common in Kent and Auburn where check valves or pressure-reducing valves are installed), the expanding hot water has nowhere to go. This causes pressure spikes above 80 psi, forcing the T&P valve to leak.
Installing a thermal expansion tank (a small tank that sits above your water heater) gives that extra water a place to go, protecting your valve and your tank's lifespan.
Frequently Asked Questions about T&P Valves
Do I need to drain the entire tank to replace the valve?
No! As mentioned earlier, a partial drain of 10–15 gallons is usually enough to get the water level below the valve port. This saves time and water. The "vapor lock" technique (keeping faucets closed) can sometimes let you swap a valve with almost no drainage, but for DIYers, we recommend the partial drain to avoid a messy, hot flood.
Why is my new valve still dripping?
If you just finished replacing water heater relief valve hardware and it's still dripping, check your home's water pressure. If your pressure-reducing valve (PRV) has failed and your home pressure is over 80 psi, the T&P valve will leak by design. Also, check if your water temperature is set too high (keep it at 120°F).
How often should I test the relief valve?
We recommend an annual check. Mark it on your calendar when you change your smoke detector batteries. If the valve is more than 3 years old and you've never tested it, be prepared that it might not reseal, and you might have to replace it right then and there.
Conclusion
Replacing water heater relief valve components might seem like a small task, but it’s the ultimate "ounce of prevention." By spending $20 on a valve and 30 minutes of your time, you protect your home from water damage and your family from a potential safety hazard.
At Retrofit Plumbing, we’ve built our reputation in Covington, WA, and the surrounding South Sound cities on honest pricing and expert service. Whether you’re in Renton, Kent, or Auburn, our fully stocked trucks are ready for same-day service. If you're uncomfortable working with high-pressure systems or if your water heater is showing signs of total failure, we're here to help.
From simple valve swaps to tankless water heater services, our team ensures your hot water is safe and reliable. Don't let a small drip turn into a big disaster—give us a call today!