Why Replacing an Electric Water Heater Is Easier Than You Think
Replacing an electric water heater is a manageable DIY project for most homeowners — if you follow the right steps in the right order.
Here's a quick overview of the process:
- Turn off the power at the double-pole breaker and verify it's off with a voltage tester
- Shut off the cold water supply to the heater
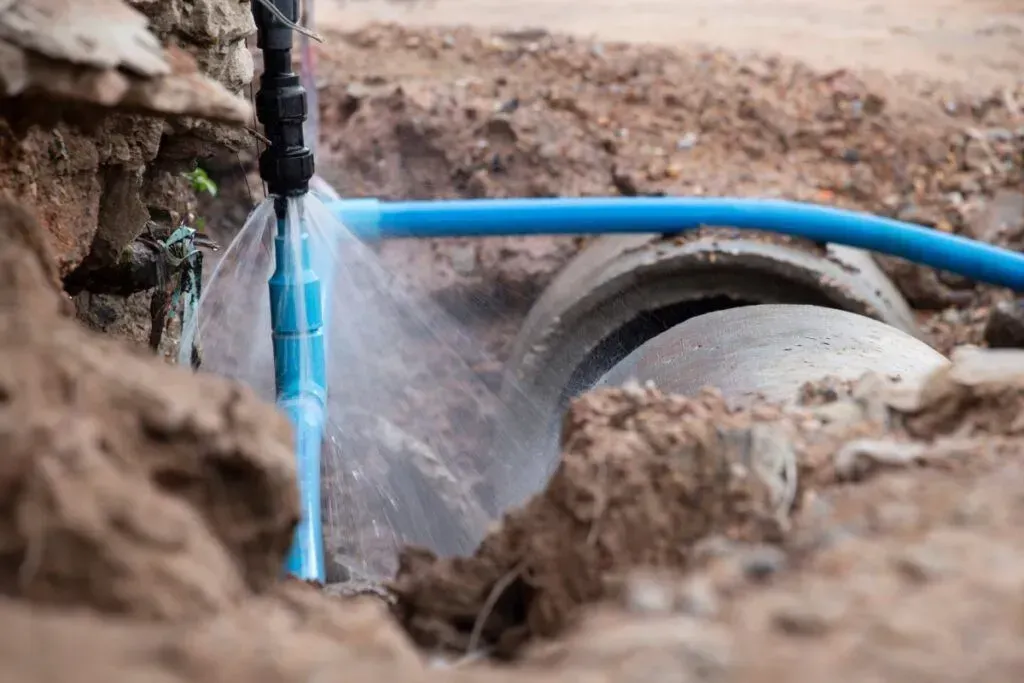
- Drain the old tank using a garden hose
- Disconnect the water lines and electrical wiring
- Remove the old unit using an appliance dolly
- Position the new heater in a drain pan with proper clearance
- Install the T&P relief valve and connect water supply lines
- Fill the tank completely before restoring power
- Reconnect the wiring and set the thermostat to 120°F
- Check for leaks and confirm hot water is flowing
Most homeowners can complete this in 3 to 4 hours. Electric water heaters typically last 10 to 15 years — so if yours is getting up there in age and your morning showers in Covington or Renton are running cold, it's probably time.
That said, working around 240-volt electrical connections and pressurized water lines is serious business. This guide walks you through every step clearly and safely.
I'm Josh Klimp, and with over 20 years of hands-on plumbing experience — including countless water heater installations across the South Sound — I've put together this guide to give you everything you need for replacing an electric water heater with confidence. Let's get into it.

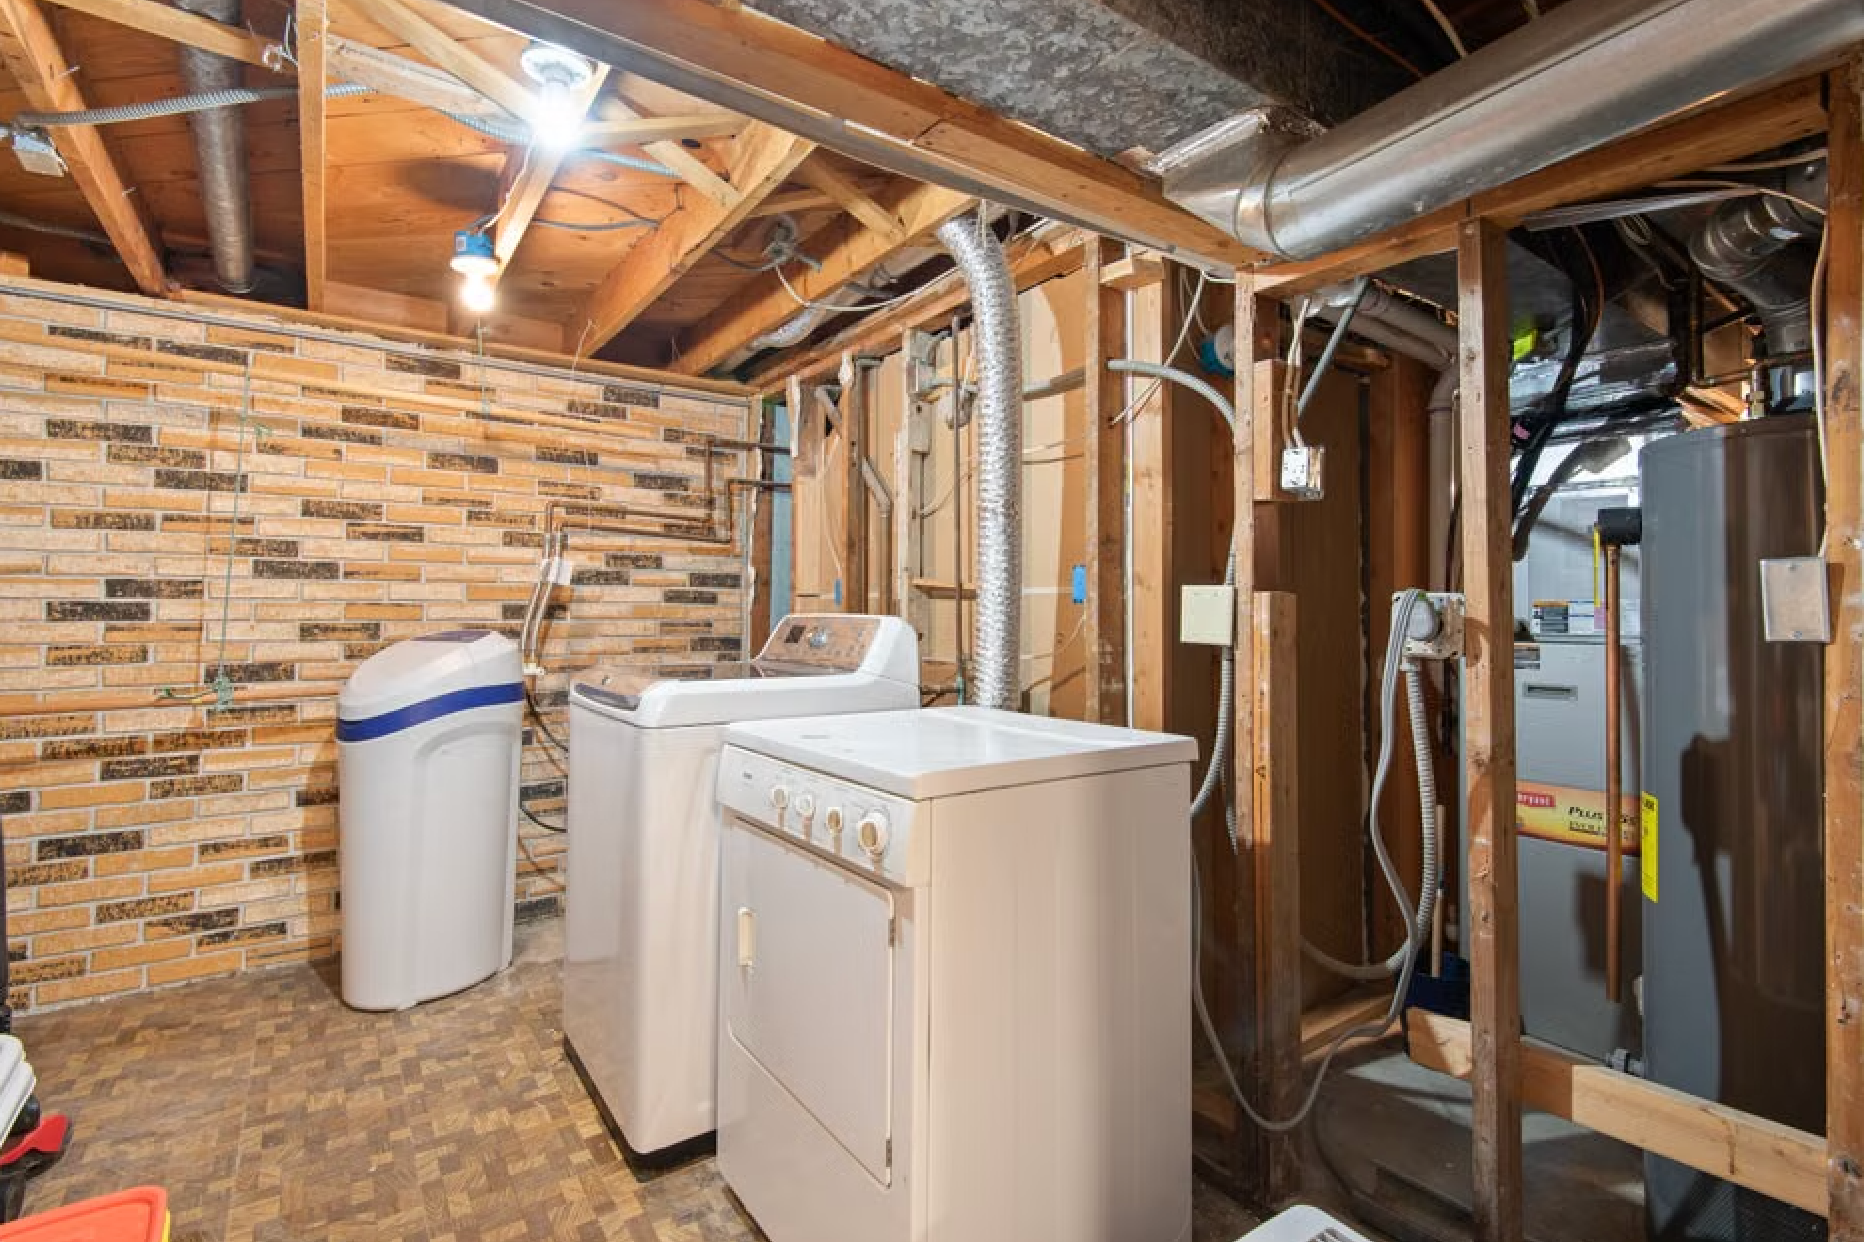
Knowing When It’s Time for Replacing an Electric Water Heater

Living in the Pacific Northwest, we rely heavily on our hot water. Whether you’re coming home from a rainy hike at Kanaskat-Palmer State Park or just trying to get through a Tuesday in Bellevue, a cold shower is a rude awakening. While electric water heaters can sometimes stretch to a 20-year lifespan, most tank-type units start showing their age between 8 and 12 years.
How do you know the end is near? Keep an eye out for these telltale signs:
- Rusty Water: If your hot water looks like tea but the cold water stays clear, the sacrificial anode rod has likely failed, and the tank itself is corroding from the inside out.
- The "Popping" Sound: That knocking or rumbling sound is the sound of sediment at the bottom of the tank. As water gets trapped under a layer of mineral scale and boils, it "pops." This sediment makes the heater less efficient and can eventually lead to tank failure.
- Visible Leaks: Moisture around the base of the unit is never a good sign. If you see active puddling, check out our guide on Water Heater Leaks to see if it’s a simple valve fix or a total tank failure.
- Rising Energy Bills: As elements become coated in scale, they have to work harder and longer to heat the same amount of water, which you'll definitely notice on your Puget Sound Energy bill.
If your unit is over a decade old and exhibiting these symptoms, Water Heater Replacement: A Complete Step-by-Step Guide for Homeowners - Plumbing Resource suggests that a proactive swap is much better than an emergency cleanup after a 50-gallon flood in your garage or basement.
Preparation: Tools, Permits, and Safety First

Before we start unhooking pipes, we need to talk about the "boring" stuff that keeps you safe and legal. In April 2026, building codes in King County are stricter than ever regarding seismic safety and energy efficiency.
Tools and Materials You’ll Need
- Non-contact voltage tester (This is non-negotiable!)
- Pipe wrenches and adjustable wrenches
- Garden hose
- Appliance dolly or hand truck (These tanks are heavy, especially with sediment buildup!)
- Screwdrivers and wire strippers
- Level and shims
- New water heater and a drain pan
- Teflon tape and pipe joint compound
Permits and Codes
Do you need a permit? In most of our local areas, including Covington, Renton, and Kent, the answer is yes. According to the Water Heater Replacement - City of Kirkland, permits ensure that your installation meets safety standards for electrical grounding and emergency drainage. If you’re unsure about the requirements in your specific neighborhood, our Water Heater Emergency Repair Guide covers the basics of local compliance.
Safety Protocol
Electric water heaters run on 240-volt circuits. This isn't your standard toaster plug; it’s enough power to be extremely dangerous. Always turn off the double-pole breaker and use your voltage tester on the wires inside the heater's junction box before touching anything.
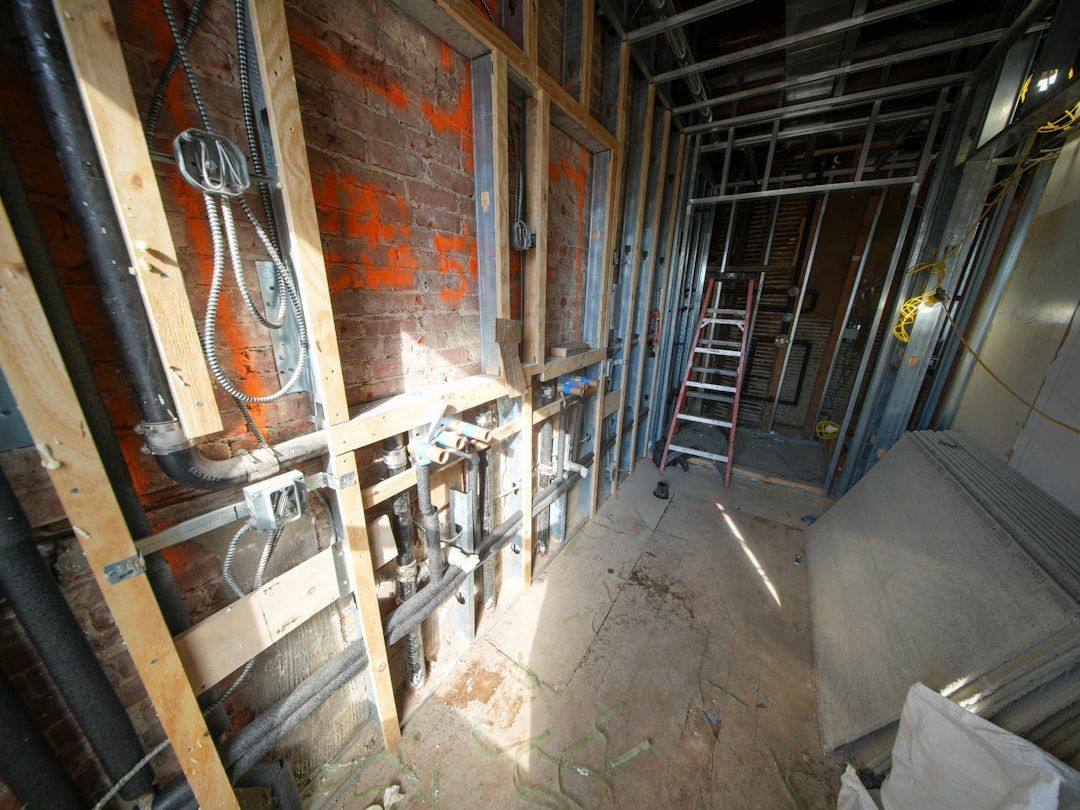
The Step-by-Step Process of Replacing an Electric Water Heater
Now that you’re prepared, it’s time to get to work. If you find yourself in over your head, we offer Water Heater Repair and full installations throughout the Covington area.
Draining and Removing the Old Unit for Replacing an Electric Water Heater
First, turn off the cold water shut-off valve located above the heater. If that valve is frozen or leaks when you touch it, you may need to shut off the main water to the house.
Attach your garden hose to the drain valve at the bottom of the tank. Run the other end to a floor drain or outside. Open a hot water faucet somewhere in the house to break the vacuum and allow the tank to drain faster. Pro Tip: If the water doesn't start flowing, the valve might be clogged with sediment. Try "burping" the tank by flicking the cold water supply on for a few seconds to blast the sediment away from the drain opening.
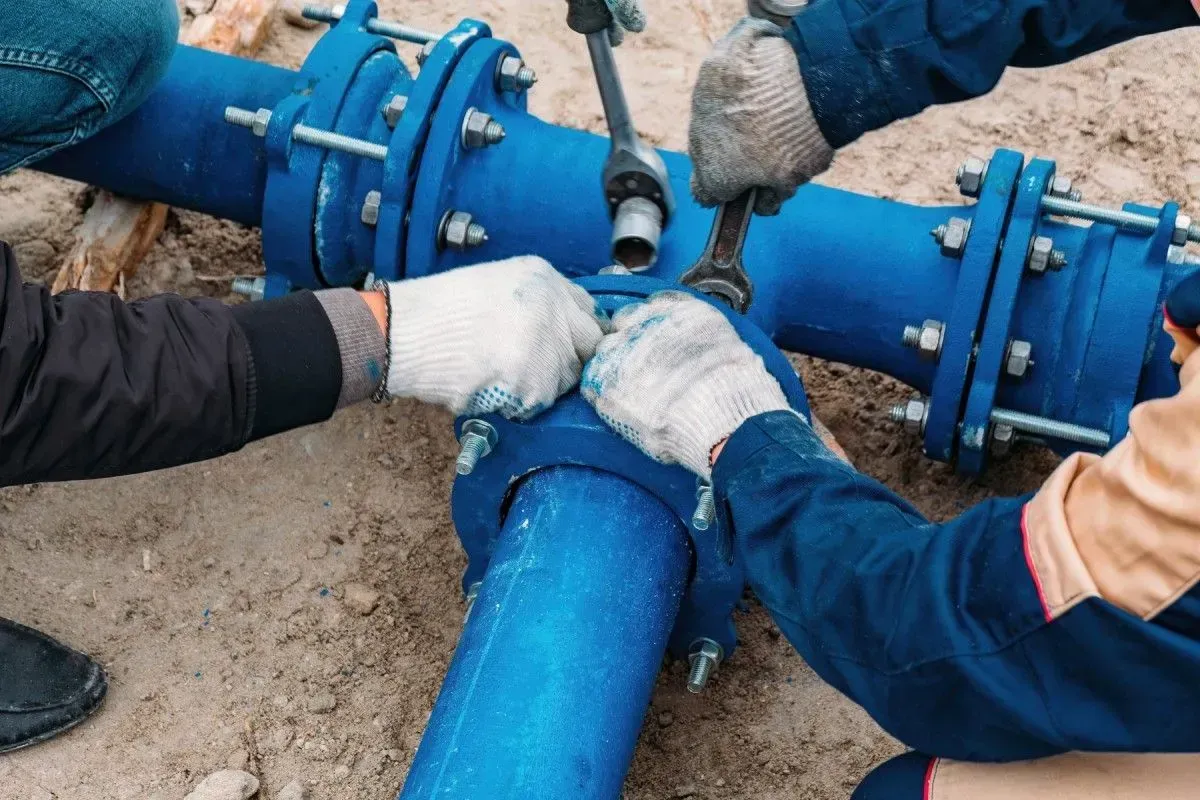
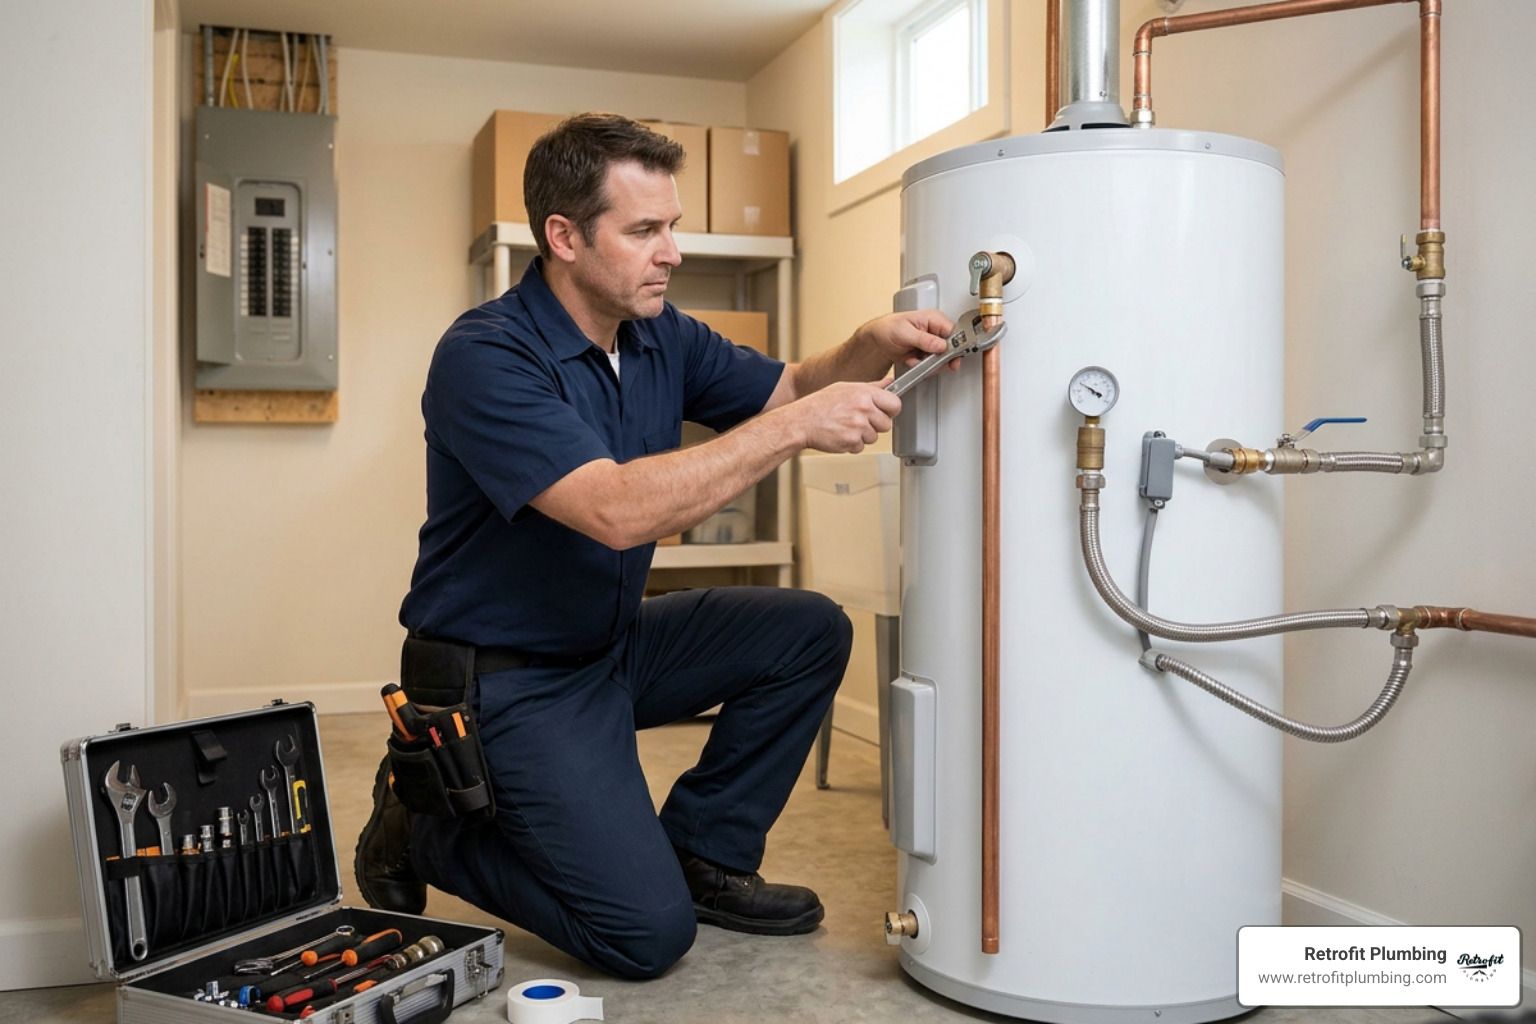
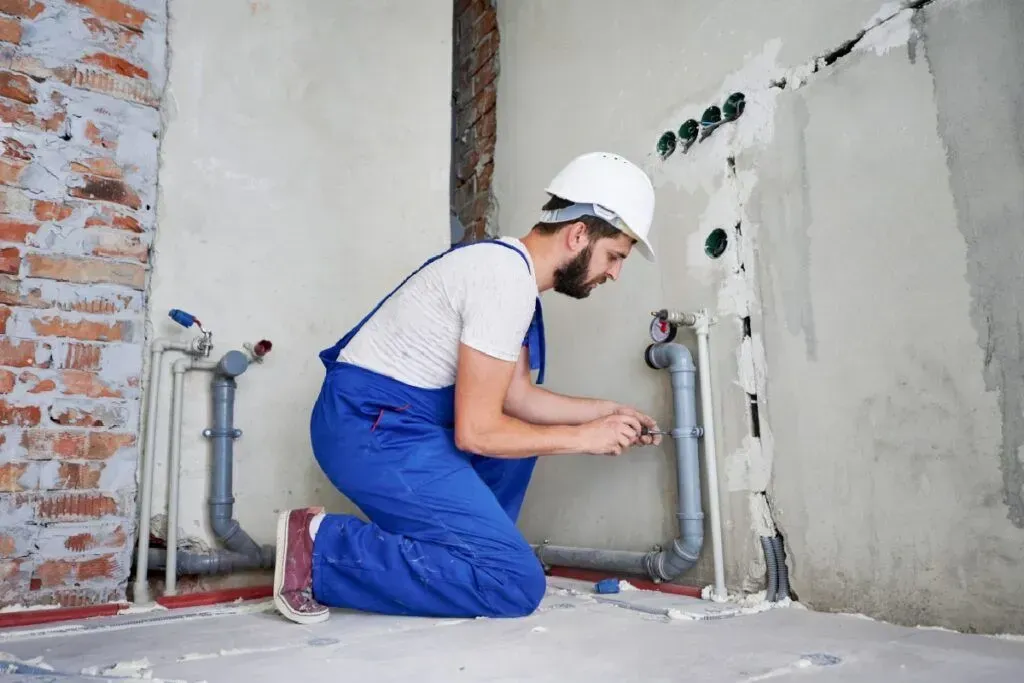
Once empty, disconnect the electrical conduit and the water lines. If your old unit was hard-plumbed with copper, you’ll need to cut the pipes using a tubing cutter. Leave enough pipe to work with for your new connections.
Positioning and Plumbing the New Heater
Slide your new drain pan into place first. This is a requirement in most local codes to prevent floor damage from future leaks. Carefully move the new heater onto the pan using your dolly.
When replacing an electric water heater, positioning is key. You want at least 6 inches of clearance on all sides for maintenance access. Use a level to check the tank; if it’s wonky, use plastic shims under the base to steady it.
Next, install the Temperature and Pressure (T&P) relief valve. Most new heaters come with one, but you must install the discharge pipe so it ends no more than 6 inches from the floor (or follows your specific local code). For more on this critical safety component, see our guide on Replacing Water Heater Relief Valve.
For the water connections, we recommend using dielectric unions or flexible stainless steel connectors. These make future replacements much easier and prevent the "galvanic corrosion" that happens when different metals (like copper and steel) touch. For a deeper dive into local plumbing nuances, check out our Covington Water Heater Repair Guide.
Managing Pressure and Thermal Expansion in the PNW

If you live in an area like Renton or Issaquah where the city water pressure is high, you might have a "closed-loop" system. This happens when there is a check valve or pressure-reducing valve (PRV) on your main line. When water heats up, it expands. In a closed system, that pressure has nowhere to go, which can stress your pipes and water heater.
This is where a thermal expansion tank comes in.
| Tank Size | Water Heater Capacity | Ideal Water Pressure |
|---|---|---|
| 2-Gallon | Up to 50 Gallons | 50-60 PSI |
| 5-Gallon | 50 to 100 Gallons | 50-60 PSI |
As noted in Everything You Need to Know to Replace a Water Heater - This Old House, you should pump up the expansion tank with a bike pump to match your home’s water pressure before installing it. If you’re unsure how to handle this, our team can assist with Replacing Water Heater Expansion Tank to ensure your system stays within safe limits.
Wiring and Powering Up Without "Dry Firing"
This is the most important step for your wallet: Do not turn the power back on until the tank is completely full of water. If the heating elements are turned on while surrounded by air instead of water, they will burn out in seconds. This is called "dry firing," and it’s a costly mistake.
- Fill the Tank: Turn the cold water supply back on. Keep a hot water faucet open in the house. When water starts flowing steadily from that faucet without sputtering air, the tank is full.
- Flush the Lines: Let the water run for a minute to clear out any debris or air pockets.
- The Wiring: Connect the ground wire (usually green or bare copper) to the green ground screw. Connect the two "hot" wires from your home’s circuit to the two wires on the heater using wire nuts. Since it’s AC power, it doesn't usually matter which hot wire goes to which, but follow the manufacturer’s diagram to be sure.
- Set the Temp: We recommend setting the thermostat to 120°F. This is hot enough for a comfortable shower but helps with Efficient Hot Water Tank Installation by Retrofit Plumbing in Covington by reducing energy waste and preventing accidental scalding.
Frequently Asked Questions about Replacing an Electric Water Heater
Do I need a permit for a DIY replacement in Kent or Issaquah?
Yes, most municipalities in the South Sound require a permit for water heater replacement. This isn't just a "tax"—it's a safety measure. An inspector will verify that your T&P valve is piped correctly and that the unit is properly grounded, which protects your family and your home insurance policy. You can find more details on the Water Heater Replacement - City of Kirkland page, which is a great reference for our region.
How long does it take for a new electric heater to reach temperature?
Unlike gas heaters, which can heat a tank in about 30 minutes, electric units are a bit slower. Expect to wait about 60 to 90 minutes for a 50-gallon tank to reach full temperature after you flip the breaker. How to Replace a Water Heater mentions that recovery times vary by the wattage of your elements, but an hour is a safe bet.
Should I upgrade to a tankless electric model?
While Tankless Water Heaters are incredibly efficient and provide endless hot water, switching from a tank to a tankless electric unit often requires a massive upgrade to your home’s electrical panel. Most tankless units require two or three 40-amp breakers, which many older homes in Covington or Auburn aren't equipped for without expensive rewiring.
Conclusion
Replacing an electric water heater is a rewarding way to improve your home’s comfort and efficiency. By following these steps—and paying close attention to those 240-volt wires—you can save a significant amount on labor costs.
However, we know that life in the Northwest is busy. Between commuting to Seattle or enjoying a weekend at Lake Meridian, you might not have 8 hours to spend wrestling with a heavy tank and plumbing fittings. That’s where Retrofit Plumbing comes in. We’ve built our reputation in Covington, Renton, Kent, and Bellevue on honest pricing and a 100% satisfaction guarantee.
Whether you need a quick tip or a full-service installation with a fully stocked truck ready for same-day service, we’re here to help. For more information, check out our Water Heater Repair page or give us a call to get your hot water back on track today!