Why Replacing Your Water Heater Expansion Tank Matters
Replacing water heater expansion tank components is one of the most important maintenance tasks a homeowner can do to protect their plumbing system from serious pressure damage.
Here's a quick overview of what's involved:
| Step | What to Do |
|---|---|
| 1. Check for failure | Press the Schrader valve — water coming out means replacement is needed |
| 2. Shut off water and power | Turn off the cold water supply and circuit breaker |
| 3. Remove old tank | Use adjustable wrenches to unscrew the old unit |
| 4. Set air pressure | Match new tank's pre-charge PSI to your home's water pressure |
| 5. Install new tank | Apply Teflon tape, thread on new tank, tighten securely |
| 6. Test the system | Restore water and power, check for leaks |
Expansion tanks typically last 5–10 years. A new tank costs $25–$60, while professional installation runs $100–$300 in labor. Without a working expansion tank, water pressure in your system can spike to 80–120 psi — enough to burst pipes and damage fixtures.
When your expansion tank fails, it's not a problem you want to ignore or delay.
I'm Josh Klimp, and with over 20 years of professional plumbing experience, I've replaced dozens of water heater expansion tanks in homes just like yours — and I know exactly where things go wrong. In this guide, I'll walk you through everything you need to know about replacing water heater expansion tank units safely and correctly, whether you're going the DIY route or calling in a pro.

Understanding the Role of a Thermal Expansion Tank
To understand why replacing water heater expansion tank units is so critical, we first have to look at the physics of your home's water. Water is incompressible. When you heat it up, it expands in volume—a phenomenon called thermal expansion. In the old days, this extra volume would just push back out into the city’s main water line.
However, modern plumbing codes in places like Covington, WA, and Renton, WA, usually require "closed-loop" systems. These systems use a backflow preventer or a check valve to keep your home's water from flowing backward into the municipal supply. While this protects the city's water purity, it creates a problem: that expanding hot water has nowhere to go.
This is where the expansion tank comes in. It is a small metal tank, usually 2 to 5 gallons, installed on the cold water line. Inside, a flexible rubber diaphragm separates a chamber of water from a chamber of pressurized air. As the water in your heater expands, it pushes against that diaphragm, compressing the air and absorbing the pressure spike. Without it, your pipes, joints, and the water heater tank itself are under constant stress. If you're noticing issues with your unit beyond just the expansion tank, you might want to look into more comprehensive water heater repair services.

Signs You Need to Consider Replacing Water Heater Expansion Tank
How do you know when it’s time for a change? Most expansion tanks have a lifespan of about 5 to 10 years. Because they are "set it and forget it" devices, many homeowners don't realize they've failed until a bigger problem occurs.
Here are the primary red flags:
- The "Knock" Test: Give the tank a light tap with a wrench or your knuckles. The top half (where the water enters) should sound dull, while the bottom half (the air chamber) should sound hollow. If the whole tank sounds like a "thud," it is likely waterlogged.
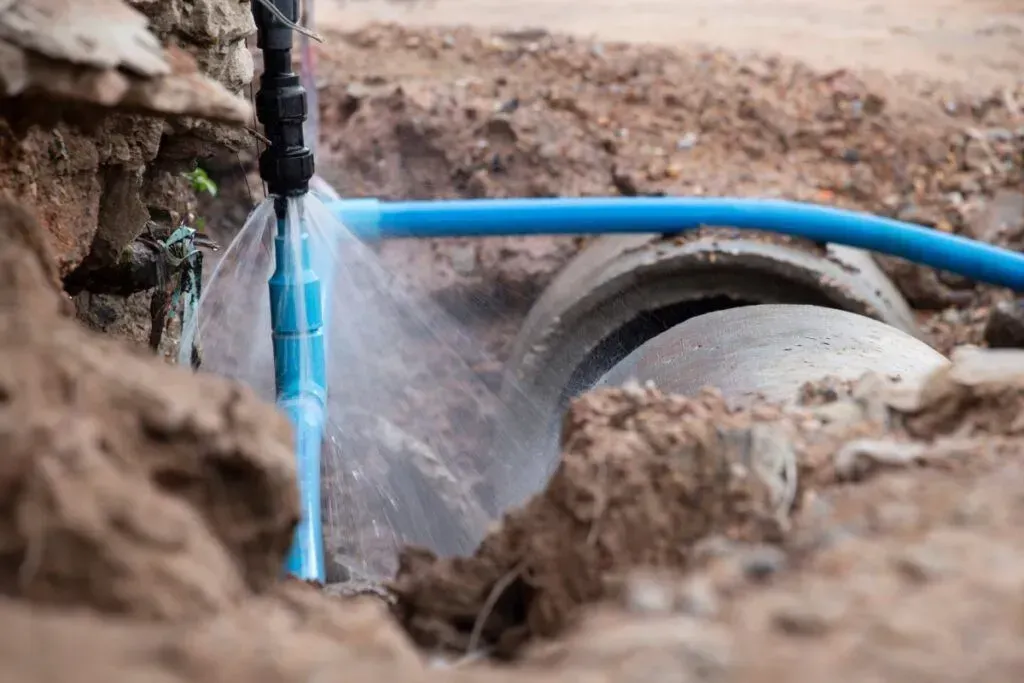
- The Schrader Valve Test: This is the most definitive test. Locate the small air valve (like a tire valve) on the tank. Briefly press the center pin. If air hisses out, the diaphragm is likely still intact. If water squirts out, the diaphragm has ruptured, and you are officially in the market for replacing water heater expansion tank hardware.
- Dripping T&P Valve: The Temperature and Pressure (T&P) relief valve on your water heater is designed to open if pressure gets too high. If you see water dripping from the discharge pipe, your expansion tank might no longer be absorbing the pressure spikes.
- Visible Damage: Look for rust, corrosion, or active leaks at the connection point. Even a small amount of rust can indicate a slow weep that will eventually lead to a flood. If you're already dealing with a puddle, check out our guide on water heater leak services for immediate steps to take.
Step-by-Step Guide to Installing a New Expansion Tank
Once you've determined that the old tank is toast, it's time to get to work. Replacing water heater expansion tank units is a manageable project for an intermediate DIYer, but it requires precision—especially when it comes to air pressure.
Tools and Materials for Replacing Water Heater Expansion Tank
Before you start, gather your supplies. Having everything on hand prevents those mid-project trips to the hardware store in Kent or Auburn.
Required Equipment:
- Pipe Wrench or Large Adjustable Wrenches: You'll need two—one to turn the tank and one to "back up" or support the plumbing so you don't snap a pipe.
- Tire Pressure Gauge: To check your home's water pressure and the tank's air charge.
- Bicycle Pump or Air Compressor: To adjust the tank's pressure.
- Teflon Tape and Pipe Dope: For a leak-proof seal on the threads.
- Bucket and Rags: To catch the water remaining in the old tank.
- New Thermal Expansion Tank: Ensure it is rated for potable water (usually blue or white, not gray).
For a high-quality replacement, many pros use an Eastman thermal expansion tank.
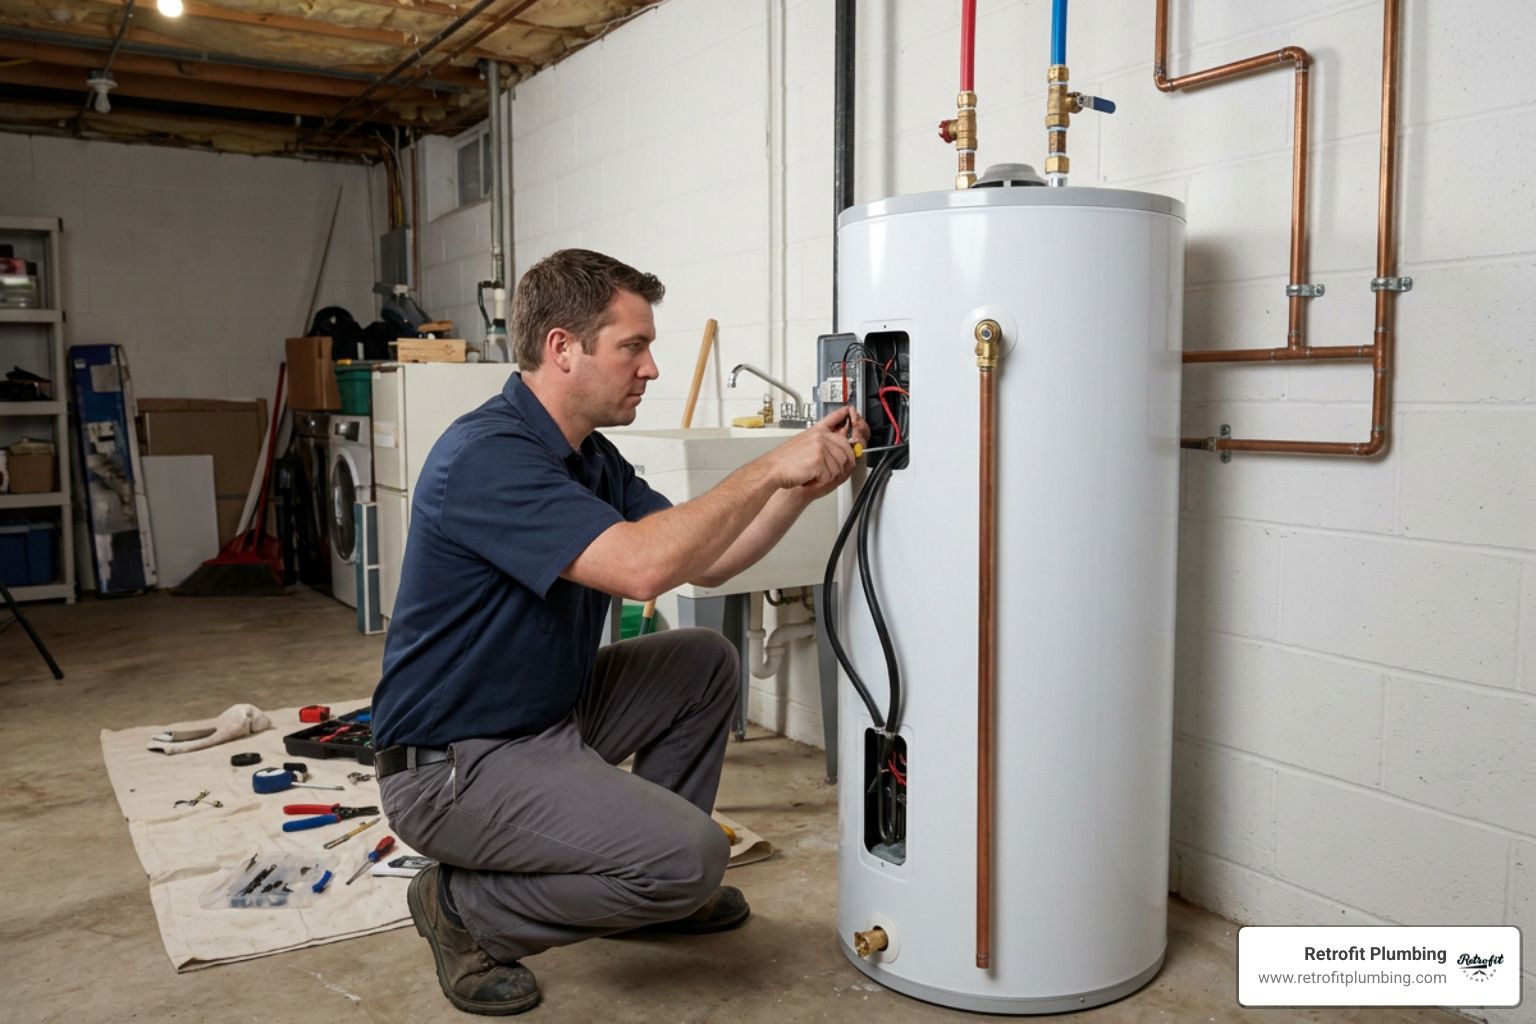
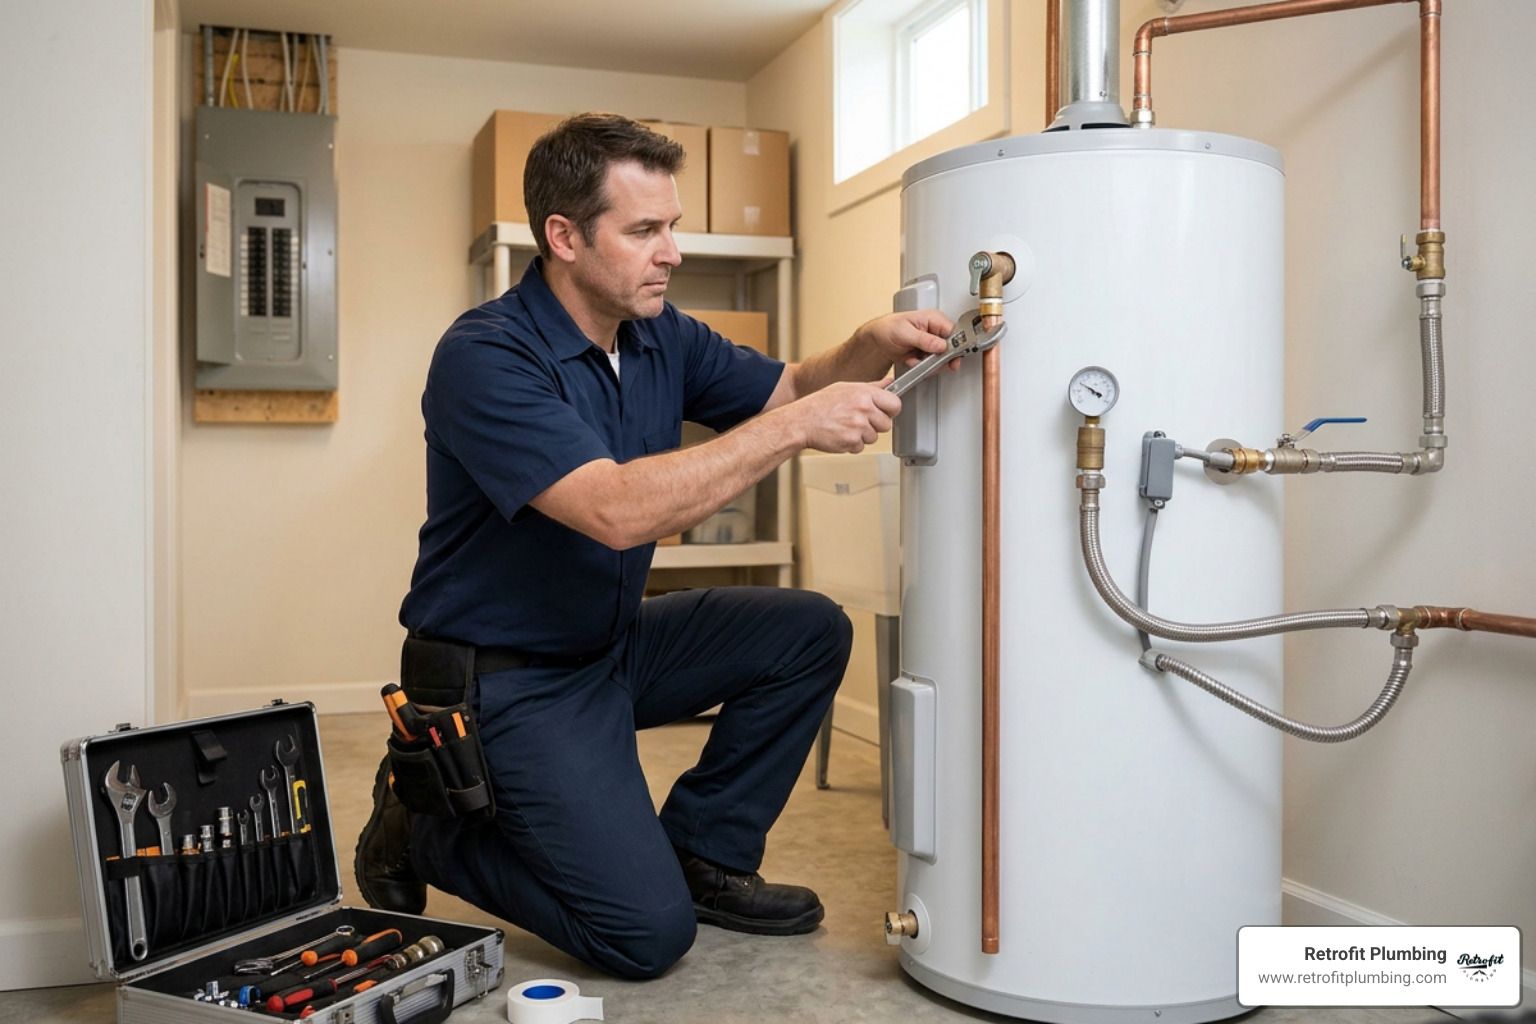
The Removal and Installation Process
- Safety First: Turn off the power to your electric water heater at the circuit breaker or set your gas heater to "Pilot."
- Shut Off the Water: Close the cold water shut-off valve leading to the heater.
- Relieve Pressure: Open a hot water faucet somewhere in the house. Leave it open until the water stops flowing.
- Drain the Line: You don't need to drain the whole water heater, but you should drain a few gallons out of the bottom drain valve to lower the water level below the expansion tank's height.
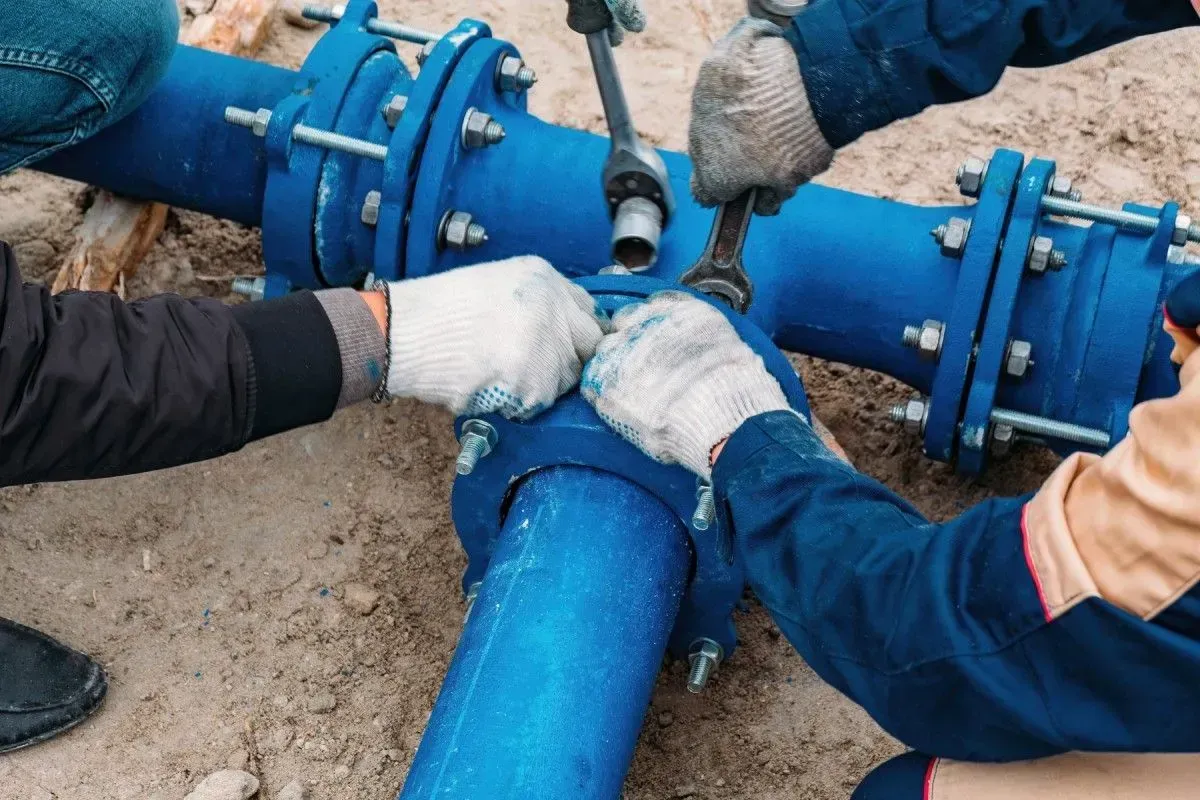
- Unscrew the Old Tank: Place your bucket underneath. Use one wrench to hold the pipe steady and the other to turn the tank counter-clockwise. Warning: A failed expansion tank is full of water and can weigh 20–30 pounds. Be ready to catch that weight!
- Prep the New Tank: Check your home's water pressure first (using a gauge on an outdoor spigot or laundry hookup).
- Set the PSI: Use your pump to match the tank's air pressure to your home's water pressure (usually 50–60 PSI). This is the most important step. If the pressures don't match, the diaphragm will fail prematurely.
- Seal and Install: Wrap the threads of the new tank with Teflon tape (clockwise) and add a dab of pipe dope. Screw it on by hand, then snug it up with the wrench.
- Secure It: If your tank is heavy or installed on PEX pipe, use a HoldRite Quick Strap Expansion Tank Mounting Bracket to prevent the weight from stressing your pipes.
- Restart: Turn the water supply back on slowly. Check for leaks. Once the air is bled out of the open faucet and water flows steadily, turn the power/gas back on.
Installation Costs and Sizing Requirements
When replacing water heater expansion tank units, size matters. If the tank is too small, it won't be able to handle the volume of expanding water.
Sizing Guide
| Water Heater Capacity | Recommended Expansion Tank Size |
|---|---|
| Up to 50 Gallons | 2.0 Gallons |
| 50 to 80 Gallons | 3.2 to 4.4 Gallons |
| 80+ Gallons | 4.8 Gallons or Multiple Tanks |
Cost Breakdown
- Materials: A standard 2-gallon expansion tank costs between $40 and $60. Mounting brackets, tape, and a pressure gauge might add another $20 to $30.
- Professional Labor: In the Covington and Seattle areas, hiring a plumber for replacing water heater expansion tank hardware typically costs between $150 and $300.
- Total DIY Cost:~$70–$100.
- Total Professional Cost:~$250–$500.
If you find that your entire system is aging and you're considering an upgrade to something more modern, we also offer specialized Lander water heater services to help you choose the best fit for your home.
Professional vs. DIY Replacing Water Heater Expansion Tank
Is this a DIY job? For many, yes. If you are comfortable with a pipe wrench and understand how to seal threads, you can save a few hundred dollars. However, there are times when calling Retrofit Plumbing is the smarter move:
- Complex Piping: If your water heater is in a tight spot or uses older galvanized pipes that are prone to snapping, a pro's touch is safer.
- Lack of Tools: If you don't own a pressure gauge or air compressor, the cost of tools might equal the cost of labor.
- Warranty and Codes: Professional installation ensures the job meets local Covington WA codes and often comes with a labor guarantee.
- Time: We offer same-day service and fully stocked trucks, meaning we can get your hot water back to normal in about an hour, whereas a DIY project might take an entire afternoon.
Frequently Asked Questions about Expansion Tanks
Can an expansion tank be installed horizontally?
Yes, most modern diaphragm expansion tanks can be installed horizontally. However, water is heavy. If you mount it sideways, you must use a support bracket or strapping to take the weight off the copper or PEX pipe. If left unsupported, the leverage of a water-filled tank can easily snap a fitting and cause a flood.
How far from the water heater should the tank be?
Ideally, the tank should be installed on the cold water supply line, at least 12 to 18 inches away from the water heater inlet to avoid excessive heat transfer to the diaphragm. However, in a closed system, the pressure is equalized throughout the cold lines, so it can technically be installed further away if space is an issue.
What happens if I don't replace a failed tank?
Ignoring a failed tank is a recipe for disaster. Without room for expansion, the pressure in your system will spike every time the heater runs. This leads to:
- Ruptured Water Heater Tanks: The constant "breathing" of the metal tank causes it to fatigue and eventually crack.
- Blown Seals: You'll find leaks in your faucets, toilets, and dishwasher valves.
- Burst Pipes: In extreme cases, the pressure can exceed the strength of your pipe joints, leading to major water damage.
Conclusion
Replacing water heater expansion tank units isn't just about stopping a small drip; it's about protecting the "heart" of your home's plumbing. Whether you decide to tackle this as a weekend project or prefer the peace of mind that comes with professional help, don't leave your home's safety to chance.
At Retrofit Plumbing, we pride ourselves on honest pricing and 100% satisfaction. We serve the entire South Sound region, from Covington and Kent to Renton and Auburn. If you're tired of worrying about your water heater's performance, we can help with everything from efficient hot water tank installation to modern upgrades.
Ready to say goodbye to pressure worries forever? Explore tankless water heaters and see how an on-demand system can simplify your life and eliminate the need for traditional expansion tanks altogether!