Why Replacing an Electric Water Heater Element Is a Job Worth Understanding
Replacing an electric water heater element is one of the most common fixes for a home that's suddenly out of hot water — and in many cases, it's a repair you can handle yourself for as little as $35–$60 in parts.
Here's a quick summary of the process:
- Shut off power at the breaker and confirm it's off with a voltage tester
- Turn off the cold water supply and drain the tank completely
- Remove the old element using a 1-1/2 inch socket or element wrench
- Install the new element with a fresh gasket lubricated with dish soap
- Refill the tank and run the hot tap for 3 minutes to purge air
- Restore power only after the tank is completely full
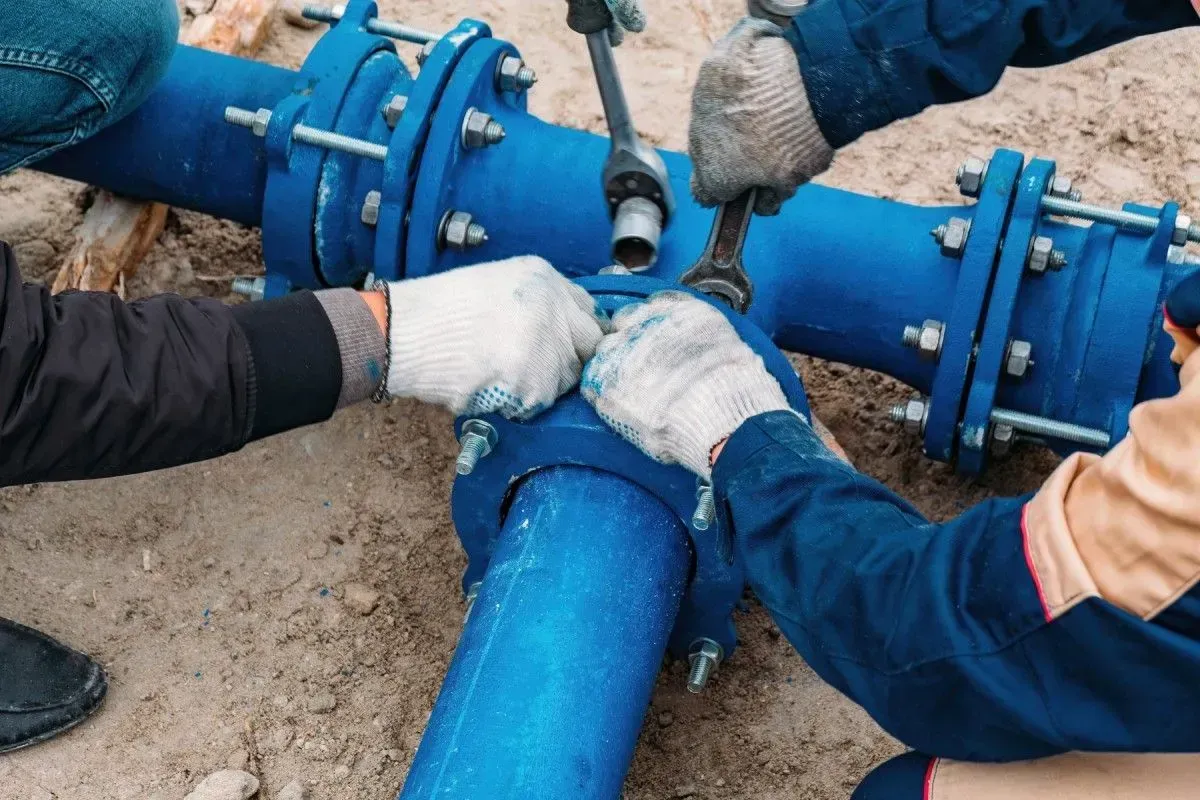
Most homeowners in the South Sound — from Covington to Bellevue — deal with this issue more often than you'd think. Pacific Northwest hard water accelerates sediment buildup, which is the number one reason the lower element fails first. If you're waking up to a cold shower, there's a good chance one of your two heating elements has given out.
The good news: this is a manageable DIY repair on a newer tank. The tricky part is knowing whether the element is actually the problem, whether your tank is worth fixing, and how to avoid mistakes like dry-firing a brand-new element — which destroys it instantly.
I'm Josh Klimp, and with over 20 years of plumbing experience including water heater service and repair across residential and commercial properties, I've seen how a straightforward job like replacing an electric water heater element can go sideways fast without the right steps. This guide walks you through everything you need to do it safely and correctly.

Know When Replacing an Electric Water Heater Element Makes Sense
Before you buy parts, make sure the element is actually the issue. Electric water heaters usually have an upper and lower element, and they fail a little differently.
Common clues include:
- No hot water at all
- Lukewarm water
- Hot water that runs out quickly
- Slow recovery after showers
- A tripped reset button
- Popping or rumbling from sediment in the tank
- Breaker trips or visible wire damage near an access panel
In many homes, the lower element fails first because it sits where sediment settles. That is especially common in older tanks and in areas with mineral-heavy water. Around Covington, Kent, Auburn, and Bellevue, we see that all the time.
A replacement element is usually inexpensive, and a 4500-watt, 240-volt element is the most common residential size. But a cheap part does not always mean a smart repair.
Signs the heating element is actually the problem
Symptoms can point you toward which element failed:
- Bad upper element:
- Little to no hot water
- Reset trips
- Entire tank feels cold
- Bad lower element:
- Some hot water at first, then it turns lukewarm fast
- Slow reheating between uses
If you want confirmation, test the element with a multimeter on ohms after shutting off power. A working element often reads somewhere around 10 to 30 ohms depending on wattage. If it reads open or grounded to the tank, it is bad.
Also check for:
- Burned terminals
- Melted insulation
- Corroded wire ends
- Loose screws on the element terminals
- Tripped high-limit reset button
If you replace an element and still have no hot water, the thermostat or wiring may be the real problem.
When replacing electric water heater element is worth it vs replacing the whole tank
As a general rule, element replacement makes sense when:
- The tank is fairly new
- There is no rust leaking from the tank body
- The threads are in good shape
- Wiring and thermostats are still sound
- The heater is not near the end of its expected life
Electric water heaters commonly reach a point where replacement becomes more cost-effective at around 6 to 10 years, though some last longer. Once you are in the 8- to 12-year range, we start looking harder at the full picture: tank condition, efficiency, recurring repairs, and whether there are leaks beyond the element opening.
Replace the whole heater instead of the element if:
- The tank itself is leaking
- You see heavy rust around seams or at the drain area
- The unit is old and has had repeated repairs
- Threads are damaged and will not seal correctly
- You want better efficiency or more dependable hot water
If your heater is getting tired, this guide on water heater replacement can help with the decision.
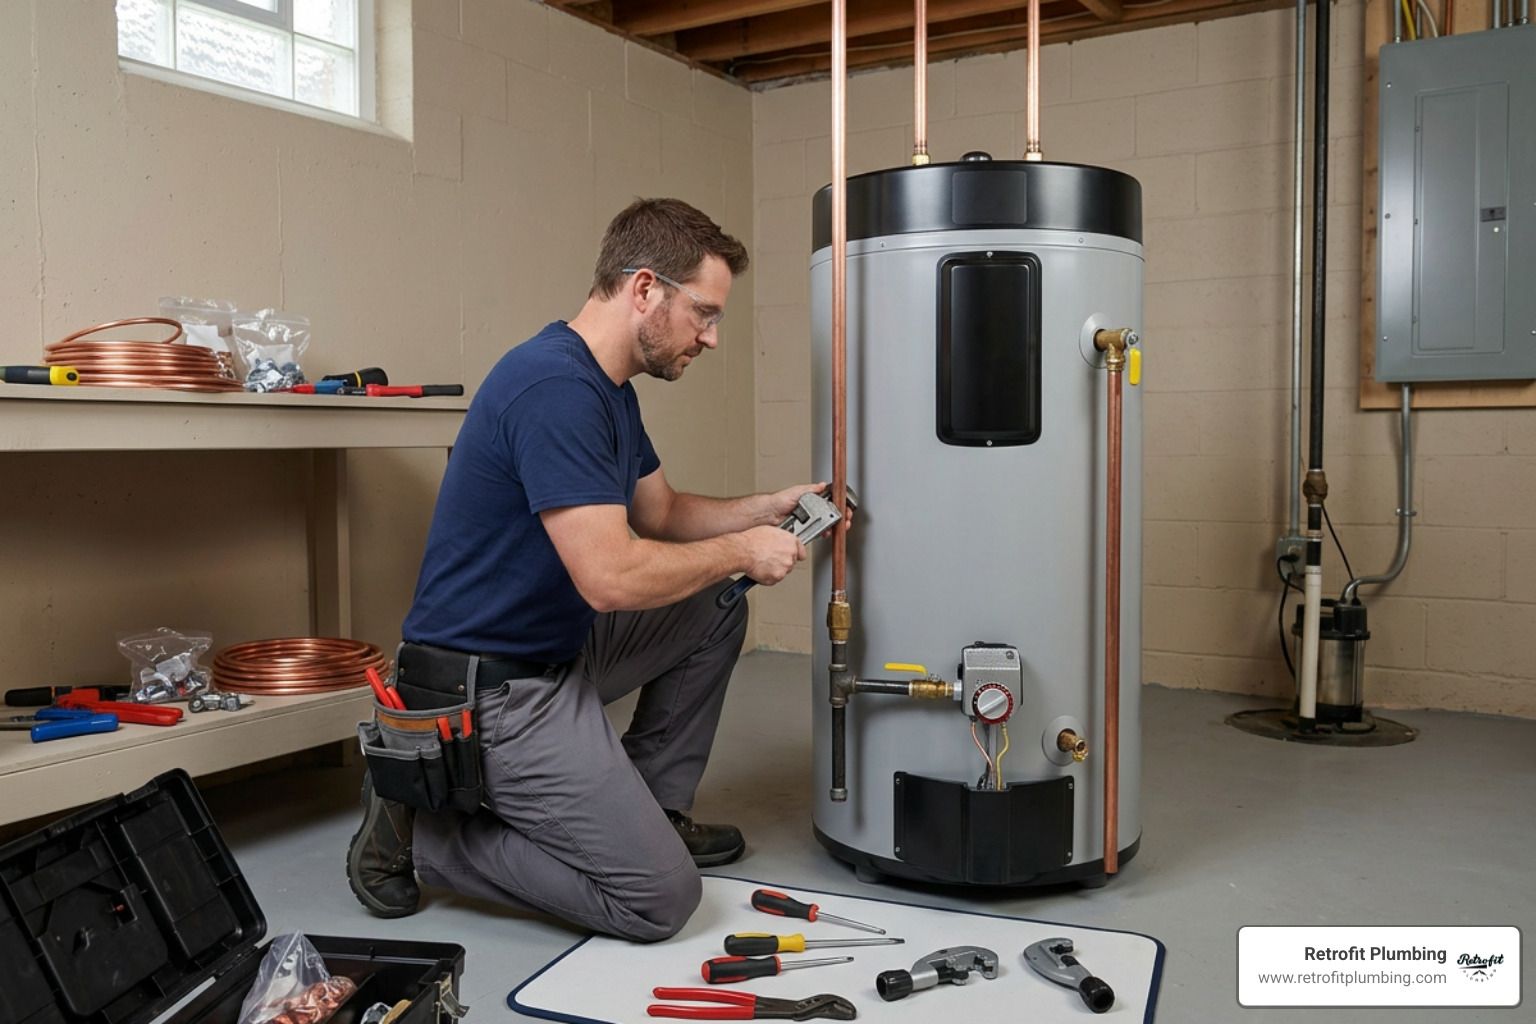
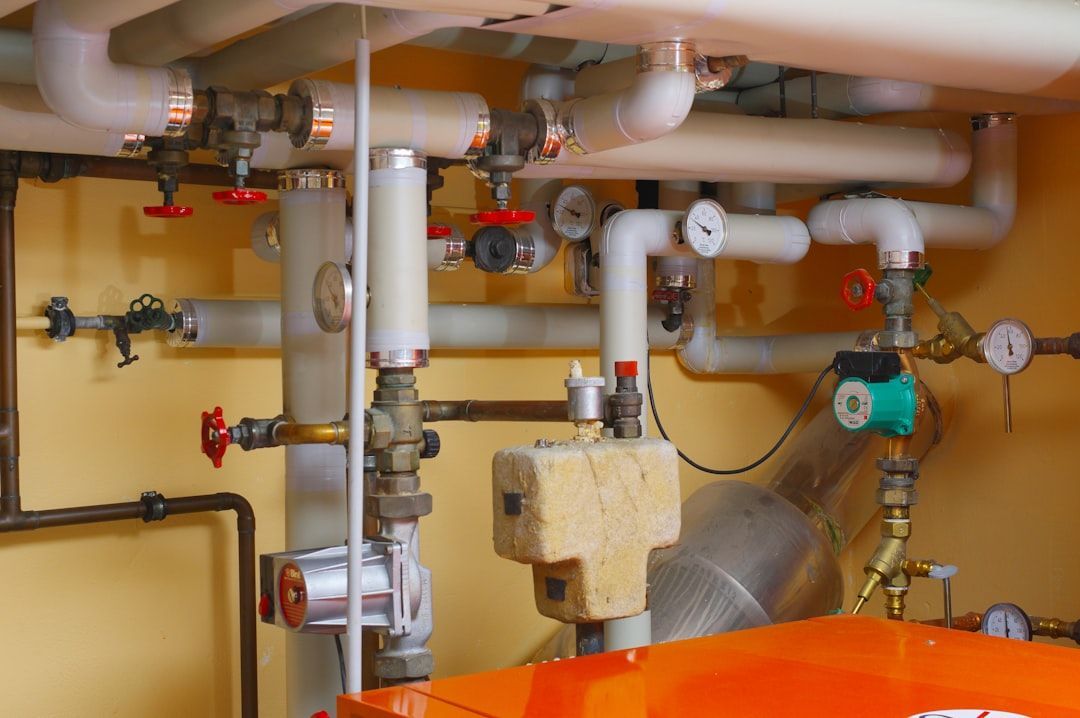
Safety Steps to Take Before Replacing Electric Water Heater Element

This job mixes 240-volt electricity with hot water. That combination deserves respect.
Before touching anything, take these precautions:
- Turn off the correct double-pole breaker
- Verify power is truly off with a tester
- Let the water cool before draining
- Keep the floor dry
- Wear gloves and safety glasses
- Make sure your hose drains to a safe location
- Do not work if you are unsure about wiring condition
Shut off power and confirm it is truly off
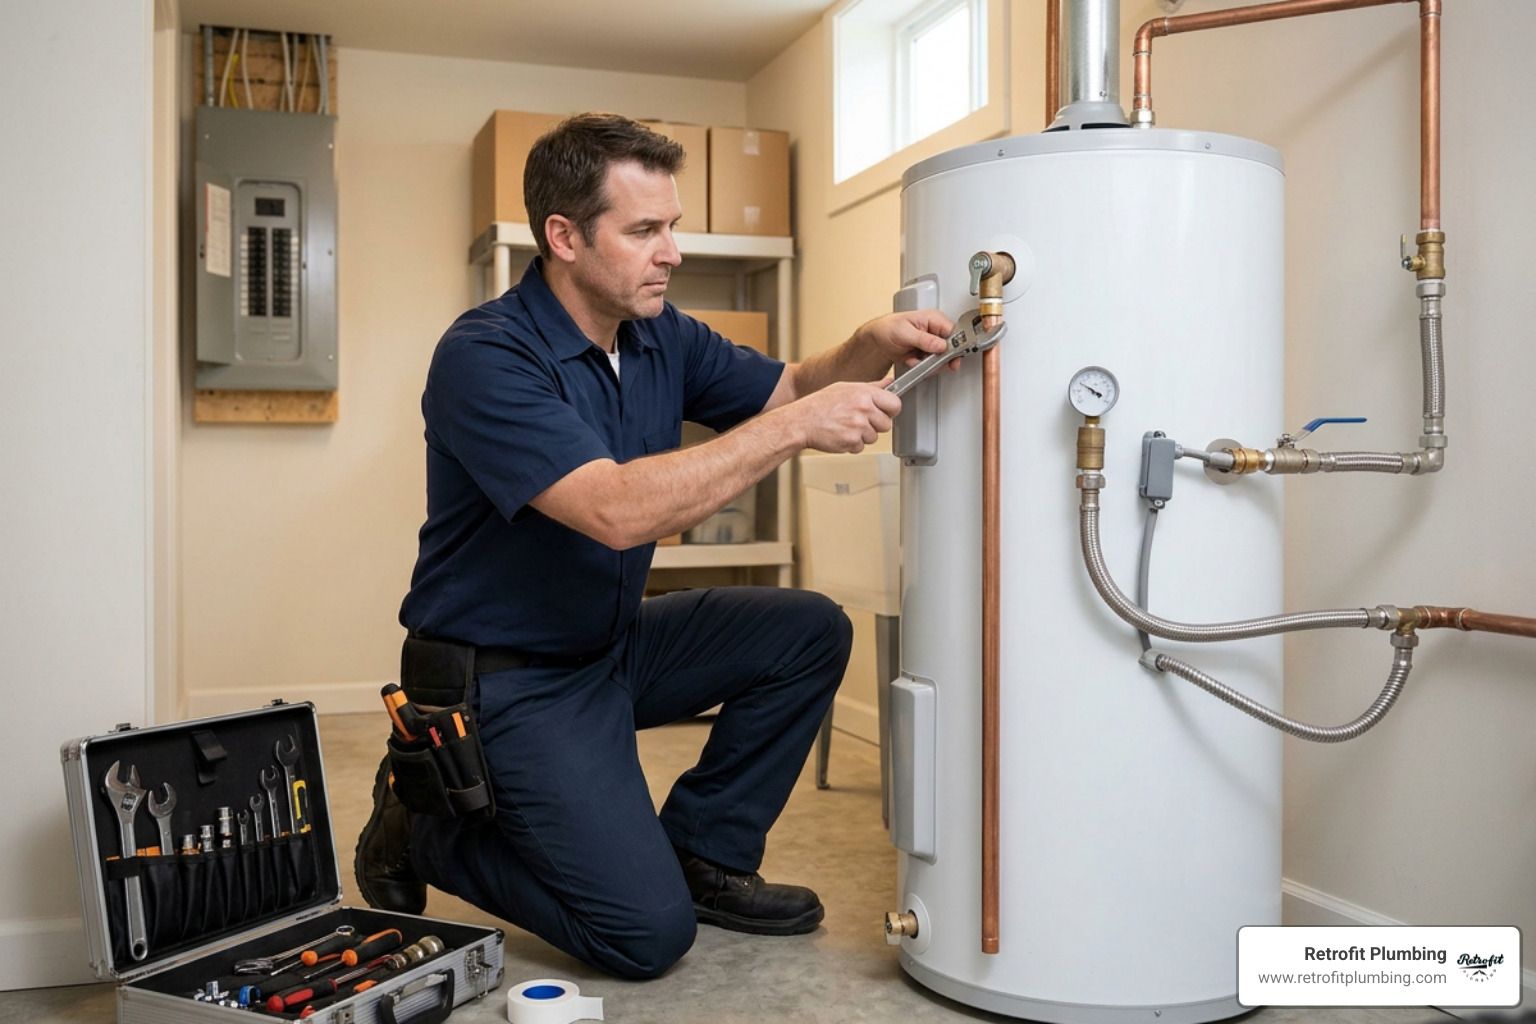
Go to the electrical panel and turn off the breaker for the water heater. Most residential electric heaters run on 240 volts, not standard 120. That means the shock hazard is serious.
Then remove the access cover and insulation at the element you are replacing. Before disconnecting wires, use:
- A non-contact voltage tester for a quick check
- A multimeter for a more reliable confirmation across terminals
Do not assume the power is off just because the label in the panel says so. We have seen mislabeled breakers in homes from Seattle to Kirkland more times than we can count.
Take a photo of the wiring before removing anything. It is a simple step that saves headaches later.
Shut off water and cool the tank before draining
Open a nearby hot water faucet and run hot water until it turns cool. This helps reduce scalding risk when you drain the tank.
Then:
- Shut off the cold water supply valve to the heater
- Connect a garden hose to the drain valve
- Route the hose to a floor drain, tub, or safe exterior location
- Open the drain valve
- Open a hot faucet in the house to let air in and help the tank drain
If the tank will not drain, sediment may be clogging the drain valve. That is a common issue on older units. If that happens, stop before forcing it and use our emergency repair guide or call for help.
Tools, Parts, and How to Choose the Correct Replacement Element

A basic element swap does not require a truck full of gear, but it does require the right gear.
You will usually need:
- New heating element
- New gasket
- Screwdriver
- Element wrench or 1-1/2 inch deep socket
- Garden hose
- Multimeter or voltage tester
- Nylon brush
- Small towel or rag
- Dish soap or approved lubricant for the gasket
- Work gloves and safety glasses
You may also need:
- Replacement thermostat
- 10-gauge wire if wiring is damaged and your heater uses that size
- Nut driver for access covers
- Shop vacuum if sediment is heavy
Match voltage, wattage, and style before you buy
Always match the replacement to the data plate on the heater or the markings on the old element.
Check:
- Voltage
- Wattage
- Element style
- Element length if space is tight
- Gasket type
Important rules:
- Most residential units are 240V
- 120V elements are less common
- 4500W is very common in homes
- Match the original wattage when possible
- A lower wattage element can be acceptable
- Do not install a higher wattage element than the heater and circuit are rated for
Why not go higher? Because wattage affects amp draw. A bigger element can overload the wiring or breaker, and it may physically not fit properly inside the tank.
Screw-in vs flange-style heating elements
There are two main types you will run into.
| Type | What it looks like | Common tools | Install note |
|---|---|---|---|
| Screw-in or hairpin | Threads into the tank opening | Element wrench or 1-1/2 inch socket | Tighten clockwise until gasket seals |
| Flange-style | Mounts with a 4-bolt plate | Socket or wrench set | Tighten bolts evenly in a diagonal pattern |
Screw-in elements are the most common in residential tanks. Flange elements show up on some older or specific models. You must match the style exactly. Wrong style equals leaks, frustration, and probably a few words the neighbors do not need to hear.
For more buying and replacement details, this guide on how to select and replace a water heater element is useful.
Extra parts to inspect while the heater is open
While you have the cover off, inspect:
- Burned or loose wiring
- Corroded element screws
- Brittle insulation
- Thermostat contacts
- High-limit reset button
- Signs of moisture inside the access cavity
If wiring is scorched or the thermostat looks damaged, replace those parts too. That is often the smarter move than putting a fresh element onto failing controls. If you would rather have us handle the diagnosis, see our water heater repair services.
Step-by-Step: Replacing Electric Water Heater Element Safely
Now for the actual swap.
Drain the water heater the right way
After power is off and the water has cooled:
- Remove the aerator from a nearby hot faucet if possible to improve airflow.
- Shut off the cold water supply to the heater.
- Connect a garden hose to the drain valve.
- Route the hose to a safe drain point.
- Open the drain valve.
- Open the hot faucet in the house.
- Let the tank drain completely below the level of the element you are replacing. Full draining is best if you are doing the lower element.
If the drain slows or stops, sediment may be blocking the valve. That is common when the lower element has failed due to buildup. Do not assume the tank is empty until water stops fully.
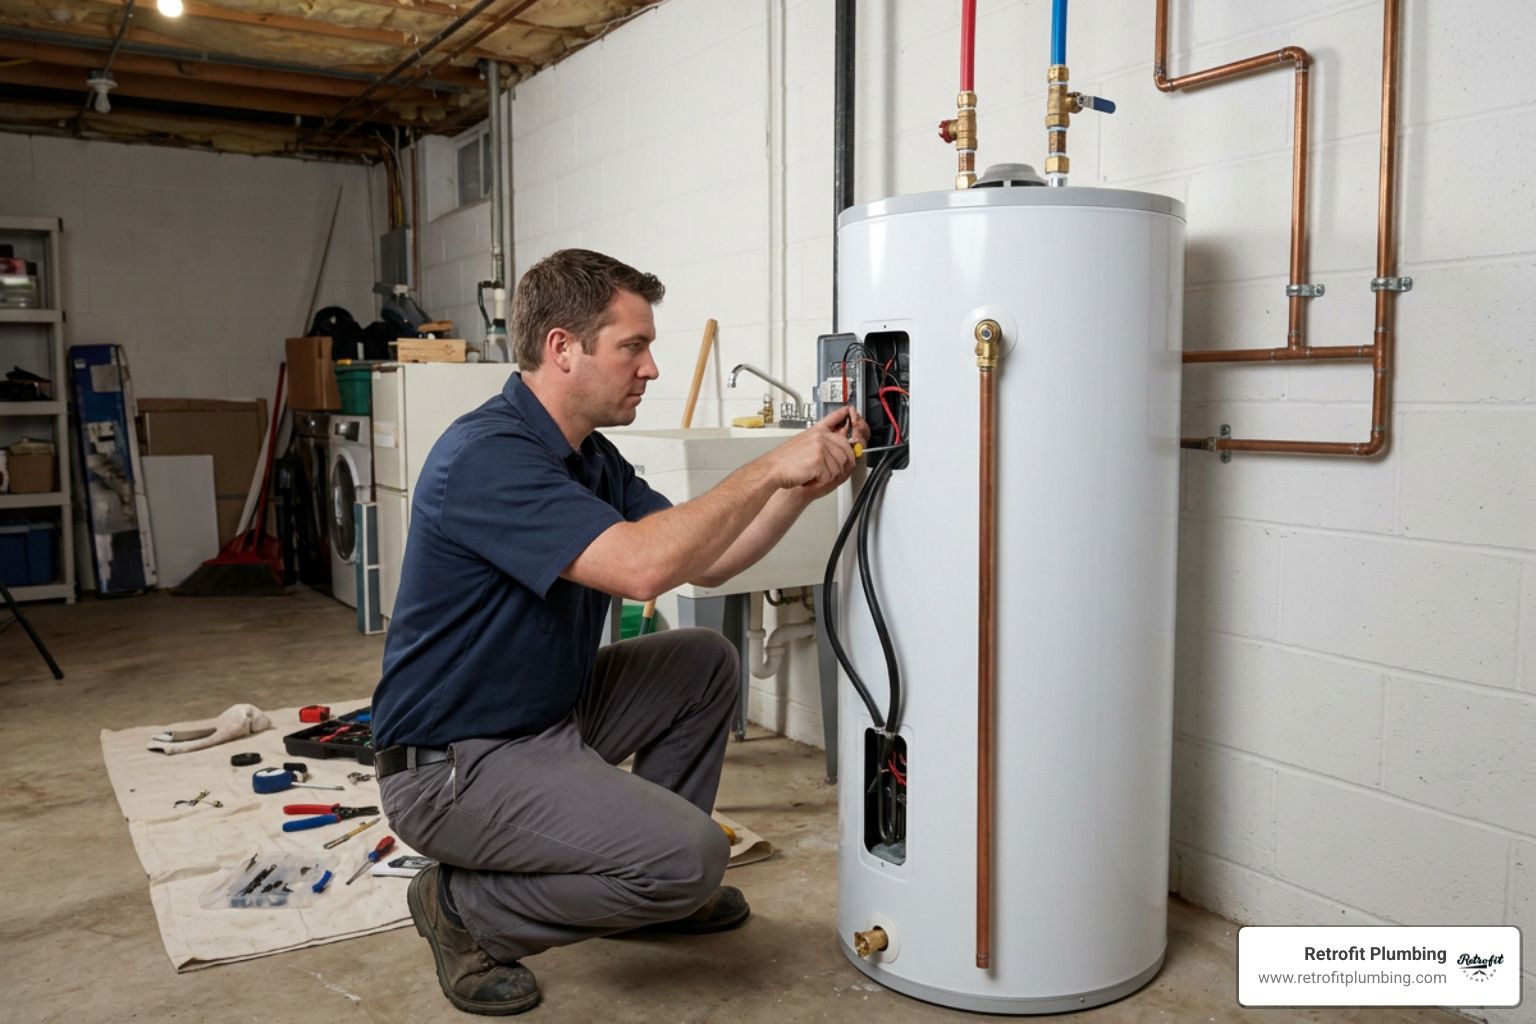
Remove the old element and clean the opening
Once drained:
- Remove the access cover.
- Pull back insulation.
- Remove the thermostat cover if needed.
- Confirm power is off again.
- Take a photo of the wires.
- Disconnect the wires from the element terminals.
- Use an element wrench or 1-1/2 inch socket to turn the old element counterclockwise.
- Pull the element straight out.
Sometimes an old element is stuck. A deep socket usually grips better than the thin stamped element wrench. If the element fights you, apply steady pressure rather than wild force.
After removal:
- Remove the old gasket
- Clean the tank threads or gasket seat with a nylon brush
- Wipe away debris, scale, and old sealing material
- Inspect for damaged threads or warping
This step matters. Even a perfect new gasket can leak on a dirty or damaged surface.
For a solid reference, see this detailed replacement procedure.
Install the new gasket and finish replacing electric water heater element
Now install the replacement.
- Verify the new element matches the old one for voltage, wattage, and style.
- Place the new gasket onto the element exactly as designed.
- Lubricate the gasket lightly with dish soap or an approved lubricant.
- Insert the element into the opening carefully.
- Hand-tighten first to avoid cross-threading.
- Tighten snugly with the proper tool.
For flange-style elements:
- Set the gasket properly in place
- Install bolts finger-tight
- Tighten in a diagonal pattern a little at a time
Do not overtighten. You want a firm seal, not crushed gasket rubber or stripped threads.
Then reconnect the wires tightly. On standard elements, either wire can go to either screw terminal, but the connections must be secure. Loose connections create heat, arcing, and future trouble.
Refill the tank, purge air, and restore power
This is the step people rush, and it is the step that burns out new elements.
- Close the drain valve.
- Turn the cold water supply back on.
- Open a hot faucet in the house.
- Let water run until all sputtering stops.
- Keep it running for about 3 full minutes to purge air completely.
- Check that the tank is full before restoring power.
Then:
- Inspect the new element for leaks
- Tighten slightly if needed
- Reinstall insulation
- Replace plastic shield if present
- Put access covers back on
- Turn breaker back on
Never energize the heater before the tank is completely full. Dry-firing can destroy the upper element almost instantly.
After power is restored, most tanks need around 2 hours to fully heat back up depending on tank size and element wattage.
For manufacturer-style steps, Whirlpool's heating element instructions are also helpful.

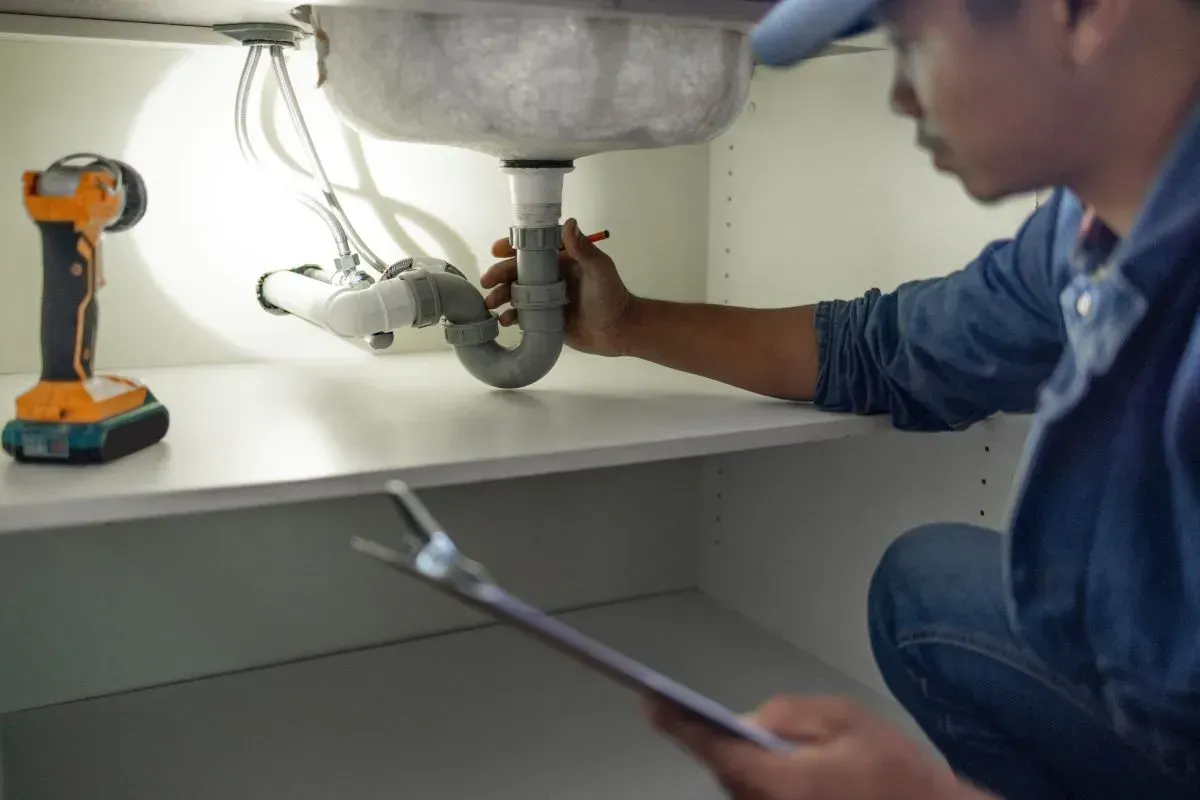
Troubleshooting Leaks, No-Hot-Water Problems, and Related Repairs
Sometimes the new part is in and the job still is not done. Annoying, yes. Uncommon, no.
What to do if it leaks after replacing the element
If you see drips around the new element:
- Do not ignore it
- Shut power back off if covers are still open
- Confirm the leak is from the element opening, not above it
- Tighten the element slightly
- If it still leaks, drain the tank again and inspect the gasket
Common causes of leaks:
- Gasket pinched during installation
- Wrong gasket type
- Debris on the sealing surface
- Cross-threaded screw-in element
- Damaged tank threads
- Warped flange on bolt-on element
Monitor the repair for a while after the tank is under pressure. A dry paper towel under the element opening can help spot slow drips.
When to replace the thermostat or wiring too
Replace the thermostat or wiring during the same repair if you find:
- Burned wire ends
- Melted insulation
- Loose terminals that will not tighten properly
- Corroded thermostat contacts
- Repeated high-limit trips
- No continuity through the thermostat when it should be closed
Some tune-up kits include elements, thermostats, and gaskets together, which can be a smart option on older electric heaters. If there is evidence of pressure issues or age-related failure elsewhere, it can also be worth reviewing your water heater relief valve and water heater expansion tank.
If everything tests fine and you still have problems, the issue may go beyond the element.
Frequently Asked Questions About Replacing Electric Water Heater Element
Can I replace just the lower element, or should I replace both?
Yes, you can replace just the failed lower element, and that is often the one that goes bad first because sediment settles at the bottom. But if the tank is already drained and the heater is older, replacing both elements can make sense. The parts are relatively inexpensive, and it saves reopening the heater later.
A good middle-ground approach:
- Replace one element if the other tests good and the heater is fairly new
- Replace both if the unit is older, heavily scaled, or already fully drained for service
What happens if I turn the power on before the tank is full?
The new element can burn out immediately. This is called dry-firing. The upper element is especially vulnerable because it energizes first on many residential non-simultaneous electric water heaters.
That is why we always:
- Refill the tank completely
- Open a hot faucet
- Run water until sputtering stops
- Keep it flowing for 3 minutes before restoring power
This is the single most important mistake to avoid.
How long will it take to get hot water again?
Most tanks take about 2 hours to fully reheat after the repair. Smaller tanks may recover faster, and larger tanks may take longer depending on usage, incoming water temperature, and element wattage.
A standard 240V 4500W element is common in residential tanks and gives a normal recovery rate for most households.
Conclusion
Replacing an electric water heater element is absolutely doable when the tank is in good condition, the correct part is used, and each safety step is followed in order. The keys are simple:
- Shut off and test power
- Drain safely
- Match the element exactly
- Install a fresh gasket correctly
- Refill fully and purge air before turning power back on
If your heater is older, leaking from the tank body, or still not heating after the repair, it may be time for a bigger fix. We help homeowners across Covington, Bellevue, Renton, Kent, Auburn, Seattle, Tacoma, and Kirkland with fast diagnosis, honest recommendations, and same-day service when available.
If you would rather skip the breaker panel, the hose, and the possibility of turning your utility closet into a tiny indoor pond, our fully stocked trucks are ready to help. Learn more about our water heater repair services.