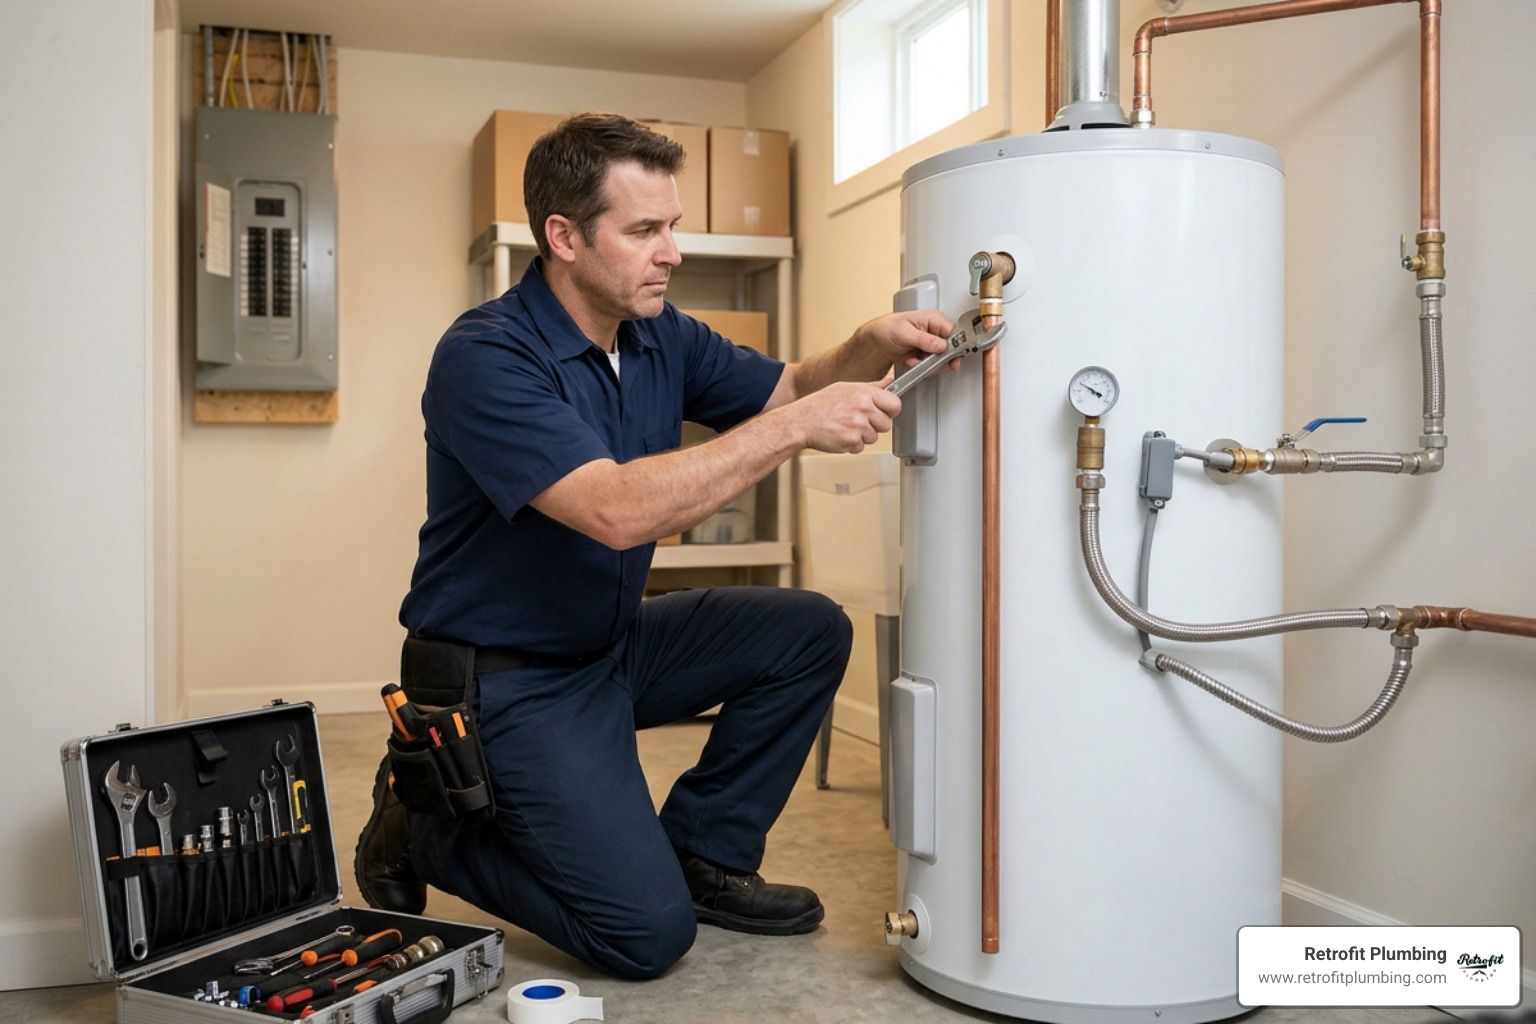
Common Causes of PVC Pipe Failures in the Pacific Northwest
Fixing PVC water pipe leaks is something most South Sound homeowners will face at least once — and it usually happens at the worst possible moment.
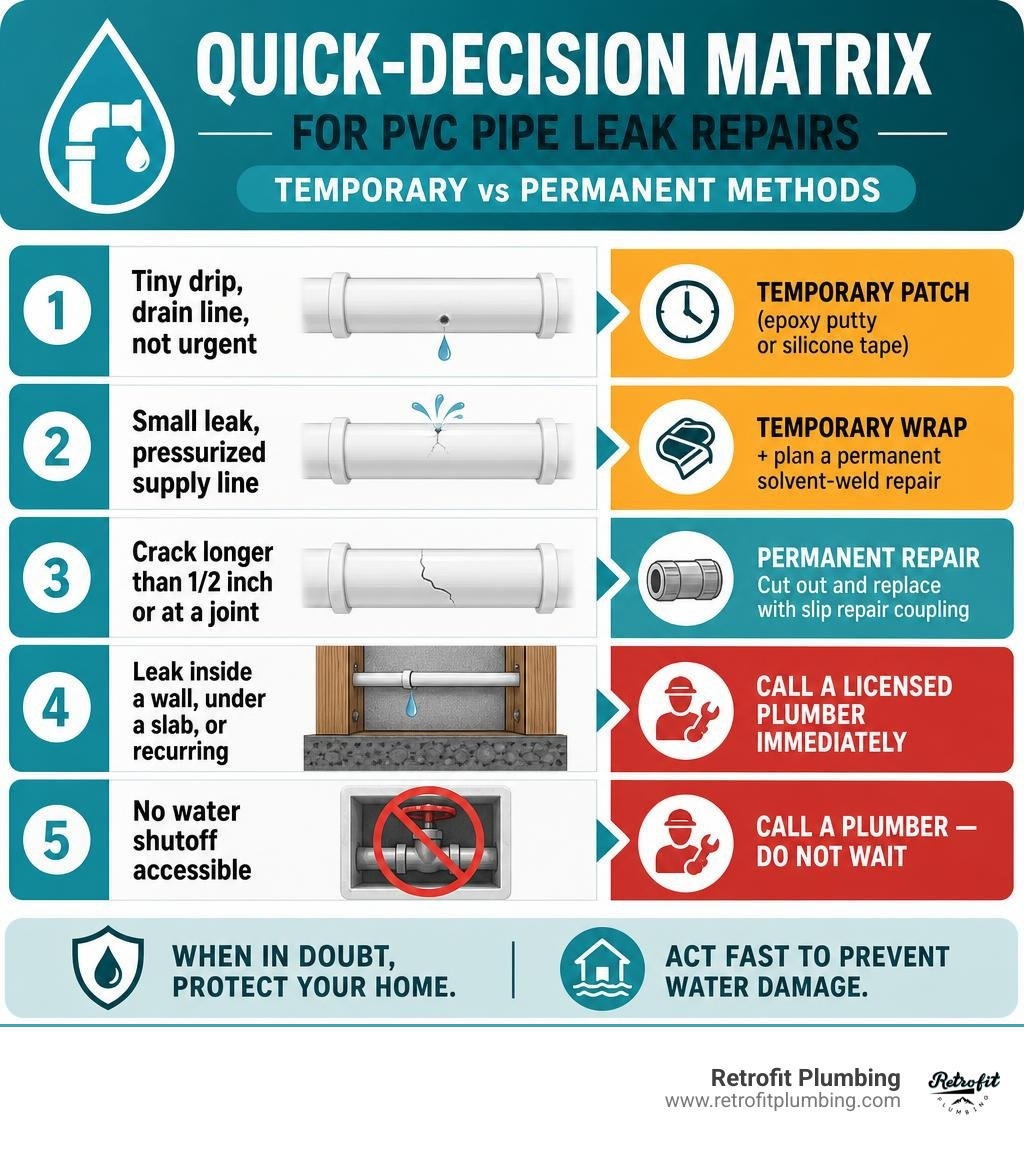
Here's a quick decision guide so you know exactly what to do right now:
| Situation | Best Action |
|---|---|
| Tiny drip, drain line, not urgent | Temporary patch (epoxy putty or silicone tape) |
| Small leak, pressurized supply line | Temporary wrap + plan a permanent solvent-weld repair |
| Crack longer than 1/2 inch or at a joint | Cut out and replace with slip repair coupling |
| Leak inside a wall, under a slab, or recurring | Call a licensed plumber immediately |
| No water shutoff accessible | Call a plumber — do not wait |
PVC is one of the most forgiving pipe materials to work with. Most small leaks can be handled DIY — but only if you pick the right method. The wrong fix on a pressurized supply line can fail fast and cause serious water damage to your home.
Here in the Pacific Northwest, we deal with wet winters, hard-running rainy seasons, and temperature swings that stress pipes more than homeowners realize. Whether you're in Covington, Bellevue, or anywhere across the South Sound, a small drip left unchecked can turn into a flooded crawl space before you know it.
I'm Josh Klimp, and with 20+ years running a plumbing company focused on commercial and residential repair and remodel work across the region, I've fixed hundreds of PVC water pipe leaks in all kinds of conditions. In this guide, I'll walk you through every method — from a five-minute emergency patch to a permanent solvent-weld repair — so you can make the right call for your situation.
While PVC is highly durable and corrosion-resistant, it isn't completely invincible. In our beautiful corner of Western Washington, local environmental conditions create unique plumbing challenges.
One of the most frequent culprits behind cracked underground PVC is root intrusion. The majestic Douglas firs and sprawling Bigleaf maples that define neighborhoods in Covington, Renton, and Bellevue have extensive, aggressive root systems. As these roots grow, they seek out moisture, wrapping around buried water lines. Over time, the immense pressure of root growth can easily crush or crack rigid PVC pipes.
Additionally, our classic Pacific Northwest freeze-thaw cycles play a major role. While we enjoy relatively mild climates compared to the east side of the Cascades, winter temperatures frequently dip below freezing. If outdoor PVC lines — like those feeding your garden irrigation system — aren't fully drained, the water inside freezes and expands, splitting the pipe wide open.
Beyond nature, human error is a massive factor. Did you know that 40% of PVC repair failures are caused by inadequate priming? When installing or repairing pipes, skipping the primer step prevents the chemical weld from fusing properly, leading to slow, weeping joint leaks years down the road. High water pressure and "water hammer" (the shocking rattle you hear when a faucet is shut off quickly) can also shake weak, poorly glued joints loose.
If you suspect you have a hidden leak under your yard or crawl space but aren't quite sure where it is, it is critical to call in the experts for professional Leak Detection before you start digging up your lawn. For complex underground or hidden issues, seeking out specialized professional leak detection services can save you thousands of dollars in unnecessary excavation.
How to Quickly Diagnose the Exact Location of a Leak
Water is incredibly sneaky. Because of gravity and the slope of your home's framing, the place where you first spot water pooling is rarely where the actual leak is located. Water can travel along the outside of a PVC pipe for ten feet before finally dripping onto your drywall or floor.
To find the exact source of the leak, perform the dry-off test:
- Shut off the water supply to the affected line.
- Use a dry towel to wipe down the entire length of the pipe and fittings until the surface is completely bone-dry.
- Turn the water back on slowly.
- Watch the pipe closely with a flashlight. Look for the very first bead of water that forms.
If you are dealing with a buried line in your yard near the Lake Meridian area in Covington, look for patches of grass that are unusually vibrant and green, or spots where the soil feels spongy and saturated. If you are struggling to pinpoint the source of a mystery drop in water pressure, refer to our Leak Detection Service Complete Guide for a deeper look at professional diagnostic methods, or contact our team for local assistance in the Eastside area.
Step-by-Step Guide to Fixing PVC Water Pipe Leaks
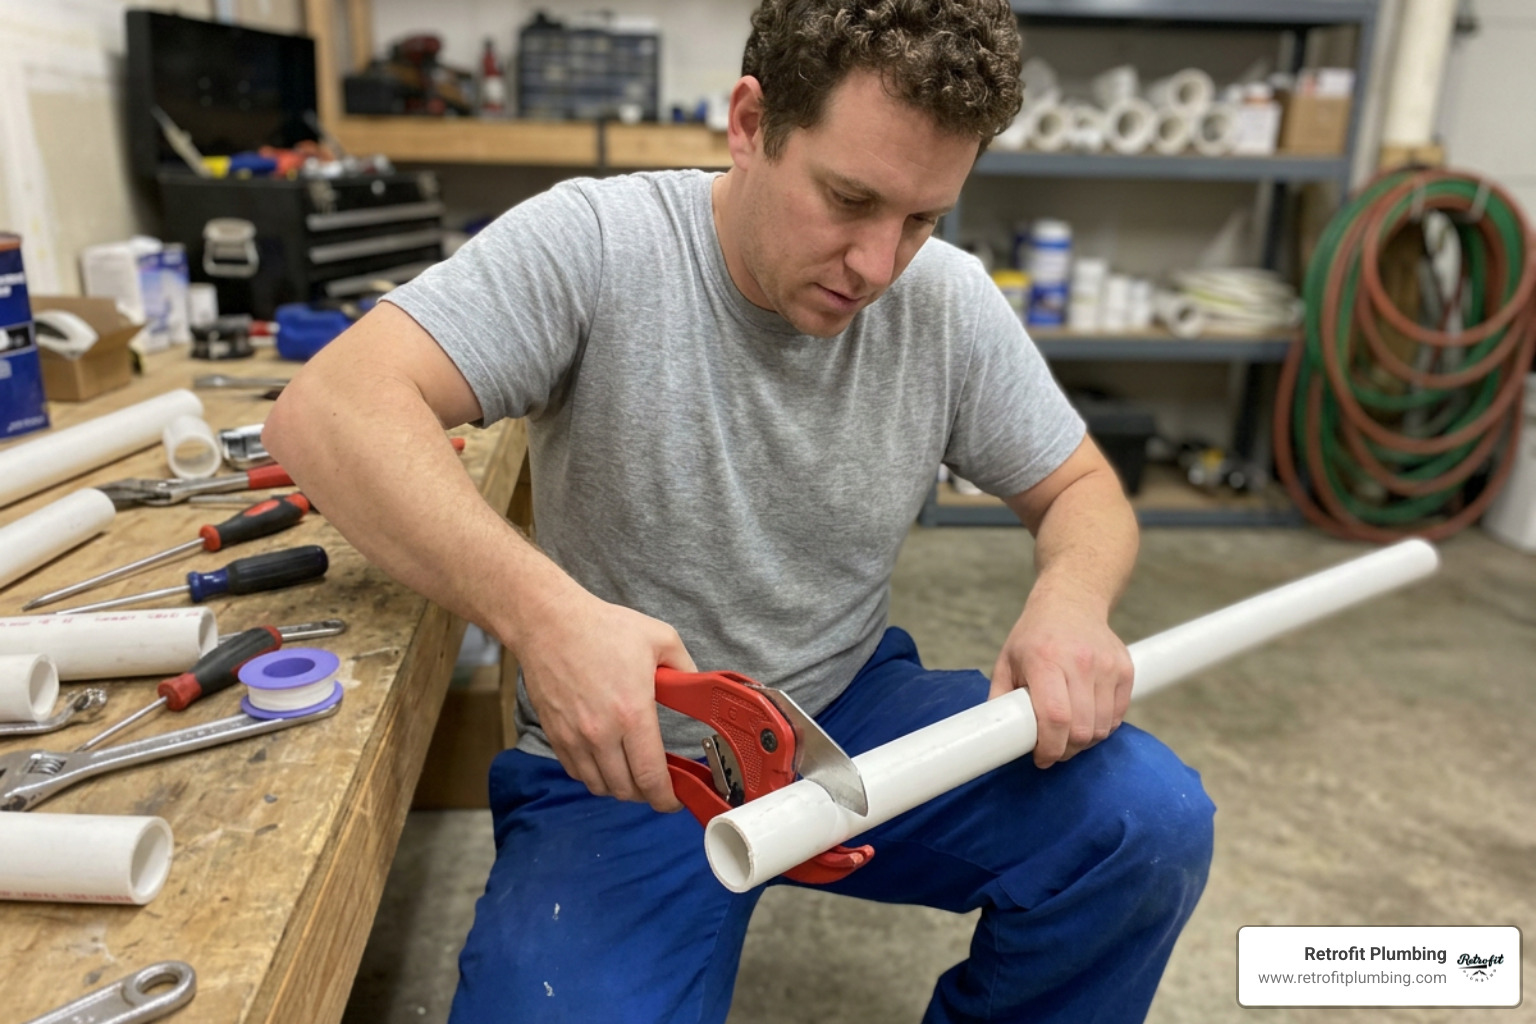
Before you run to the hardware store in Renton or Kent, you need to identify what kind of PVC pipe you have. Most residential systems use white Schedule 40 PVC, which has thinner walls and is rated for standard home water pressure. Darker grey Schedule 80 PVC has thicker walls and is designed to handle much higher pressures.
To tackle this project successfully, you will need the right tools:
- Ratcheting pipe cutters (for clean, square cuts)
- A deburring tool or 120-grit sandpaper
- Clean rags
- PVC primer and solvent cement
- Safety goggles and chemical-resistant gloves
Temporary vs. Permanent Options for Fixing PVC Water Pipe Leaks
Sometimes, you just need to stop the water from spraying so your family can use the bathroom while you gather supplies for a permanent fix. However, know the limitations of temporary patches.
On pressurized water supply lines, external patches like epoxy putty or tape are only short-term bandages. Because the water inside is constantly pushing outward, these patches will eventually fail. However, they are highly effective at stopping active flows on non-pressurized drain lines or providing a quick emergency hold.
Here is a breakdown of the most common temporary repair materials:
- Self-Fusing Silicone Tape: This specialized tape does not rely on sticky adhesive. Instead, it chemically bonds to itself when stretched tightly (up to 300% of its original length) and wrapped in an overlapping pattern. A high-quality self-fusing silicone tape reinforced with a fiberglass bandage boasts an impressive 85-92% success rate for over 3 years on leaks smaller than 1/2 inch, and can stop up to 80% of active flows.
- Epoxy Putty: This is a moldable, two-part compound. You knead it in your hands until it turns a uniform color, then press it firmly over the crack or joint. It can even cure on wet surfaces if held in place with force for 3 to 5 minutes. It reaches a functional cure in 60 minutes and a full cure in 24 hours.
- Fiberglass Wrap (Pipe Repair Cast): This water-activated tape hardens into a rock-solid protective shell around the pipe. For a proper seal, wrap the pipe until the layer is at least 1/2 inch thick (roughly 15 overlapping layers) and let it cure for 30 minutes.
To learn more about using epoxy for quick fixes, check out this guide on How to Repair a Leaking PVC or ABS Pipe Joint With JB Weld.
| Repair Method | Pressure Rating | Expected Lifespan | Best Use Case |
|---|---|---|---|
| Silicone Tape & Fiberglass Wrap | Low to Moderate | Weeks to Months (Up to 3 years on small leaks) | Small cracks, emergency temporary holds |
| Epoxy Putty | Low (Drain lines only) | Temporary (Days to Weeks) | Pinholes in non-pressurized drains, awkward joint angles |
| Slip Repair Coupling | High (Full system pressure) | Permanent (Decades) | Straight pipe runs, split or cracked sections |
| Solvent-Weld Replacement | High (Full system pressure) | Permanent (Decades; 95-98% success rate over 5 years) | Failed joints, major pipe damage |
Step-by-Step Process for Fixing PVC Water Pipe Leaks Permanently
For a truly permanent fix on a pressurized PVC line, you must perform a solvent-weld repair. Solvent welding is not "gluing." The primer and solvent cement chemically melt the plastic surfaces of the pipe and fitting. When pushed together, the two pieces fuse into a single, seamless piece of plastic. A properly executed solvent-weld repair has a 95-98% leak-free success rate after 5 years when proper priming and curing steps are followed.
Here is how to do it step-by-step:
Step 1: Shut Off the Water and Cut the Pipe
Turn off your main water supply valve and open the lowest faucets in your home to drain the remaining water. Use your ratcheting pipe cutters to cut out the damaged section of the pipe. Make sure your cuts are perfectly square.
Step 2: Prep and Deburr the Ends
Use a deburring tool or 120-grit sandpaper to remove any plastic burrs from the cut ends. A smooth, square edge ensures the pipe seats fully inside the new coupling. Wipe the pipe clean of all dust, dirt, and moisture.
Step 3: Dry Fit the Pieces
Assemble your new slip repair coupling or telescopic coupling with the existing pipe without any glue. Make "witness marks" (pencil lines crossing from the pipe to the fitting) so you know exactly how to align them during final assembly.
Step 4: Apply Primer
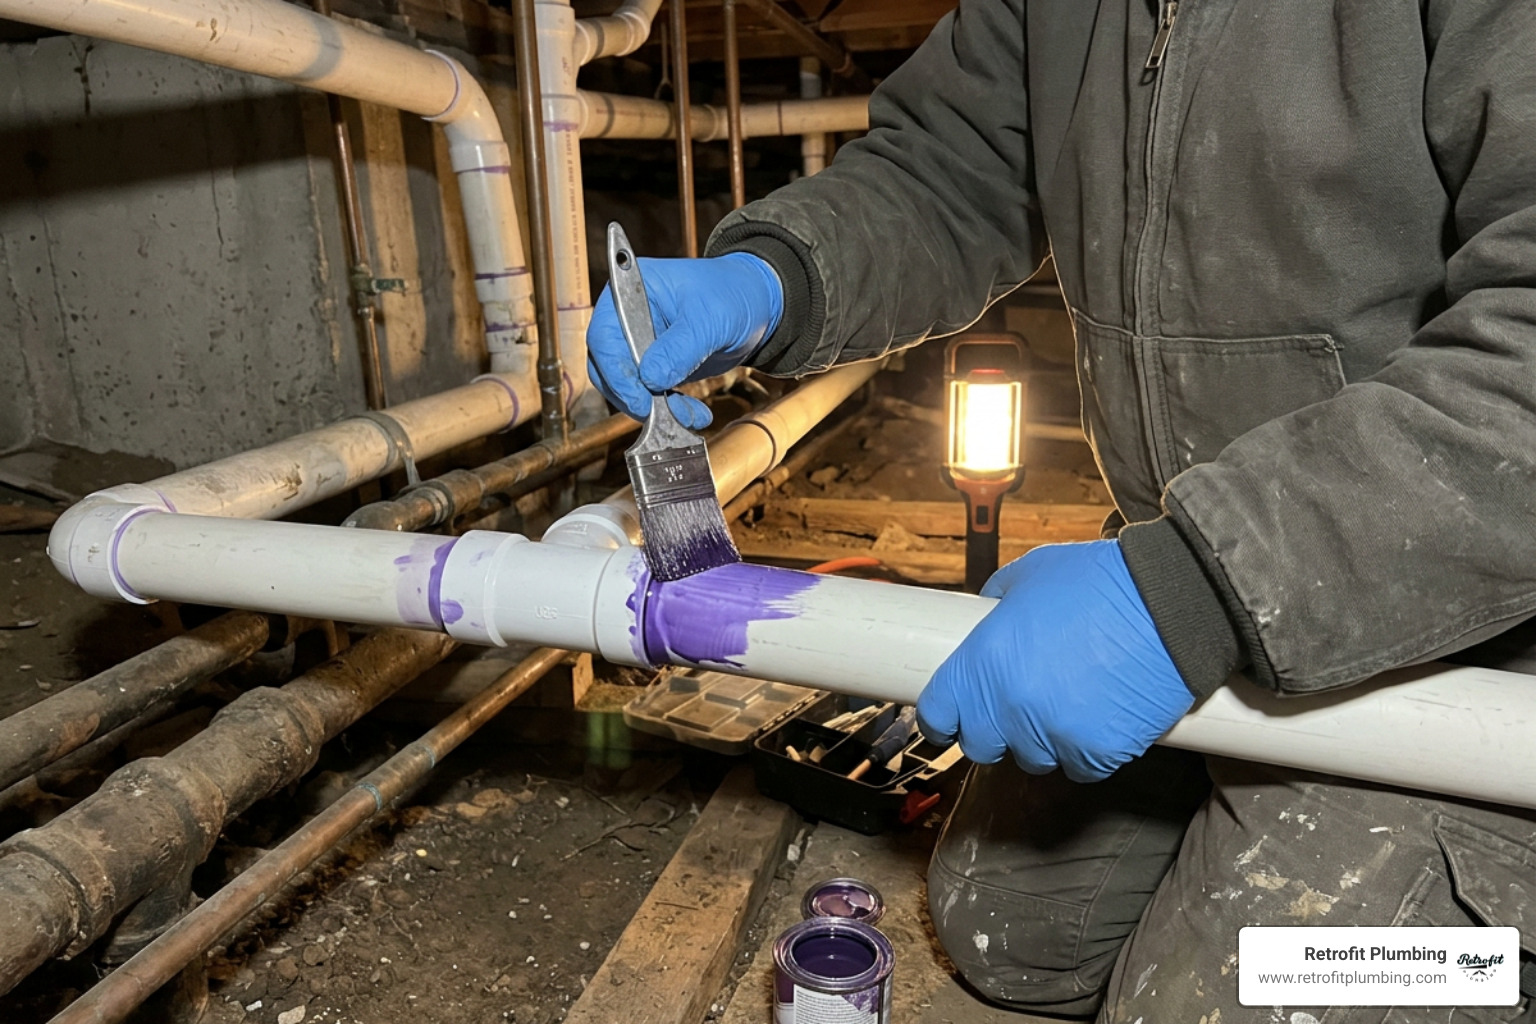
Apply purple primer (meeting ASTM D2564 standards) to the outside of the pipe ends and the inside of the new coupling. Scrub the primer on for 10-15 seconds. The primer softens the plastic, preparing it for the chemical weld.
Step 5: Apply Solvent Cement and Assemble
Immediately apply a thin, even coat of medium-body PVC solvent cement over the wet primer. Quickly push the pipe into the coupling, giving it a quarter-turn twist to distribute the cement evenly, aligning your witness marks. Hold the joint firmly in place for 30 seconds to prevent the pipe from pushing itself out of the fitting.

If you are dealing with a buried line in wet soil, you can learn more about specialized techniques in our guide to Fixing Underground Water Pipe, or review the fundamentals of chemical welding with this guide on How to Glue PVC Pipe - This Old House.
Crucial Cure Times and Safety Precautions
Rushing the curing process is one of the most common DIY mistakes. Once your joint is assembled, the chemical weld needs time to fully harden before it can withstand system pressure.
Most standard PVC solvent cements require at least 1 hour of cure time before you can turn the water back on and pressurize the system. In cold, damp, or highly humid conditions — which we experience plenty of in Western Washington — you should wait at least 2 hours.
However, if you are in a rush and cannot leave your household water turned off for long, you can use fast-set "hot" glue. These specialized fast-curing cements can be ready for full system pressure in as little as 10 to 20 minutes for 1-inch and smaller pipes.
Safety First
PVC primer and solvent cement release incredibly strong, toxic chemical fumes. Always wear safety goggles to protect your eyes from accidental splashes, and use chemical-resistant gloves to keep the harsh solvents off your skin. If you are working in a tight crawl space or basement, set up a fan to ensure adequate ventilation. For more safety tips and DIY advice, always make sure to follow standard plumbing safety protocols and manufacturer instructions on your primer and cement cans.
Frequently Asked Questions
How long does PVC cement need to cure before turning the water back on?
Standard PVC solvent cement requires a minimum of 1 hour to cure under normal conditions (above 60°F) before pressurizing. If you are working in cooler temperatures or on larger pipes, extend this to 2 hours. If you use a fast-set, "hot" PVC cement, the line can be safely pressurized in 10 to 20 minutes for pipes 1 inch in diameter or smaller.
Can I use plumber's tape or standard duct tape to seal a PVC joint leak?
No. Plumber's tape (Teflon tape) is designed solely for sealing threaded connections, not for wrapping around the outside of a cracked pipe or joint. Standard duct tape has no structural strength and will blow out immediately under standard household water pressure. For emergency wraps, only use self-fusing silicone tape or a fiberglass repair cast.
When should I call a professional plumber for a PVC leak?
You should call a licensed plumber immediately if:
- The leak is located on your main water line or buried beneath a concrete slab.
- The leak is hidden inside finished walls or ceilings where water damage can spread unnoticed.
- You cannot locate or access your main water shutoff valve.
- The pipe is old, brittle, and cracking in multiple locations.
For professional support with severe pipe damage, visit our Broken Pipes Repair service page, or reach out to our team for assistance in the Kirkland area.
Conclusion
Tackling a leaking PVC water pipe doesn't have to be a stressful ordeal. By diagnosing the issue early, choosing the right repair method, and respecting the crucial chemical cure times, you can keep your home dry and your plumbing running smoothly.
Whether you're prepping your home for the upcoming Seahawks season, heading out for a day of shopping at Bellevue Square, or enjoying a sunny afternoon at Lake Meridian, the last thing you want to worry about is a water line emergency.
If a PVC leak feels a bit out of your comfort zone, or if you are dealing with a major main water line issue, don't risk water damage to your home. At Retrofit Plumbing, we proudly serve Covington, Bellevue, Renton, Kent, and the surrounding communities with honest pricing, fully stocked trucks, same-day service, and a 100% satisfaction guarantee.
Save yourself the headache and let our experienced team handle it. Contact us today to schedule your Main Water Line Install & Repair and get your plumbing fixed for good!