When Your PEX Water Line Leaks: What to Do First
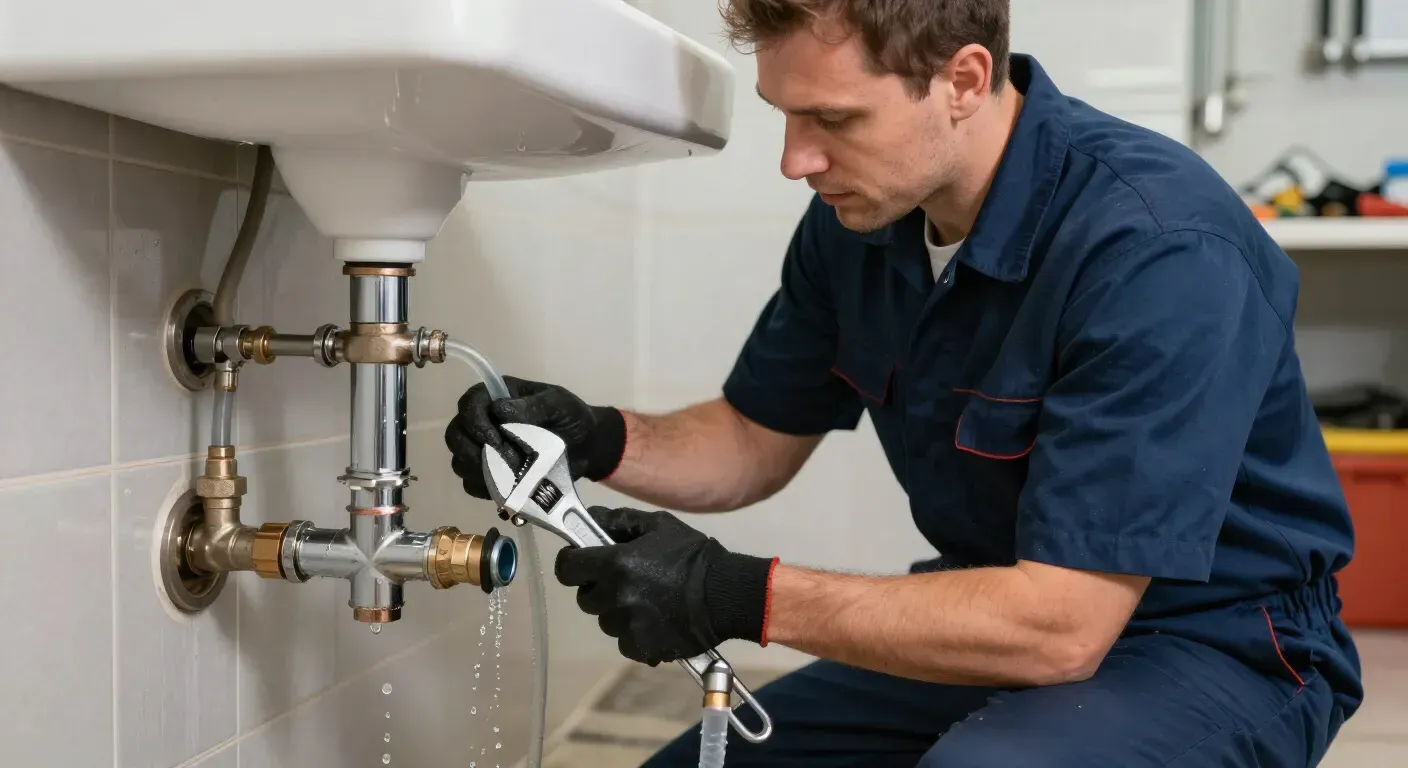
Fixing a PEX water line is something most South Sound homeowners can handle themselves — if the damage is minor and accessible. Here's a quick-reference guide to get you started:
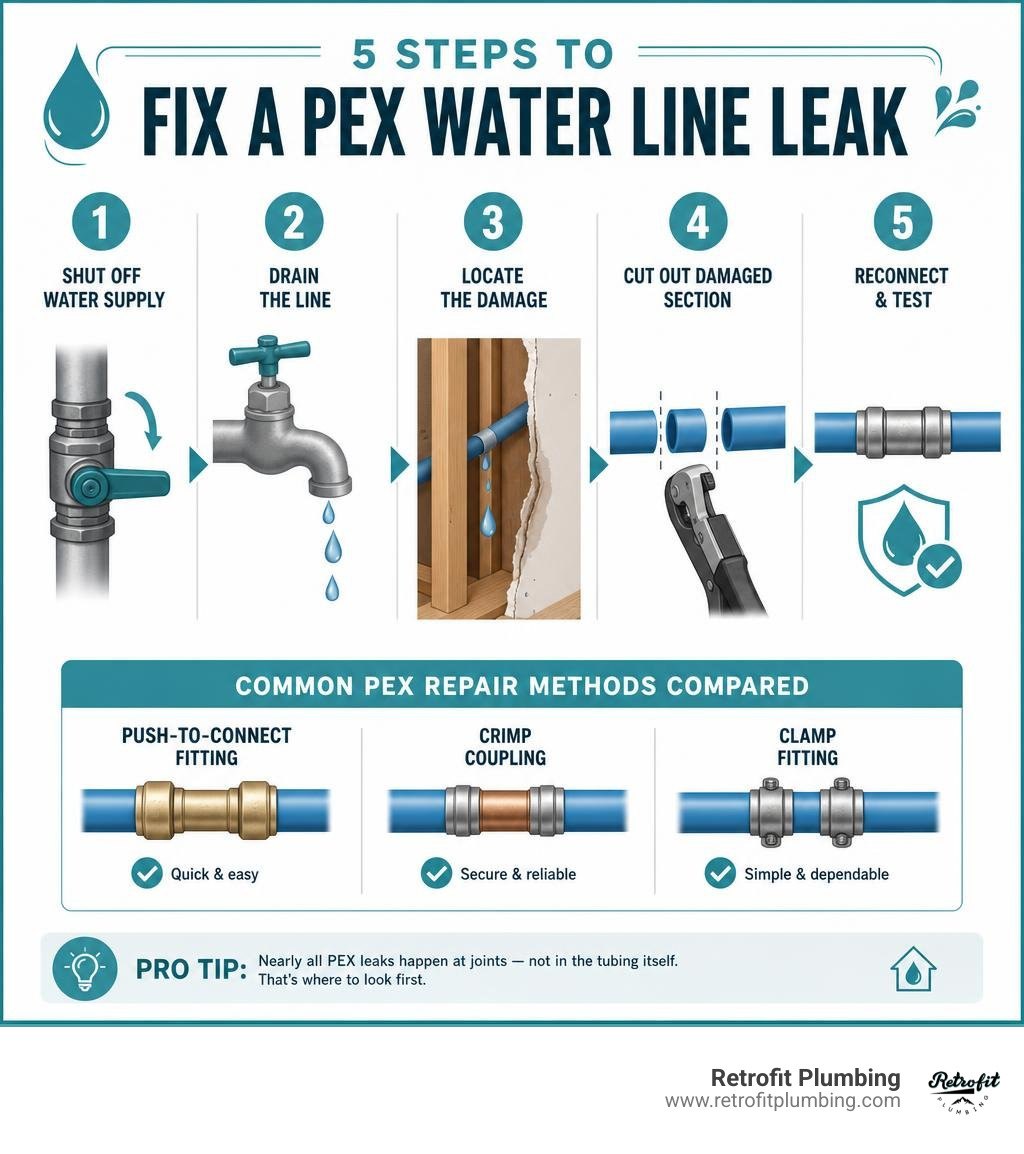
How to fix a PEX water line (quick steps):
- Shut off the water supply at the main valve
- Drain the line by opening the lowest faucet in the house
- Locate the damage — look for wet drywall, drips in the crawlspace, or a sudden pressure drop
- Cut out the damaged section using a PEX pipe cutter (square cuts only)
- Reconnect with a push-to-connect fitting (like SharkBite), crimp coupling, or clamp fitting
- Test the repair by slowly restoring water pressure and checking for leaks
Note: Nearly all PEX leaks happen at joints — not in the tubing itself — so that's where to look first.
PEX is tough. It stays flexible down to -40°F, resists corrosion, and holds up to the wet winters we get here in the Pacific Northwest. But it's not invincible. Whether it's a crawlspace under a Covington home that took a hard freeze last January, or an older install where a fitting was crimped just slightly off, leaks happen. The good news? Most repairs are straightforward, affordable, and don't require tearing open your walls.
I'm Josh Klimp, and I've spent over 20 years running a plumbing company focused on repairs, remodels, and new construction across commercial and residential properties in the South Sound. Fixing PEX water lines is one of the most common service calls we handle — and in this guide, I'll walk you through exactly how to do it right.
Common Causes of PEX Pipe Damage in the Pacific Northwest

PEX (cross-linked polyethylene) is incredibly resilient. Unlike rigid copper or old galvanised pipes, PEX can expand and contract without immediately bursting. In fact, PEX remains flexible and can be bent at temperatures as low as -40°F (-40°C). However, the unique climate and environment of the Pacific Northwest—stretching from the Puget Sound basin up into the Cascade foothills—presents specific challenges that can lead to failures over time.
Freezing Temperatures in the Cascade Foothills
While we love our mild summers, winters in places like Covington, Renton, and Kent can bring sharp, sudden cold snaps. When the temperature drops rapidly, uninsulated crawlspaces and outer walls become prime locations for freezing. Although the core PEX tubing has 68 times lower thermal conductivity than copper—which delays freezing—it can still freeze if exposed long enough. When water freezes inside the pipe, it expands. While PEX-a can often expand and return to its original shape, older or lower-quality PEX-B or PEX-C lines, or the rigid plastic and brass fittings holding them together, can crack under the immense pressure. If you have experienced a freeze-up, reviewing our Burst Pipe Repair Complete Guide can help you navigate the aftermath.
UV Exposure and Crystalline Degradation
PEX is highly vulnerable to ultraviolet (UV) radiation. According to the PEX Plumbing Design and Installation Guide Third Edition Ch. 10, most PEX tubing has a maximum outdoor UV exposure limit of around 3 to 6 months before the material becomes brittle and prone to micro-cracking. In our beautiful, tree-lined neighborhoods, homeowners sometimes leave PEX lines exposed during outdoor remodels, or store them in direct sunlight before installation. Even artificial indoor lighting (such as older, unshielded fluorescent fixtures in basements or garages) can slowly degrade PEX over several decades if the minimum setbacks are not maintained.
Improper Installation and Joint Failures
Statistically, nearly all plumbing leaks in PEX systems occur at joints and are most often due to incorrect installation. Whether it was a DIY project gone wrong or a rushed installation by an unqualified builder, minor errors can lead to major headaches. Common culprits include:
- Under-crimping or over-crimping copper rings.
- Failing to make a clean, square cut, which prevents the tubing from seating fully on the fitting.
- Using incompatible fittings(mixing brands or sizes that don't match the pipe's specifications).
- Failing to use insert stiffeners when joining PEX to compression fittings.
Tree Root Intrusion and Soil Movement
If you live in heavily wooded areas of Auburn, Issaquah, or near Lake Meridian, you know how aggressive our native Douglas firs, Western red cedars, and bigleaf maples can be. When PEX water service lines are buried shallowly without proper backfill, growing tree roots can press directly against the tubing. While PEX is tough, constant mechanical pressure combined with rocky soil can cause kinks, punctures, or joint stress.
Identifying and Locating PEX Leaks
Before you can start fixing pex water line issues, you have to find them. Unlike copper, which often develops pinhole leaks that spray high-pressure mist, PEX leaks are frequently slow, weeping drips at connections hidden behind drywall or deep in crawlspaces.
Here is how we recommend locating a suspected PEX leak in your home:
- Monitor Your Water Meter: Turn off all faucets, appliances, and water-using devices in your home. Go outside and check your water meter. If the low-flow indicator (often a small red triangle or digital dial) is spinning, you have an active leak.
- Watch for Sudden Water Pressure Drops: If you notice a sudden drop in water pressure when running your shower or sink, a line may have cracked or split.
- Inspect Key Areas in Older Homes: In older neighborhoods around Lake Meridian or historical districts in Tacoma and Seattle, crawlspaces are notorious for hiding leaks. Grab a high-powered flashlight and look for pooling water, hanging drops on floor joists, or mold growth.
- Check Drywall and Flooring: Damp spots on walls, sagging ceilings, or warped laminate flooring in Bellevue or Kirkland homes are classic signs of a leak in the supply lines running through the framing.
- Listen for Hissing or Dripping: PEX is relatively quiet, but a major split behind a wall will often make a distinct dripping or rushing sound when the house is otherwise quiet.
If you suspect a leak but cannot find its origin, do not start cutting random holes in your drywall. Utilizing a professional Leak Detection Service Complete Guide can save you time, money, and unnecessary structural damage.
A Step-by-Step Guide to Fixing PEX Water Line Leaks
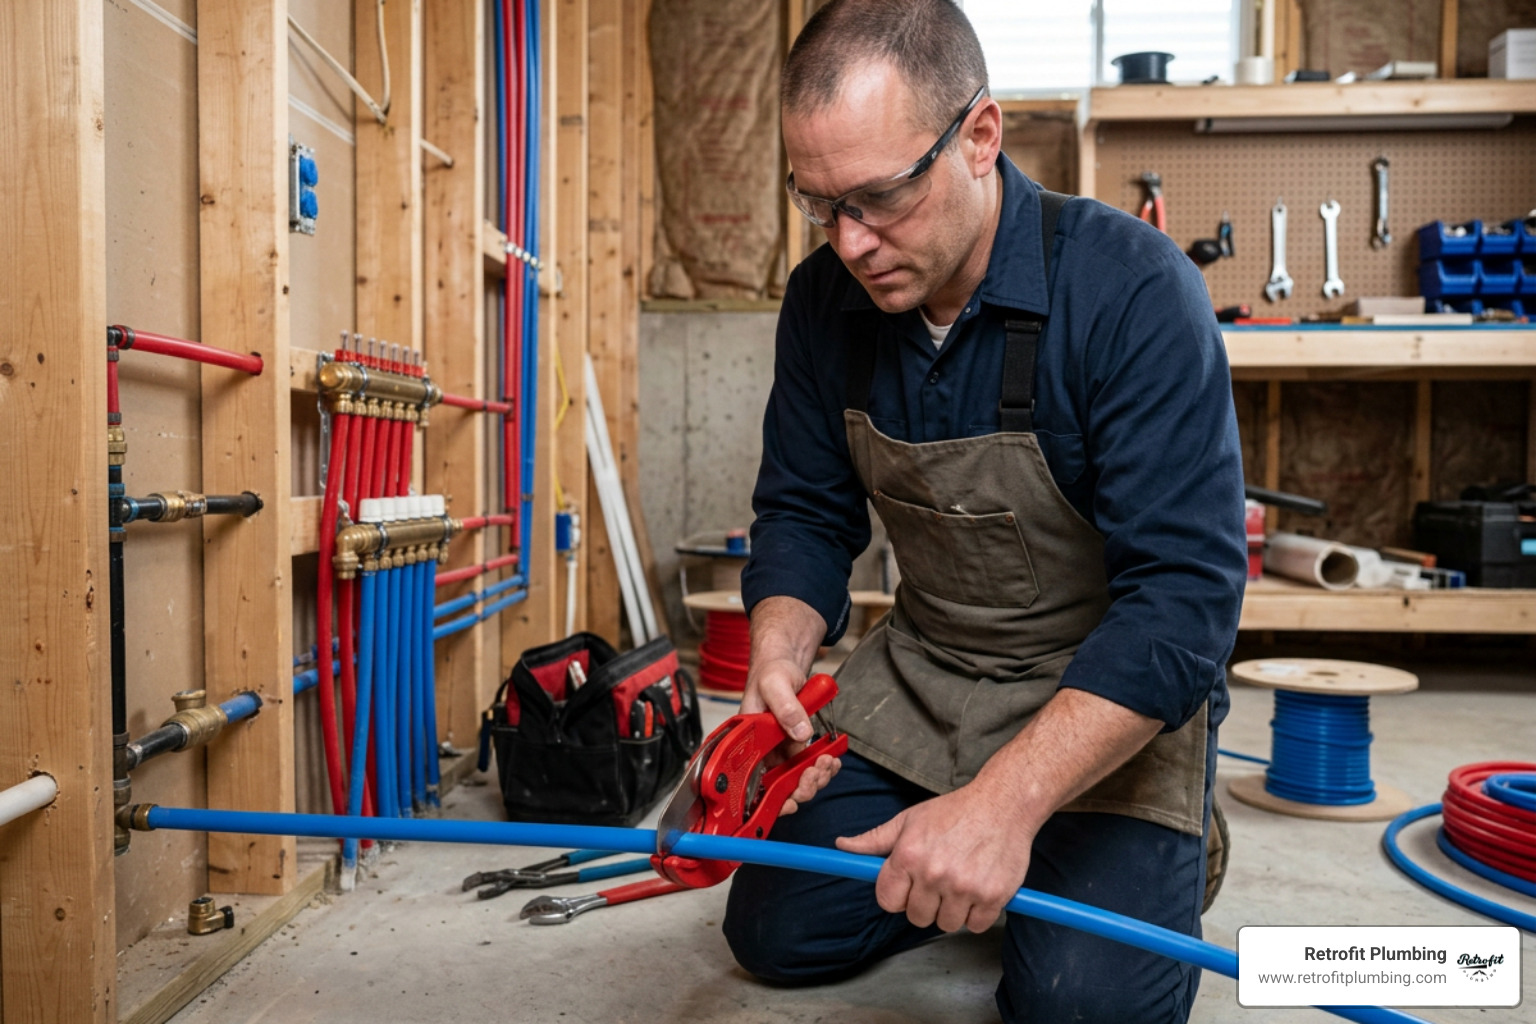
Once you have identified the leak, it is time to perform the repair. For most accessible runs of PEX, a DIY repair is highly achievable. The key to success is preparation, clean cuts, and using the right connection methods. If the damaged line is underground, refer to our specialized guide on Fixing Underground Water Pipe.
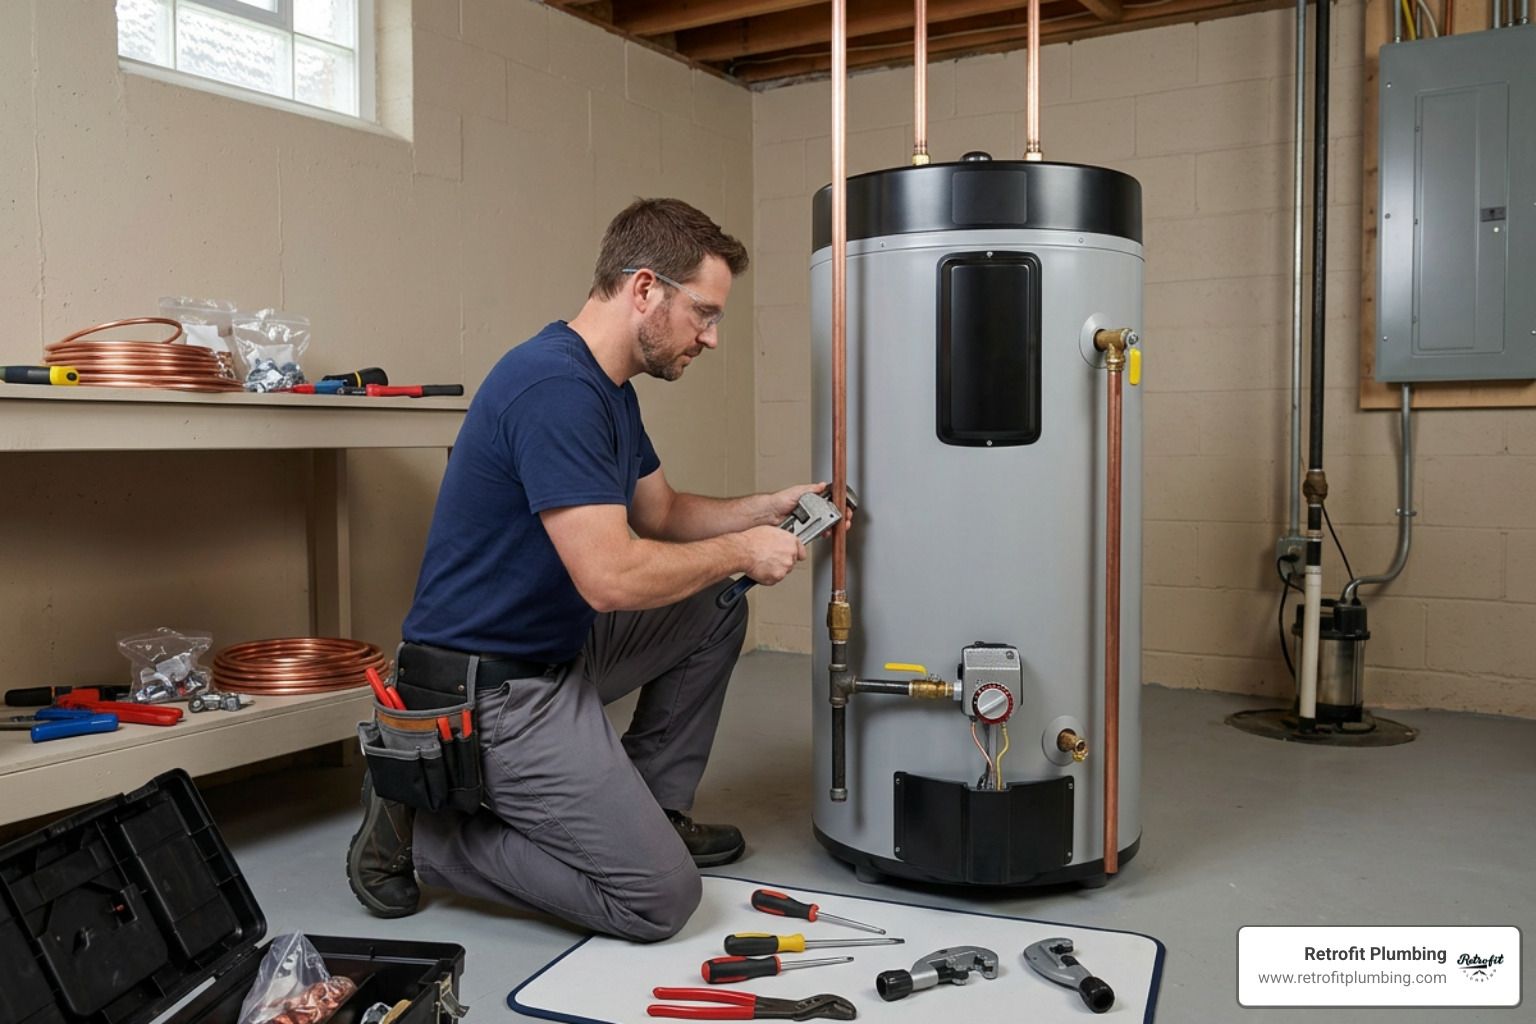
Essential Tools for Fixing PEX Water Line Projects
Do not try to cut PEX with a utility knife, hacksaw, or scissors. You will end up with a jagged, angled edge that is guaranteed to leak. To do the job right, gather these essential tools:
- PEX Tubing Cutter: A specialized scissor-style or rotary cutter designed to make clean, perfectly square cuts.
- Crimp or Cinch (Clamp) Tool: Depending on your preferred method, you will need a tool to compress the copper crimp rings or tighten the stainless steel cinch clamps.
- Go/No-Go Gauge: Essential for crimp systems to verify that the ring has been compressed to the exact tolerance required.
- Deburring Tool and Pipe Reamer: Used to clean up the edges of the cut pipe and ensure a smooth, obstruction-free fit.
- Replacement PEX Tubing: Ensure you match the size (typically 1/2-inch or 3/4-inch for residential lines) and type (PEX-A or PEX-B) of your existing system.
- Fittings and Connectors: Brass or high-performance polymer (PPSU) couplings, tees, or elbows.
To learn more about selecting the right gear, check out the comprehensive Installing PEX Water Lines: A Practical Guide to Methods, Fittings, and Tools - Water System Wiki.
Step-by-Step Repair Methods for Small Leaks and Kinks
For a standard leak or a kinked section of pipe, the most reliable long-term solution is to cut out the damaged section and splice in a new piece of PEX. According to the manufacturer guidelines in REPAIRING DAMAGED PEX, here is the step-by-step process:
Step 1: Shut Off the Water and Drain the System
Locate your home's main water shutoff valve (often in the basement, garage, or in a meter box near the street). Turn it off completely. Open the lowest faucet in your home to drain the remaining water out of the lines, reducing pressure and mess.
Step 2: Cut Out the Damaged Section
Using your PEX pipe cutter, cut out the leaking or kinked portion of the pipe. Make your cuts at least 2 inches away from the damaged area on both sides to ensure you are joining onto healthy, unstressed tubing. Ensure the cuts are perfectly square (90 degrees to the pipe).
Step 3: Prep the Replacement Section
Measure the gap you just created. Cut a piece of replacement PEX tubing that is slightly longer than the gap (about 1/8-inch of slack per foot is ideal to accommodate thermal expansion, as PEX expands at a rate of 1.1 inches per 10°F per 100 feet of length).
Step 4: Make the Connections
- For Crimp/Clamp Methods: Slide a copper crimp ring or stainless steel clamp ring onto the existing pipe ends. Insert the brass or plastic coupling into the pipe until it bottoms out. Position the ring 1/8-inch to 1/4-inch from the end of the pipe, then use your crimp or cinch tool to compress the ring.
- For Push-to-Connect (SharkBite) Methods: Deburr the cut ends of the pipe. Mark the depth of the fitting on the pipe using a depth gauge. Push the fitting onto the pipe firmly until it reaches the mark, indicating a secure, sealed connection.
Step 5: Fix Kinks (PEX-A Only)
If you have PEX-A tubing (which has thermal memory) and accidentally kinked it during installation, you might not need to cut it at all!
- Relieve the water pressure completely.
- Use a thermostat-controlled heat gun on a medium setting. Keep the heat gun 1 to 2 inches away from the kink, heating it evenly.
- According to the How to Fix Kinks in PEX Pipes | Family Handyman, the kinked PEX-A will turn transparent when it reaches its crystalline melting point (around 270°F to 330°F) and return to its original round shape.
- Let it cool completely untouched before restoring water pressure.
- Note: This method only works on PEX-A. PEX-B and PEX-C do not have thermal memory and must be cut out and replaced.
If you find yourself facing more complicated piping damage, explore our dedicated service page on Broken Pipes Repair for expert assistance.
When to Call a Pro for Fixing PEX Water Line Issues
While splicing a line in an open basement is a great Saturday afternoon DIY project, some situations require professional expertise. You should call a licensed plumber if:
- The Leak is Hidden: If the leak is behind finished drywall, under a concrete slab, or deep inside an inaccessible crawlspace.
- It's a Main Water Line Break: Main water lines are under high pressure and often buried deep underground, requiring heavy equipment and local utility locating before digging.
- You Encounter Commercial Systems: Large commercial properties, like those around Bellevue Square or downtown Seattle high-rises, have complex zoning, high-pressure demands, and strict commercial building codes.
- You Aren't Confident: If you do not own the proper tools or feel unsure about making a reliable watertight seal, it is always safer to bring in an expert.
When you need a professional to locate and resolve hard-to-find leaks, our team of Leak Finder Plumber specialists is always ready to help.
Comparing PEX Repair Methods: Push-to-Connect vs. Crimp and Clamp
When fixing pex water line connections, you have three primary methods to choose from. Each has its pros, cons, and ideal use cases.
| Repair Method | Tool Cost | Skill Level | Best For | Code Restrictions |
|---|---|---|---|---|
| Push-to-Connect (SharkBite) | Very Low (No special tools) | Beginner | Quick emergency repairs; transitioning PEX to copper | Not approved for use inside enclosed, inaccessible walls in many local codes |
| Copper Crimp Ring (ASTM F1807) | Moderate ($50 - $150) | Intermediate | Whole-house repipes; permanent, high-reliability joints | Approved for all locations; must verify with Go/No-Go gauge |
| Stainless Steel Clamp (ASTM F2098) | Moderate ($40 - $120) | Intermediate | Tight spaces (crawlspaces); highly corrosion-resistant | Approved for all locations; lighter tool weight |
Push-to-Connect Fittings
Push-to-connect fittings (like SharkBite) use an internal grab ring and an O-ring to grip the outside of the pipe and form a seal. They are incredibly convenient because they require no specialized crimping tools and can even be used to connect PEX directly to copper or CPVC. For details on transitioning materials, see our guide on Fixing Copper Pipe Leak with PEX. However, they are expensive per fitting and are generally not recommended or code-approved for inaccessible locations like enclosed walls.
Crimp and Clamp Systems
Crimp and clamp systems are the industry standard for permanent installations. Crimp rings use solid copper bands that are compressed using a heavy crimping tool, while clamp (cinch) rings use stainless steel bands with a raised ear that is pinched tight. Both methods provide a highly reliable, professional-grade connection. To understand the underlying engineering and standards of these fittings, consult the PEX Plumbing Design and Installation Guide Third Edition_Ch. 5.
Best Practices for Cutting, Supporting, and Testing PEX
To ensure your repair stands the test of time, keep these professional best practices in mind:
- Support Spacing: PEX is flexible, which means it can sag over time if not supported correctly. According to the PEX Plumbing Design and Installation Guide Third Edition Ch. 9, horizontal runs of PEX tubing up to 1 inch nominal diameter must be supported at intervals not exceeding 32 inches. Always use plastic J-hooks or straps—never metal, which can cut into the pipe.
- Accommodate Thermal Expansion: PEX expands and contracts significantly more than copper (1.1 inches per 10°F per 100 ft). Never pull PEX tight between supports; always leave a slight curve or "service loop" to allow the pipe to move naturally as the water temperature changes.
- Pressure Testing: Never close up a wall or leave a repair unattended without a thorough pressure test. Pressurize the system and monitor the new joints closely for at least 15 to 30 minutes.
If you are dealing with a larger project involving your property's primary supply, our Services Main Water Lines page outlines our professional approach to testing and certification.
Frequently Asked Questions About PEX Pipe Repair
Is epoxy a permanent fix for a cracked PEX water line?
No. Epoxy, silicone tape, and rubber repair clamps are strictly temporary, emergency measures. While they can help stop a minor spray while you run to the hardware store for parts, they will not hold indefinitely under constant residential water pressure (which is typically 40 to 80 PSI). If you are facing a sudden plumbing crisis in the middle of a cold snap, contact us immediately for a Burst Pipe Emergency Covington response.
How do I prevent my PEX pipes from freezing in Washington winters?
The best defense against frozen pipes is proper insulation and sealing. Ensure all PEX lines in unconditioned crawlspaces, attics, and exterior walls are wrapped in high-quality foam pipe insulation. Seal any gaps or vents in your crawlspace before the winter freeze sets in. If your water lines have already frozen or burst, find professional help fast by searching for a trusted Water Main Repair Near Me.
Can I use push-to-connect fittings inside enclosed walls?
In most jurisdictions across King and Pierce counties, local plumbing codes prohibit installing push-to-connect fittings behind drywall or in other inaccessible locations. Because they rely on rubber O-rings that can degrade over several decades, they must remain accessible for inspection and replacement. For major renovations or hidden repairs, we always recommend a permanent crimp connection or a full Main Water Replacement.
Conclusion
Fixing a PEX water line does not have to be a stressful or overly complicated process. With a few basic tools, a clean workspace, and a commitment to making square cuts and proper connections, you can easily restore your home's plumbing system to perfect working order.
However, if you run into a leak that is hidden behind a wall, buried deep in your yard, or if you simply want the peace of mind that comes with a professional job, we are here to help. At Retrofit Plumbing, we proudly serve Covington, WA, and surrounding communities like Bellevue, Renton, Kent, Tacoma, Seattle, Auburn, and Kirkland. We back our work with honest pricing, fully stocked trucks, same-day service, and a 100% satisfaction guarantee.
Do you have a leaking water line that needs professional attention? Contact us today to schedule your service or learn more about our Main Water Line Installation and Repair Services. Let us handle the hard work so you can get back to enjoying life in the beautiful Pacific Northwest!