A Leaking Pipe Can Wreck Your Home Fast — Here's What to Do
Water pipe leak repair done quickly can be the difference between a $20 fix and a $20,000 restoration bill. Here's what to do right now:
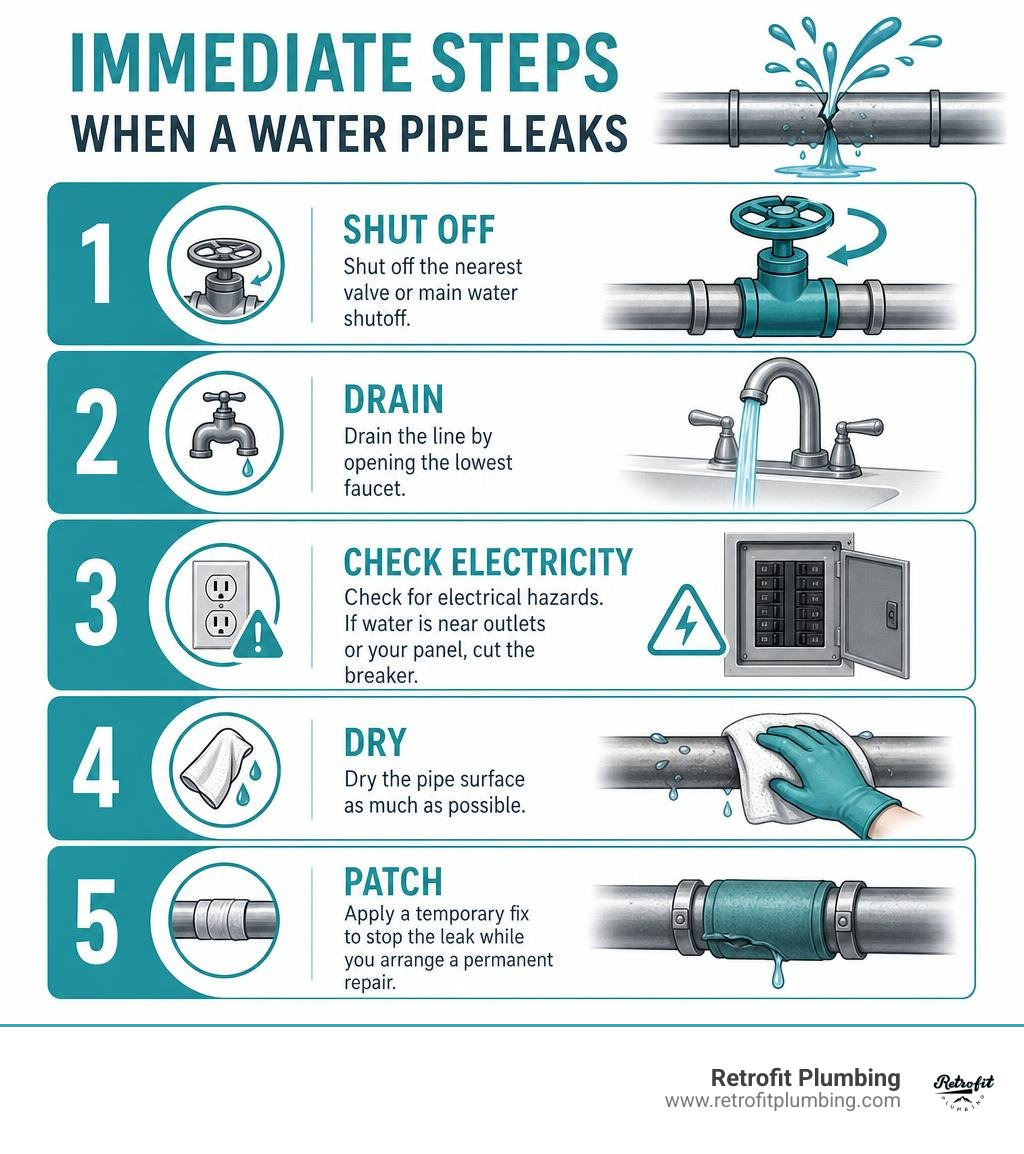
Quick answer — stop a leaking pipe in 5 steps:
- Shut off the nearest isolation valve (under the sink, behind the toilet) or your main water shutoff
- Drain the line by opening the lowest faucet in the house
- Check for electrical hazards — if water is near outlets or your panel, cut the breaker
- Dry the pipe surface as much as possible
- Apply a temporary fix(silicone tape, epoxy putty, or a repair clamp) while you arrange a permanent repair
A leaking pipe is never just a drip. The average U.S. household already wastes 10,000 gallons of water per year from leaks alone — and that's before you factor in soaked drywall, warped floors, and mold that starts growing within 24 to 48 hours of water exposure.
Here in the South Sound, the problem gets worse in winter. Freezing nights in Covington and Bellevue expand water inside pipes until something gives. Add in aggressive Douglas fir roots working their way toward buried lines, and the relentless wet Pacific Northwest winters saturating the soil around your foundation — and you've got a recipe for leaks showing up at the worst possible moment.
Whether you've just spotted water pooling under your kitchen sink or you're staring at a dark stain spreading across your ceiling, this guide will walk you through exactly what to do — from the first five minutes of a leak emergency to deciding when a DIY fix is enough and when it's time to call a pro.
I'm Josh Klimp, owner of Retrofit Plumbing and a licensed plumber with over 20 years of hands-on experience in water pipe leak repair across residential, commercial, and medical facilities throughout the Pacific Northwest. I've seen everything from pinhole copper leaks in older Bellevue homes to burst PEX lines in new Covington construction — and I'll share exactly what works.
Immediate Action: What to Do When You Discover a Leak
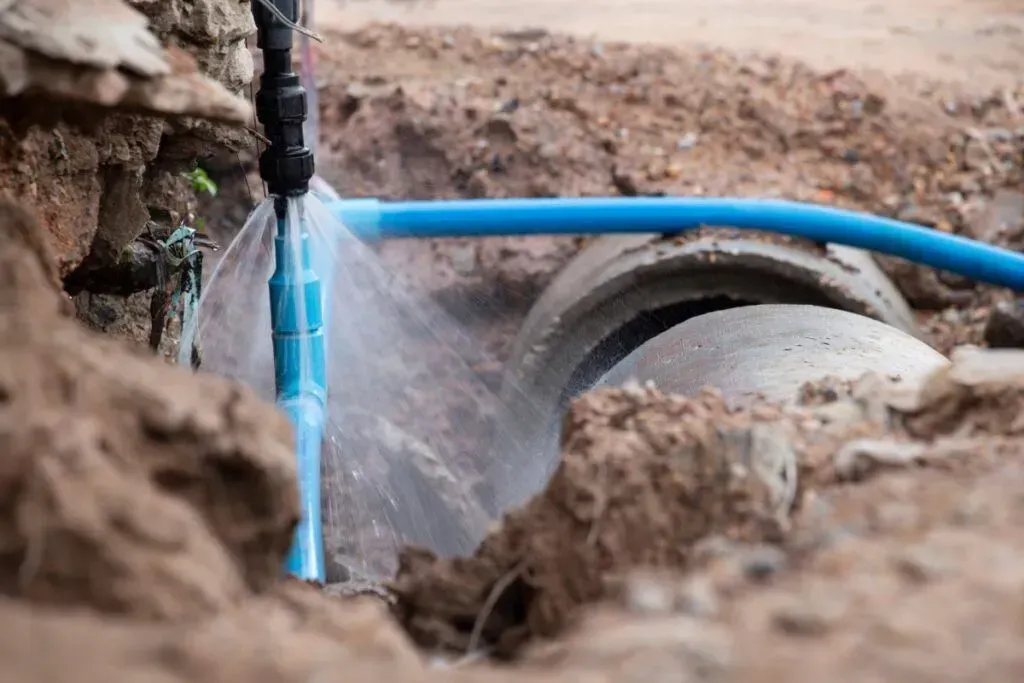
When a water pipe springs a leak, panic is your biggest enemy. Water inside residential supply lines travels at roughly 50 pounds per square inch (PSI) of pressure. That high pressure is why even a tiny pinhole leak doesn't just drip; it sprays, quickly saturating everything in its path.
Your very first step must be isolating the leak. If the drip is coming from a faucet or a toilet, look directly underneath or behind the fixture for the local isolation valve. Turn it clockwise until it stops. If the leak is inside a wall, ceiling, or you simply can't find the source, you need to shut off the main water valve. In most Covington and Renton homes, this is located in the basement, utility room, or in a ground box near the street curb.
Once the water is off, relieve the remaining pressure by opening the highest and lowest faucets in your home. This drains the standing water out of the system so it runs out of your faucets instead of pouring through the leak.
Before you touch any pipe, look around for electrical hazards. If water is dripping near outlets, light fixtures, or your main electrical panel, do not step in wet areas. Go straight to your breaker box and cut power to those zones. Only after verifying the area is completely safe should you wipe down the pipe with a dry rag. Adhesives, putties, and wraps need a clean, dry surface to bond properly.
If you find yourself in over your head or dealing with a major flood, don't wait. We provide rapid response Emergency Plumbing Services across the Puget Sound region, with fully stocked trucks ready to roll to your doorstep.
Identifying Your Pipe Material and Common Leak Types
Before choosing a repair method, you must know what kind of pipe you're dealing with. Different materials require completely different chemical and mechanical solutions.
| Pipe Material | Appearance | Common Leak Types | Vulnerabilities |
|---|---|---|---|
| Copper | Metallic, reddish-gold (or green/brown if oxidized) | Pinhole leaks, split seams, failed soldered joints | High water velocity, acidic water, freezing |
| PVC / CPVC | White or cream-colored rigid plastic | Cracked joints, split lengths | Physical impact, glue degradation, freezing |
| PEX | Flexible plastic tubing (red, blue, or white) | Fitting leaks, crimp ring failures | Poor installation, high heat, UV exposure |
| Galvanized Steel | Heavy grey metal, threaded joints | Thread corrosion, internal rust-through | Mineral buildup, old age (50+ years) |
Copper pipes are incredibly common in older Bellevue and Seattle homes. Over time, high water velocity or local chemistry can cause tiny pinhole leaks. For plastic pipes, you'll often see split seams or cracked joints. If you are dealing with rigid plastic, our guide on Fixing PVC Water Pipe Leaks offers detailed steps on solvent welding and cut-outs.
PEX is highly flexible and common in newer Covington builds, but leaks usually happen at the connections if a crimp ring wasn't compressed tightly enough. Galvanized steel, found in many historic PNW homes, corrodes from the inside out. If you touch a leaking galvanized pipe, be extremely careful—the metal can easily crumble under pressure, turning a small drip into a major blowout.
Temporary Water Pipe Leak Repair Methods for Quick Relief
If you need to keep your household running but aren't ready for a permanent replacement, several excellent temporary repair methods can buy you valuable time.
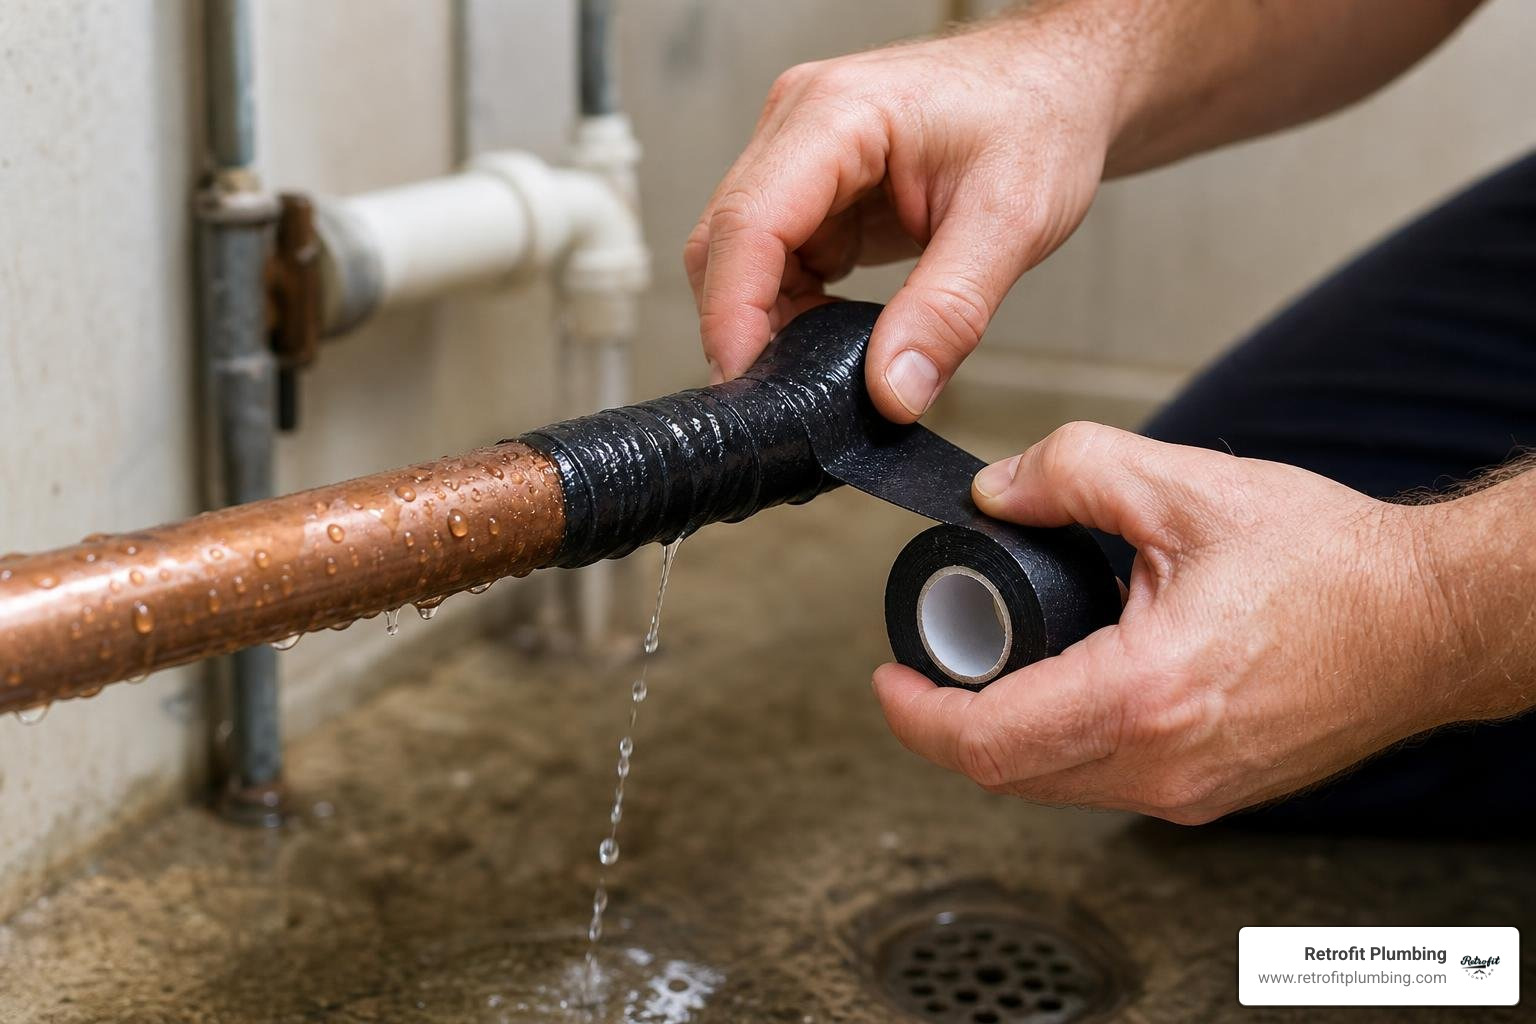
1. Self-Fusing Silicone Tape
Often called a plumber's miracle worker, self-fusing silicone tape doesn't rely on adhesive. Instead, it chemically bonds to itself when stretched and wrapped. This makes it incredibly useful for sealing leaks at tricky angles, joints, or elbows where a rigid clamp won't fit.
- How to use: Dry the pipe as best as you can. Anchor the tape an inch or two before the leak, then stretch it tightly (up to 300% of its original length) as you wrap it. Overlap each pass by 50% and extend the wrap at least two inches past the leak. Apply 4 to 6 layers to build a pressure-resistant barrier.
2. Epoxy Putty
Epoxy putty is a two-part compound (a resin and a hardener) that you knead together by hand until it turns a uniform color. Once applied, it hardens into a rock-hard seal.
- How to use: Sand the pipe surface slightly to roughen it up, which helps the epoxy bond. Knead the putty for about two minutes, then press it firmly over the crack or pinhole. Smooth the edges flat against the pipe. It typically hardens in 5 to 10 minutes, but you should wait at least an hour before turning the water back on. Make sure to use a potable-water-safe epoxy (like those certified under ANSI/NSF Standard 61) if you are working on a drinking water line.
3. Fiberglass Wrap Kits
Professional-grade kits like the Quick Seal Pipe Repair Nu-Calgon or the SylWrap Universal Leaking Pipe Repair Kit | Sylmasta use a water-activated fiberglass bandage. When wrapped around a pipe, the polyurethane resin cures into an impact-resistant, rock-hard outer shell.
- How to use: Clean and roughen the pipe surface. Put on the protective gloves included in the kit, dip the fiberglass roll in cool water for 20 seconds, and wrap it tightly around the leaking area, building up at least 15 layers (or about 1/2 inch of thickness). Rub the foaming resin back into the weave to smooth it out. It cures in about 30 minutes and can withstand impressive pressures up to 30 bar.
Step-by-Step Guide to Semi-Permanent and Permanent Fixes
While tapes and putties are fantastic emergency tools, they are temporary. Temperature fluctuations cause pipes to expand and contract, which will eventually loosen a temporary patch. For a long-term solution, you need to transition to mechanical clamps or pipe replacements.

How to Install a Pipe Repair Clamp for a Water Pipe Leak Repair
A stainless steel pipe repair clamp features a heavy-duty metal sleeve lined with a thick rubber gasket. When bolted down, it applies uniform compression directly over the leak. A properly installed, high-quality stainless steel clamp can easily last 10 years or more, making it a highly reliable semi-permanent solution.
- Clean the pipe: Use sandpaper or a wire brush to remove any dirt, rust, or mineral deposits from the pipe surface. The pipe must be perfectly smooth so the rubber gasket can make a watertight seal.
- Position the gasket: Center the rubber patch directly over the pinhole or crack.
- Apply the clamp: Wrap the stainless steel sleeve around the gasket.
- Tighten the bolts: Thread the bolts and tighten them evenly. Alternate between the bolts as you tighten them so the clamp applies equal pressure across the entire surface. Avoid over-tightening, which can crush plastic pipes.
Using a Slip Coupling for a Permanent Water Pipe Leak Repair
For a truly permanent, code-compliant fix, you must cut out the damaged section of the pipe and bridge the gap with a slip coupling or push-to-connect fitting (like a SharkBite). If you are transitioning copper to a more forgiving material, check out our guides on Fixing Copper Pipe Leak with PEX and Fixing PEX Water Line.
To perform a slip-coupling repair:
- Cut the pipe: Use a dedicated copper tube cutter or plastic pipe cutter to slice out the leaking section. Make sure your cuts are perfectly square.
- Deburr the edges: This is a step many DIYers skip, but it is critical. Use a deburring tool or fine sandpaper to remove any sharp metal or plastic burrs on both the inside and outside of the cut edges. Sharp edges will slice the internal O-rings of your new fitting, causing a slow leak later.
- Measure and mark: Mark the depth of the fitting on the pipe ends to ensure they push all the way in.
- Install the coupling: Push the slip coupling onto one side of the pipe, align it with the other side, and slide it back into place using a disconnect clip. Turn the water back on slowly to test your work. For a detailed breakdown of these tools, refer to the How to Fix a Leaking Pipe (Step-by-Step Guide) - PlumbingToolsReview.
When to Call a Professional Plumber vs. DIY
Knowing your limits is a critical plumbing skill. Attempting a repair that is beyond your experience level can turn a simple fix into a catastrophic home flood.
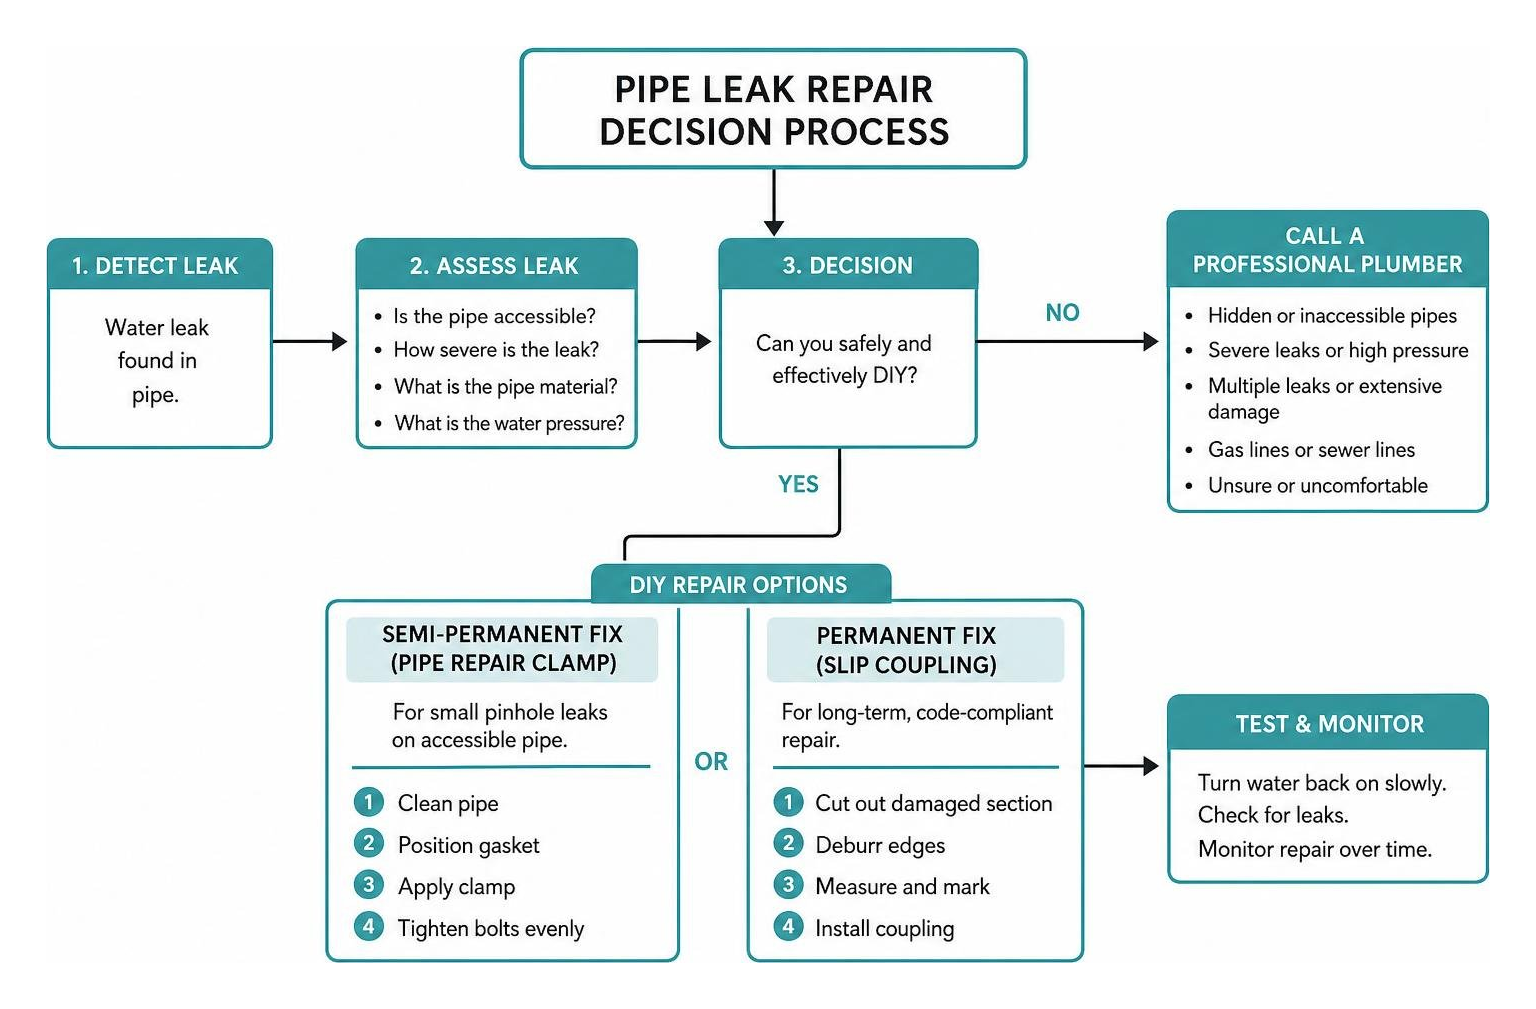
When to DIY:
- Accessible pipes under sinks, in basements, or in crawlspaces.
- Minor pinhole leaks on copper or plastic lines.
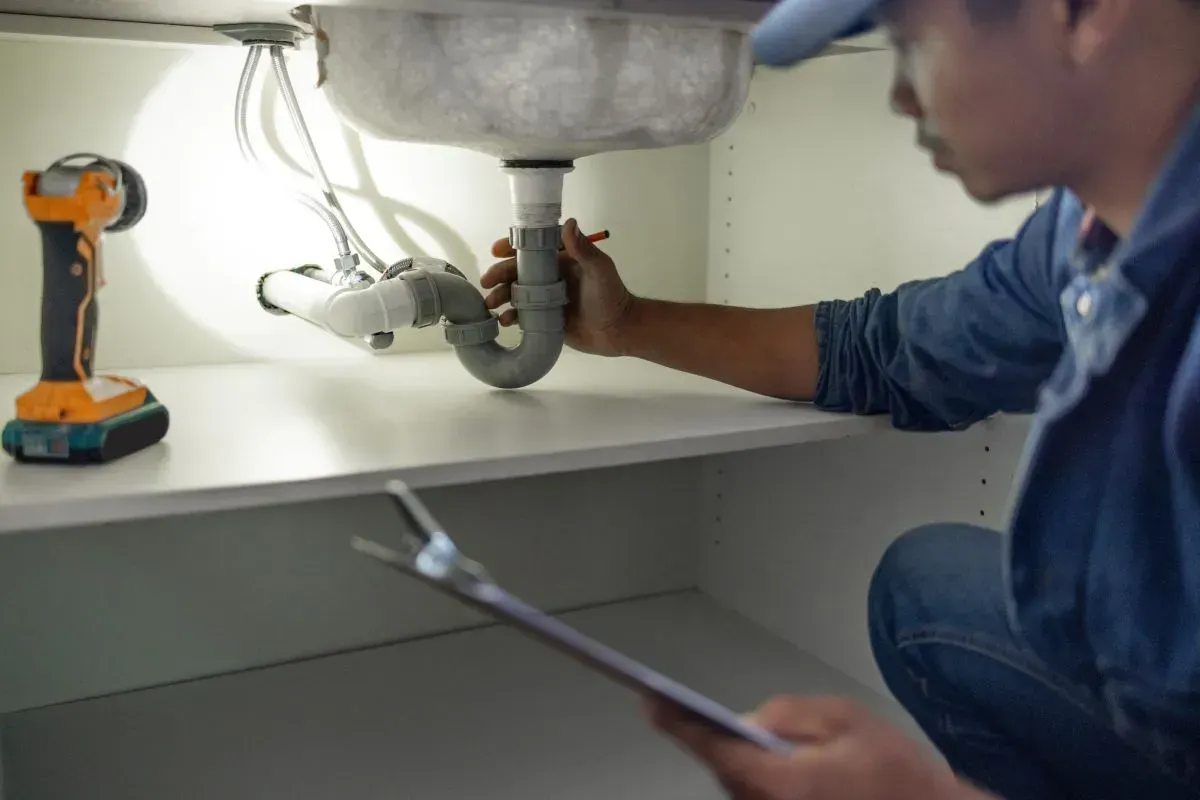
- Low-pressure drain lines or loose P-trap coupling nuts.
When to Call Retrofit Plumbing:
- In-Wall or Ceiling Leaks: If you see water stains on your drywall but don't know where the pipe is, do not start swinging a hammer. We use non-invasive acoustic and thermal imaging tools to pinpoint leaks behind walls without destroying your home.
- Slab Leaks: If your concrete floors feel warm or you hear running water beneath your foundation, you likely have a slab leak. This requires professional electronic detection and specialized rerouting.
- Galvanized Pipe Failures: Old galvanized pipes are brittle. Attempting to clamp or cut them often causes them to collapse entirely.
- Main Water Line Issues: If you suspect a leak between your home and the city meter, you need professional excavation and trenchless repair.
If you suspect a hidden leak, we highly recommend reading our Leak Detection Service Complete Guide or contacting a licensed Leak Finder Plumber from our team to handle the heavy lifting.
The Real Cost of Water Line Repairs and Prevention
Ignoring a leak is expensive. Even a slow, steady drip can add $20 to $150 a month to your utility bill. Locally, the City of Bellevue Water Leaks Guide warns that property owners are responsible for all leaks on their side of the water meter, making early detection vital.
Here is what you can expect regarding professional repair costs:
- Standard Pipe Repair: A typical, accessible pipe repair ranges from $150 to $700, depending on how easy it is to reach.
- Main Water Line Repair: The average cost to repair a main water line leak is $1,025(typically ranging from $354 to $1,696).
- Hourly Plumbing Rates: Professional plumbers in the Puget Sound area generally charge between $45 and $200 per hour for repairs.
- Water Damage Restoration: If a leak goes unnoticed, drying out drywalls, replacing particle-board cabinets, and mold remediation can easily cost thousands. Standard home insurance deductibles for water damage are often $1,000 and up.
If your main water line has failed or been punctured by tree roots, don't worry. We specialize in non-invasive trenchless technologies that save your lawn and your wallet. Check out our guide on Fixing Underground Water Pipe to see how we tackle buried line repairs.
Frequently Asked Questions About Pipe Leaks
Can I use duct tape or Flex Seal to fix a leaking pipe?
No. Duct tape is designed for air ducts; its adhesive breaks down rapidly when exposed to moisture and cannot hold back the 50+ PSI of a pressurized water supply line. Similarly, spray-on rubber coatings like Flex Seal are not rated for pressurized lines and will quickly rupture. Keep these products for non-pressurized gutters or temporary garden hose patches only.
How long does a temporary pipe repair clamp last?
A high-quality, stainless steel pipe repair clamp with a rubber gasket can technically last for 10 years or more if installed on a stable, non-corroded pipe. However, seasonal temperature swings in Western Washington cause metal and plastic pipes to expand and contract. Over time, this thermal movement can loosen the clamp. We recommend replacing temporary clamps with a permanent soldered, crimped, or push-fit connection within 24 to 48 hours of discovery.
Does homeowners insurance cover the cost of water pipe repairs?
Generally, no. Most standard homeowners insurance policies do not cover the actual cost of repairing the plumbing pipe itself, as this is considered normal home maintenance. However, they will typically cover the "resulting water damage"—meaning the cost to dry out your walls, replace ruined flooring, and repair damaged ceilings, provided the leak was sudden and accidental rather than a slow drip you ignored for months.
Conclusion
A water pipe leak is stressful, but taking immediate action can save your home from severe damage. By shutting off the water, draining the lines, and applying a reliable temporary patch, you can stop water damage in its tracks while you plan a permanent solution.
When you need a permanent, worry-free fix, Retrofit Plumbing is here to help. Serving Covington, Bellevue, Renton, Kent, Tacoma, Seattle, Auburn, and Kirkland, our team brings honest pricing, fully stocked trucks, and a 100% satisfaction guarantee to every single job.
Don't let a small drip turn into a major flood. For expert assistance with your home's plumbing, visit our Main Water Line Installation & Repair Services page or give us a call today to schedule your same-day service!