When Your Sink Won't Drain: What to Do Right Now
Clogged sink repair is something most homeowners will deal with at least once — and often at the worst possible time.
Here's a quick overview of how to fix it:
- Remove visible debris from the drain opening or stopper
- Pour boiling water down the drain to break up grease (metal pipes only)
- Use baking soda + vinegar — 1 cup each, wait 15 minutes, flush with hot water
- Plunge the drain with 3–4 inches of water in the sink, sealing any overflow openings
- Clean the P-trap — the curved pipe under the sink — if plunging doesn't work
- Use a drain snake to break up stubborn blockages deeper in the pipe
- Call a plumber if none of the above works, or if multiple drains are slow at once
The good news? According to plumbing pros, roughly 95% of drain clogs can be cleared with just a plunger and a drain snake. You don't always need to spend hundreds of dollars on a service call.
That said, knowing which method to use — and in what order — makes all the difference between a 10-minute fix and an afternoon of frustration.
I'm Josh Klimp, and with over 20 years of professional plumbing experience, I've cleared more clogged sinks than I can count — from simple hair buildup to stubborn grease blockages that stumped other plumbers. In this guide, I'll walk you through everything I know about clogged sink repair, so you can tackle it with confidence before deciding whether to call in a pro.

Understanding the Root Causes of Sink Clogs
Before we dive into the "how-to" of clogged sink repair, we need to understand the "why." Not all clogs are created equal. A kitchen sink blockage is a completely different beast than a bathroom sink backup, and treating them the same way is a recipe for a messy afternoon.
Kitchen Culprits: Grease and Grime
In the kitchen, clogs are almost always a result of what we put down the drain. According to experts, kitchen blockages typically happen when grease or cooking oils cool down inside your pipes. As the grease solidifies, it acts like glue, catching food scraps, coffee grounds, and other debris that should have gone in the trash.
Even if you have a garbage disposal, these materials can build up over time. You can avoid many of these issues by watching what you pour down the drain. We always recommend keeping a dedicated mug or container next to the sink to capture oils from pans rather than rinsing them away.
Bathroom Blockages: Hair and Soap
Bathroom sinks face a different set of enemies. Here, the primary offenders are hair, soap scum, and toothpaste. Over time, these materials congeal into a thick, sticky mass that clings to the walls of your pipes. If you have hard water, mineral deposits can also narrow the diameter of your pipes, making it even easier for a small hairball to turn into a total stoppage. If you find yourself constantly battling slow drains in the tub or vanity, you might want to learn more about bathroom plumbing maintenance to keep things flowing.
Initial DIY Methods for Clogged Sink Repair
When you notice water swirling lazily around the drain instead of disappearing, don't panic. You don't always need a heavy-duty machine to get things moving. There are several how to unclog a sink in 7 easy steps methods that use basic household items.
The Boiling Water Flush
This is the simplest and cheapest method to try first. Boiling water is excellent at melting away congealed grease or soap scum.
- The Method: Boil a full kettle or large pot of water. Pour it directly down the drain in two or three stages, allowing the hot water to work for a few seconds between pours.
- The Warning: Only use boiling water if you have metal (copper or galvanized) pipes. Boiling water can soften or melt the seals in PVC (plastic) piping, leading to leaks that are much more expensive to fix than a simple clog.
The Baking Soda and Vinegar "Volcano"
Remember the science fair volcano? That same chemical reaction can help break up minor clogs.
- Remove any standing water from the sink.
- Pour about half a cup of baking soda down the drain.
- Follow it with half a cup of white distilled vinegar.
- Plug the drain immediately to keep the fizzing action inside the pipes.
- Wait about 15–20 minutes, then flush with a gallon of hot water.
This method is particularly effective for kitchen plumbing because the fizzing action helps scour away grease that hasn't fully hardened yet.
DIY Method Effectiveness Comparison
| Method | Best For | Success Rate | Safety Level |
|---|---|---|---|
| Boiling Water | Grease/Soap Scum | Moderate | High (Metal Pipes Only) |
| Baking Soda & Vinegar | Minor Buildup/Odors | Moderate | Very High |
| Dish Soap & Hot Water | Light Grease | Low | Very High |
| Salt & Boiling Water | Scouring Debris | Moderate | High |
Advanced Mechanical Techniques for Clogged Sink Repair
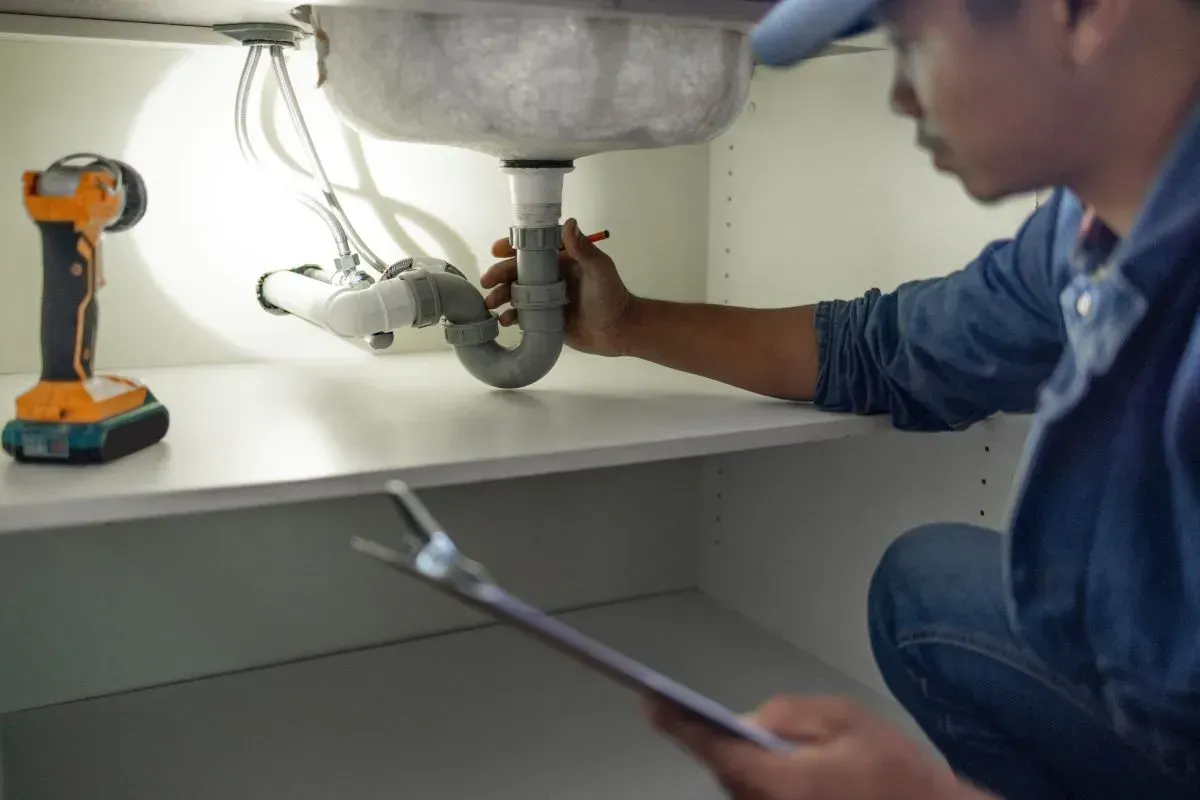
If the "volcano" didn't erupt the clog out of existence, it’s time to get your hands a little dirty. Most clogs that resist liquid solutions are trapped in the P-trap—that U-shaped pipe under your sink. This pipe is designed to hold a small amount of water to block sewer gases from entering your home, but its shape also makes it a magnet for debris.

Cleaning the P-Trap
Before you start, clear out the cabinet under the sink and place a bucket directly under the P-trap.
- Loosen the Slip Nuts: These are the large nuts at either end of the U-bend. You can usually unscrew them by hand, but you might need pliers if they are on tight.
- Remove and Inspect: Pull the P-trap away. Empty the water and gunk into your bucket.
- Clean: Use a small wire brush or an old toothbrush to scrub the inside of the pipe.
- Reassemble: Slide the pipe back into place and hand-tighten the nuts. Don't over-tighten, or you could crack the plastic.
If you’ve cleaned the trap and the sink still won't drain, the blockage is likely further down the line, and you may need clog drain repair services for the wall pipes.
Essential Plumbing Tool Kit
To handle most clogged sink repair jobs, you should have these tools on hand:
- Cup Plunger: Specifically for sinks (not the flanged toilet version).
- Drain Auger (Snake): A 15- to 20-foot hand-cranked model.
- Channel-lock Pliers: For stubborn slip nuts.
- Bucket and Rags: For the inevitable mess.
- Flashlight: To see into the dark corners of your cabinets.
Effective Plunging for Clogged Sink Repair
Plunging a sink isn't just about pushing hard; it's about creating a vacuum.
- The Seal: Use a cup plunger. If the sink is dry, add 3–4 inches of water to cover the rubber bell. Applying a little petroleum jelly to the rim of the plunger can help create a tighter seal.
- The Overflow: In bathroom sinks, there is an overflow hole near the rim. You must plug this with a wet rag, or the air pressure will just escape out the hole instead of pushing against the clog.
- Double Sinks: If you have a double kitchen sink, have someone hold a stopper or wet rag firmly over the other drain while you plunge.
- The Action: Plunge vigorously for about 20 seconds. The "up" stroke is just as important as the "down" stroke for breaking the clog apart.
Using Snakes for Clogged Sink Repair
When a plunger fails, it’s time to "snake" the drain. A drain snake (or auger) is a flexible cable that can navigate the bends in your pipes to reach deep blockages. Knowing how to clean and unclog a kitchen sink drain with a snake is a vital skill for any DIYer.
- Access the Drain: It’s often easiest to remove the P-trap and insert the snake directly into the "trap arm" (the pipe going into the wall).
- Feed the Cable: Push the snake into the pipe until you feel resistance.
- Crank It: Turn the handle to rotate the cable. This allows the corkscrew tip to bite into the clog or break it up.
- Retract: Pull the snake back slowly. Be prepared—it will likely bring up a disgusting mess of hair or food. Clean the cable as you pull it out to avoid spreading grime.
If you find yourself snaking the same drain every month, you might have a deeper issue like pipe scale or root intrusion, which requires a professional rooter drain service.
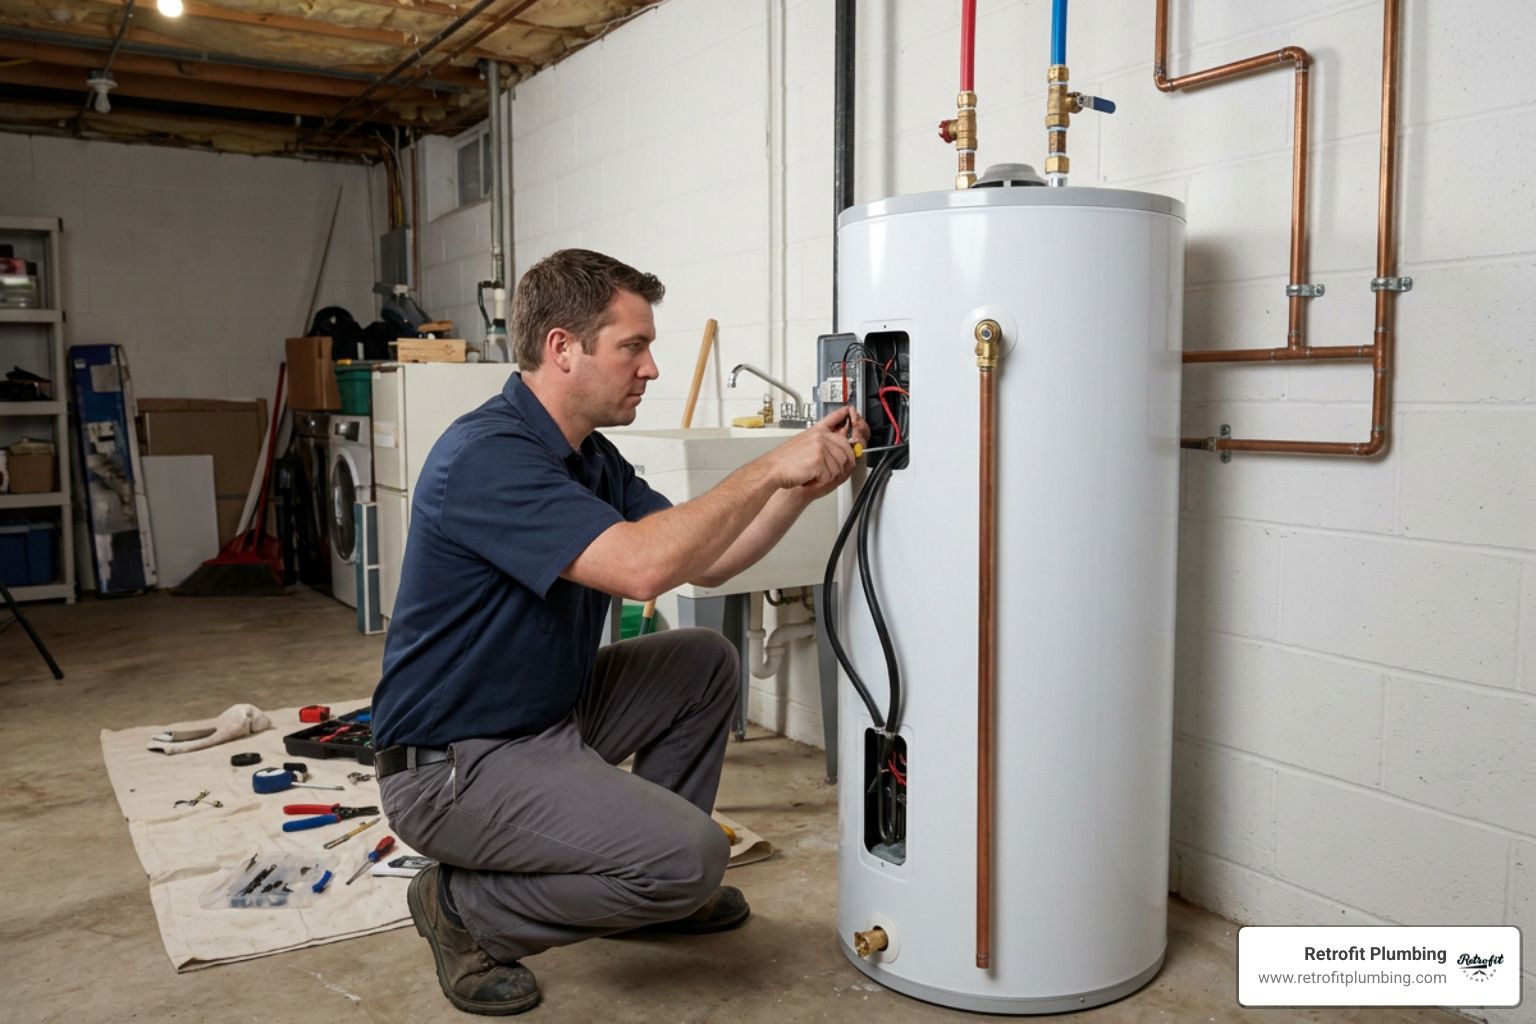
Troubleshooting Garbage Disposals and Maintenance
If your kitchen sink is backed up and you have a garbage disposal, the disposal itself might be the problem. A jammed flywheel or a clogged discharge pipe will stop your sink from draining instantly.
Clearing a Jam
If the disposal hums but doesn't spin, it's jammed. Never put your hand down the disposal.
- Turn off the power. Unplug it or flip the breaker.
- Use the Wrench: Most disposals come with a small Allen wrench. Insert it into the hole at the bottom of the unit and turn it back and forth to manually break the flywheel free.
- Reset: Press the small red reset button on the bottom of the unit.
- Remove Debris: Use tongs or pliers to reach into the top and pull out whatever was causing the jam (usually a stray bone, fruit pit, or piece of silverware).
Disposal Maintenance Tips
To keep your disposal running smoothly and smelling fresh, try these tips:
- Cold Water Only: Always run cold water while the disposal is on. This keeps grease in a solid state so it can be ground up and flushed away.
- Ice and Lemon: Once a week, toss in a handful of ice cubes and some lemon peels. The ice scours the blades, and the lemon provides a fresh scent.
- Avoid the "Big No-Nos":
Never put the following items down your disposal:
- Fibrous veggies (celery, corn husks, onion skins)
- Pasta and rice (they swell in water)
- Coffee grounds
- Eggshells (the membrane can wrap around the blades)
- Large amounts of potato peels
If your disposal is leaking or won't turn on even after a reset, you may need a garbage disposal install repair to get your kitchen back in order.
Safety, Chemicals, and When to Call a Professional
While we love a good DIY project, we have to talk about the "D" word: Drano (and other chemical cleaners). Most professional plumbers—ourselves included—advise against using harsh chemical drain cleaners.
The Danger of Chemicals
Chemical cleaners use sulfuric acid or lye to "eat" through clogs. The problem? They don't know when to stop eating.
- Pipe Damage: These chemicals generate heat that can soften PVC pipes and corrode older metal pipes.
- Safety Risk: If you use a chemical cleaner and it doesn't work, you now have a sink full of toxic, caustic water. If you try to plunge it, you risk splashing those chemicals into your eyes or onto your skin.
- Toxic Fumes: Mixing different types of cleaners can create deadly chlorine gas.
Always wear safety goggles and rubber gloves when performing clogged sink repair, especially if you've recently used any store-bought cleaners.
When to Call Retrofit Plumbing
Sometimes, a clog is just too stubborn for a hand snake, or it's a symptom of a much larger problem. You should call us for emergency plumbing if:
- Multiple Drains are Clogged: If your sink, toilet, and shower are all backed up, you likely have a main sewer line blockage.
- Water is Backing Up Elsewhere: If running the sink makes water come up in the shower, that's a serious system-wide issue.
- The Clog Returns Constantly: This often indicates tree roots have grown into your pipes or the pipes have collapsed.
- You Smell Sewage: This could mean a broken pipe or a blocked vent on your roof.
For complex issues like these, our team provides expert residential plumbing across Covington, Renton, and the surrounding areas to ensure your home's system is safe and functional.
Frequently Asked Questions about Clogged Sink Repair
What is the safest way to unclog a sink without damaging pipes?
The safest method is to start with mechanical means like a plunger or a hand snake. If you want a liquid solution, stick to boiling water (for metal pipes) or the baking soda and vinegar method. These won't corrode your pipes or cause chemical burns.
Why is my double sink still clogged after plunging one side?
Plumbing is all about pressure. In a double sink, the two basins usually join at a "T" junction before hitting the P-trap. If you plunge one side without sealing the other, the air and water pressure you're creating simply shoot up the other drain instead of pushing against the clog. Use a wet rag or a tight-fitting stopper to seal the second drain completely before you start plunging.
How often should I perform maintenance to prevent future clogs?
Prevention is the best clogged sink repair. We recommend a weekly flush with hot water and a monthly "volcano" treatment (baking soda and vinegar) to keep grease from building up. Additionally, using inexpensive mesh drain covers in your bathroom can catch hair before it ever enters the pipes.
Conclusion
A clogged sink can bring your entire household to a standstill, but with the right tools and a little patience, you can resolve most issues yourself. From the simple boiling water flush to disassembling the P-trap, these DIY steps are the first line of defense for any homeowner in Covington, Renton, Kent, or Auburn.
However, if you've tried the plunger, snaked the line, and cleaned the trap but that water still won't budge—or if you're facing a messy emergency—don't risk damaging your pipes further. At Retrofit Plumbing, we pride ourselves on honest pricing, fully stocked trucks, and same-day service. We stand behind our work with a 100% satisfaction guarantee, ensuring your drains flow freely again without the stress.
Stop the stagnation and book your professional Clog Drain Repair today. Whether you're in Seattle, Lynnwood, or Federal Way, we're here to help you get things moving again!